
Warning! During the operation of the brake pads, it forms brake dust, which contains asbestos, which is harmful to health. Therefore, when cleaning brake pads, do not use compressed air or inhale dust.
Examination
Attention! If the brake disc needs to be replaced, the second brake disc must also be replaced to ensure uniform braking. When replacing the brake discs, the brake pads must also be replaced.
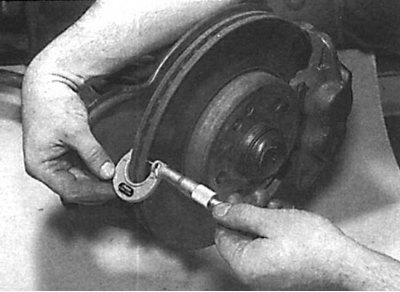
Using a micrometer to measure the thickness of the working part of the brake disc
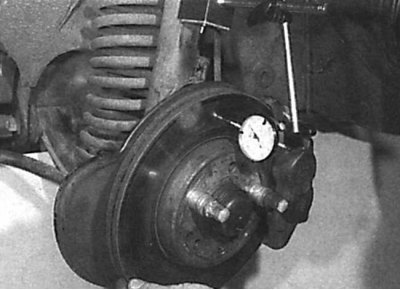
Using a Dial Indicator to Check Brake Disc Runout
1. Apply the handbrake, then raise the front of the vehicle and support it on stands. Remove the corresponding front wheel.
2. Install a 10 mm washer on the wheel bolt and screw the bolt into the hole located on the opposite side of the brake disc bolt. 3. Slowly turn the brake disc so that it can be seen from both sides. Brake disc wear from pads must be within acceptable limits. If there are cracks on the disc, the disc must be replaced.
4. Using a micrometer, measure the thickness of the brake disc (see fig. Using a micrometer to measure the thickness of the working part of the brake disc).
5. Use a dial indicator to check the runout of the brake disc. Fix the dial indicator in any convenient place and, turning the brake disc, determine its runout at a distance of 10 mm from the outer edge (see fig. Using a Dial Indicator to Check Brake Disc Runout).
6. Before checking brake disc runout, make sure the hub bearing is in good condition.
7. Check the brake disc for cracks, especially around the wheel bolt holes, wear or mechanical damage and replace if necessary.
Removing
Attention! When installing the brake disc, it is necessary to use new mounting bolts and new brake disc mounting screws.
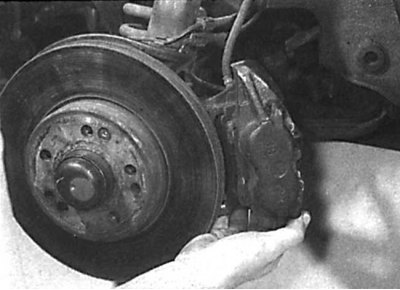
Removing the front brake caliper
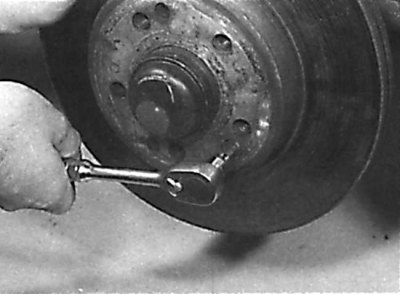
Unscrewing the screw securing the brake disc to the hub
1. Unscrew the wheel bolt with a thick washer that was installed when checking the runout of the disc.
2. Unscrew the two bolts and remove the front brake caliper together with the brake pads and using a soft wire tie it to the A-pillar. Do not stretch or kink the brake hose while doing this. At installation of a support it is necessary to use new bolts of its fastening.
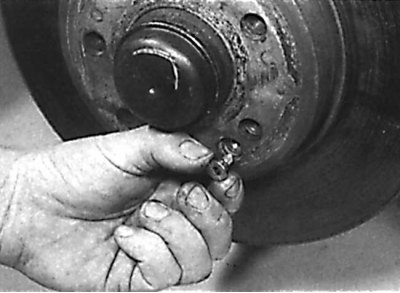
3. Remove the screw securing the brake disc to the hub. When installing the brake disc, it is necessary to use a new screw for its fastening.
4. Remove the brake disc from the hub, noting the location of the dowel pins. If the brake disc is seated tightly on the hub, tap on the back of the disc with a mallet.
Installation
Installing a new front brake disc screw
1. Before installing the brake disc, using an appropriate tap, clean the threads in the hole for the caliper to steering knuckle bolts. Also clean the threads in the hole for the brake disc-to-hub screw.
2. Check and, if necessary, clean the mating surfaces of the brake disc and hub, and check that the dowel pins are in place. When installing a new drive, remove the protective coating from its surface.
3. Install the brake disc on the hub, making sure it is clearly fixed with the locating pins. Fasten the brake disc with a new screw, tightening it to the required torque.
4. Install the brake caliper in place and secure it with two new bolts, tightening them to the required torque.
5. Install the wheel, then lower the vehicle to the ground and finally tighten the wheel bolts to the correct torque. Depress the brake pedal several times until the brake pads press against the brake disc.