
Note. Shock absorbers can be replaced one at a time if both front suspension shock absorbers remain of the same type. Cars can be equipped with shock absorbers with or without a dividing piston. On shock absorbers with a dividing piston between the gas and oil volumes, the piston rod is located at the top of the shock absorber, while at the same time, in shock absorbers without a dividing piston, the piston rod is located at the bottom of the assembled shock absorber.
For a quick shock absorber check, press the front corner of the car body, release it and count the number of body vibrations until it comes to a complete stop. The body should rise, then stop when moving down.
Removing
Attention! When releasing the upper shock absorber mounting, the vehicle must be on the ground, since the shock absorber also serves as a suspension travel limiter. Under no circumstances should the shock absorber be rotated.
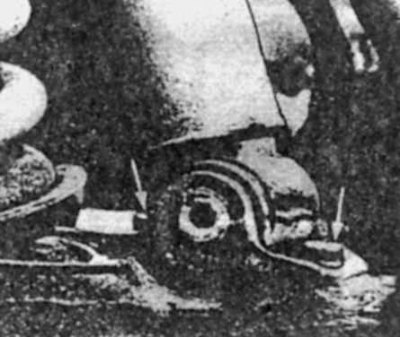
Mounting bolts (shown by arrows) shock absorber to lower control arm

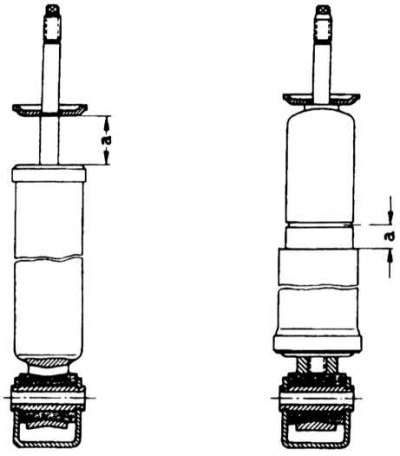
Checking telescopic front suspension struts
Type A and C: a - from 0.0 to 32.0 mm
Type B: a - from 0.0 to 20.2 mm
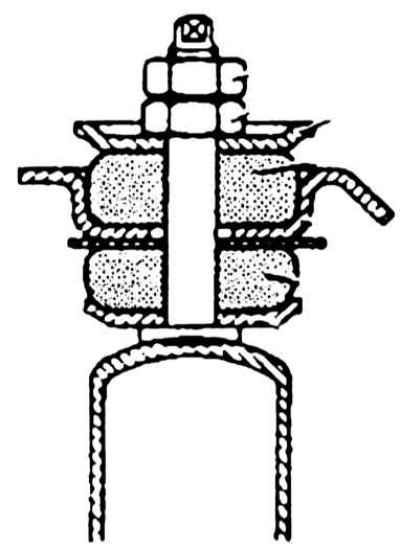
Shock absorber with separating piston
Shock absorber without separating piston
1. In the engine compartment, first unscrew the upper shock absorber mounting nut, and then the lower one, remove the washer and rubber bushings. When unscrewing the top nut, hold the bottom nut with a wrench, and when unscrewing the bottom nut, hold the stem from turning.
2. Apply the parking brake and jack up the front of the vehicle on stands (supports). Remove wheels.
3. Remove from a body the top details of installation of the shock-absorber.
4. Turn away bolts of fastening of the shock-absorber to the lower suspension arm.
5. Remove fasteners and shock absorber.
6. Carry out their fault detection (porosity, rubber cushion cracks, etc.), replace if necessary.
7. Squeeze the shock absorber parts to the internal stop or until a feeling of additional resistance appears and compare with the dimensions in the figure. If the dimensions are out of range, replace the shock absorber.
8. Install in the reverse order of removal, taking into account the following:
9. The bottom mounting bracket must be firmly seated in the rubber bushing. The bracket must be in the mounting position so that the fixing bolts can be installed.
10. Do not confuse the bottom plate with the top plate. In this case, while driving, the plate may sit on the safety ring.
11. Vehicles with 15" wheels or firmer suspension and split piston shock absorbers are equipped with an additional 9mm spacer between the buffer and bottom plate.
12. Complete the shock absorber as shown in the figure.
13. Insert the shock absorber and fasten it with new bolts to the lower transverse lever with a torque of 2.0 kgf·m.