



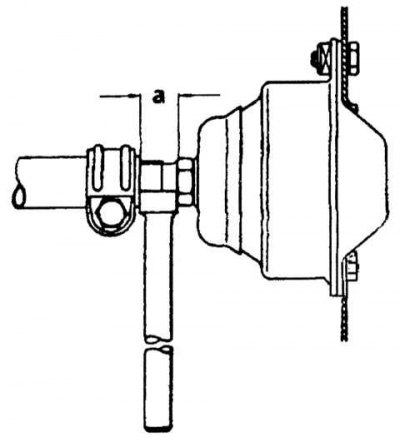
Initial setting of auxiliary traction
a = 14.0 mm
1. Remove the front suspension shock absorber and spring.
2. Fix the position of the lower suspension arm inner eccentric bolt discs relative to the cross member, then unscrew the nut and remove the discs and bolt.
3. Loosen the bolt securing the auxiliary tie rod to the body.
4. Loosen the bolt securing the spring support cup to the lower suspension arm.
5. Fix the position of the auxiliary rod relative to the lower suspension arm, then unscrew and remove the connecting bolt.
6. Remove the lower suspension arm from the crossmember, rotate it forward and remove the auxiliary rod.
7. Conduct a defect detection of the auxiliary traction. Using the control (metal) rulers make sure that the rod is not bent.
8. To replace the joint, first mark the position of the ball pin, then loosen the clamp bolt and unscrew the ball pin and joint. Screw in the new joint in the marked position - when installed a = 14.0 mm.
Installation is carried out in the reverse order of removal. In this case, do not completely tighten the nuts and bolts until the suspension is fully loaded with the weight of the car. Finally, check the installation angles of the front wheels, especially the longitudinal angle of the steering axis, which is adjusted by the auxiliary traction.