



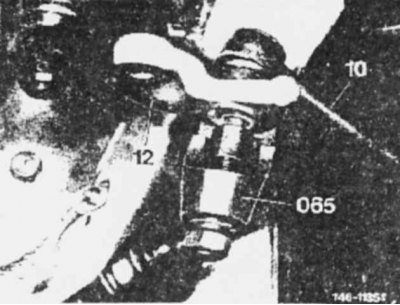
Ball joint
1. Apply the parking brake and support the front of the vehicle on jack stands (stands).
2. Rock the front wheel in both directions with your hands. If you feel any play, check each ball joint to see if it is worn.
3. Remove the wheel. Remove the cotter pin and unscrew the nut.
4. Use a puller to disconnect the end (joint) of the transverse rod from the steering arm.
5. Loosen the clamp bolt and unscrew the end (joint) of the transverse tie rod, remembering (writing down) the number of turns required to remove it.
6. Screw in the new rod end (joint) and, when it occupies the same position as the previous one, tighten the clamp bolt to a torque of 2.0 kgf·m.
7. Check the distance between the axes of the cross tie rod ends (joints); it should be 345±2 mm. If necessary, achieve this value by screwing in or out both ends (joints). Tighten the inner end on the cross tie rod with the terminal clamp bolt to a torque of 5.0 kgf·m and lock it with a lock nut to a torque of 2.0 kgf·m.
(Material based on data from the portal: www.mercedesman.ru)
8. Install the tie rod end in the pivot arm, tighten the nut to a torque of 4.1-5.0 kgf·m and secure it with a new cotter pin.
9. Finally, check the front wheel alignment angles.