
2. If there is no stand, you can disassemble the engine on a stand, workbench or on the floor, placing it steadily on props. When working without a stand, be careful that the engine does not tip over or fall.
3. If you are going to purchase a remanufactured engine, first of all, remove all external parts from the old engine for their subsequent installation on a new engine (if you want to do all the other work yourself). These accessories include (see fig. 7.3, a, b):
- A) Auxiliary brackets (oil filter, alternator, power steering pump, engine mounts, crankcase valve housing, etc.
- b) Thermostat and casing (see chapter 3).
- V) Oil dipstick tube.
- G) All electrical switches and sensors.
- d) intake and exhaust manifolds (chapter 4).
- e) Coil and spark plugs (chapter 5).
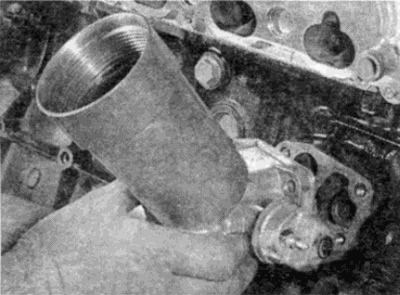
Pic. 7.3, a. Removing the oil filter housing...
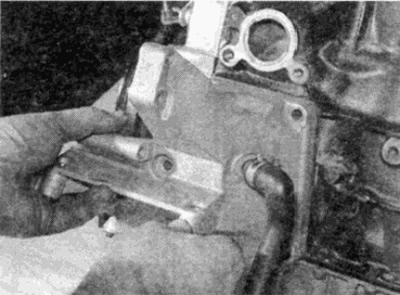
Pic. 7.3b....and crankcase ventilation housings
Note: When removing external parts from the engine, pay attention to the features of their installation, which may be useful during assembly. Note the position of gaskets, collars, bolts, washers, etc.
4. If you purchase an engine in "small set", which includes a cylinder block assembly with a crankcase, crankshaft, pistons and connecting rods, it is also necessary to remove the cylinder head, pan, oil pump and camshaft drive chain from the old engine.
5. If a complete overhaul of the engine is planned, then it can be disassembled in the following order.
- A) intake and exhaust manifolds (see chapter 4).
- b) Camshaft drive mechanism (chain, sprockets and tensioner).
- V) Cylinder head.
- G) Flywheel/leading faceplate.
- d) Oil pan.
- e) Oil pump.
- and) Pistons with connecting rods (paragraph 11).
- h) Crankshaft (paragraph 12).
6. Before starting disassembly and repair, make sure that you have all the necessary tools. For further information, see the section "Tools and fixtures".