
Sequence of work
1. In the engine compartment, remove the dirt cover (only for right shock absorber) and other elements for access to the upper shock absorber mount.
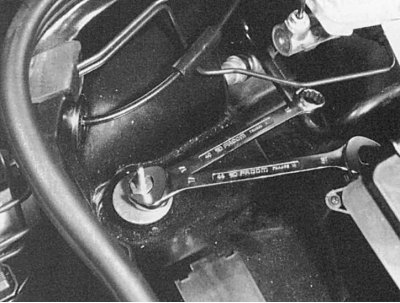
Pic. 7.9. Loosen the top shock absorber
2. Loosen the shock absorber top mount. After loosening the locknut, using two open-end wrenches, you can unscrew the upper shock absorber mount (pic. 7.9). At the service station, a special SW 17 head is used for this, with a handle welded on top, in which another key is installed to hold the shock absorber rod. If necessary, you can make such a key yourself.
3. Remove the top cup and rubber support.
4. Raise the front of the vehicle and remove the relevant wheel.
5. Loosen the mounting bolt on the lower transverse arm.
6. Remove shock absorber.
7. When installing the shock absorber in reverse order, use new self-locking nuts.
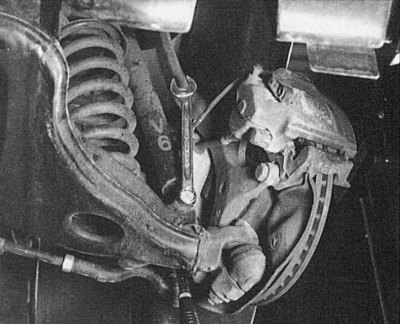
Pic. 7.10. Tighten the lower mounting on the lower transverse arm to 55 Nm. Use only recommended shock absorbers with appropriate markings
8. Tighten the lower mounting on the lower transverse arm to 55 Nm (pic. 7.10).
9. At the top, tighten the first nut until it reaches the spacer sleeve, then tighten it to 15 Nm.
10. Lock the first nut with the top nut and tighten it to 30 Nm while holding the bottom nut with SW 17.