



Exhaust system (EG)
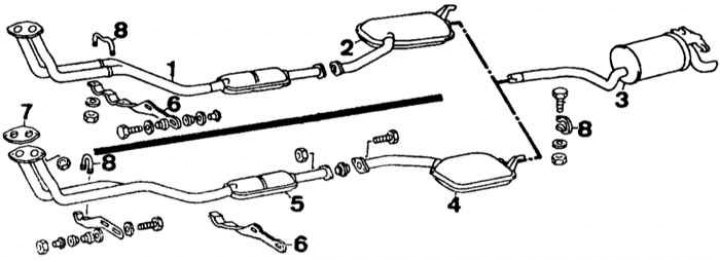
Above are carburetor engines
below are the fuel injected engines
1 - intake pipe; 2, 4 - central muffler; 3 - rear muffler; 5 - catalytic converter; 6 - bracket for mounting the inlet pipe to the gearbox; 7 - gasket; 8 - clamps
Removal engines
The engine can be removed from the vehicle separately or as part of the power unit. The total weight of both the engine and the power unit is quite significant. It is recommended to remove the engine separately using a hoist and an assistant.
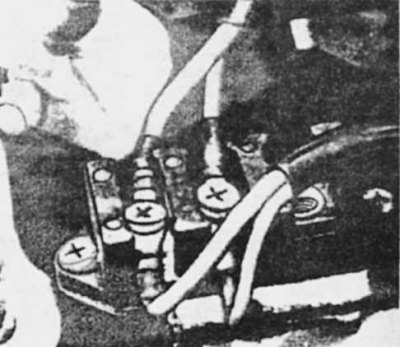
Engine Wire Harness Connector
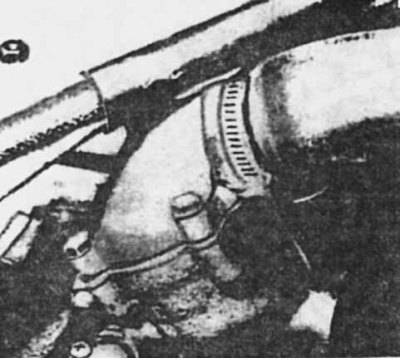
Connecting the upper hose to the thermostat housing
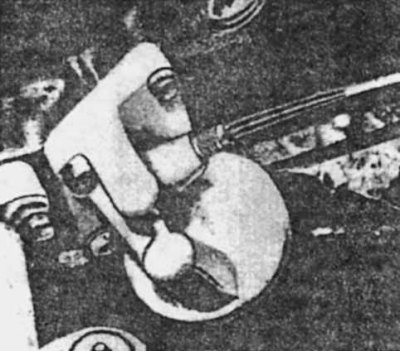
Disconnecting the oil pressure line
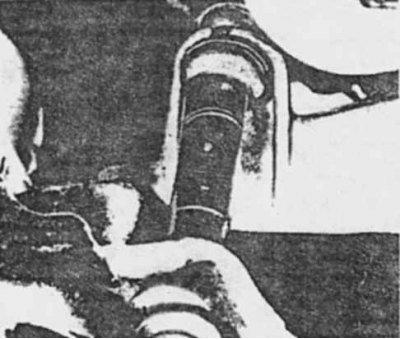
Engine mount damper
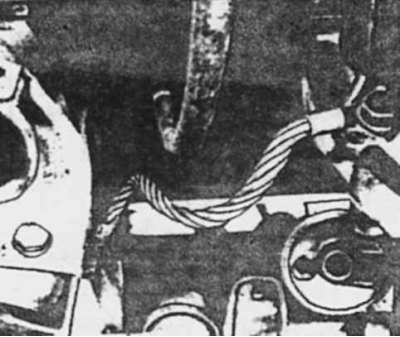
Location of the motor ground jumper
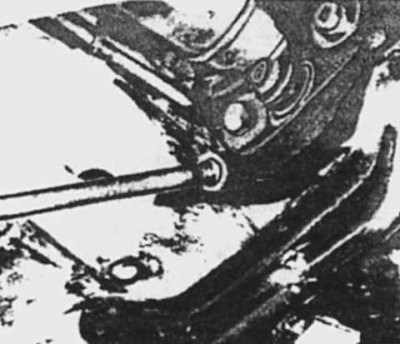
Unscrewing the upper gearbox and transmission bolts using a socket head with an extension
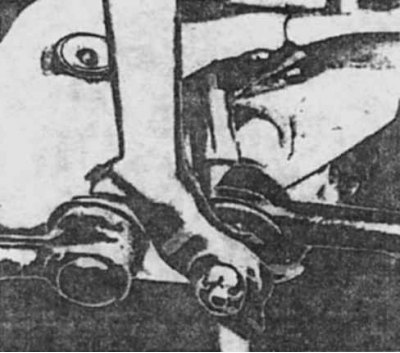
Removing the engine mount through bolts
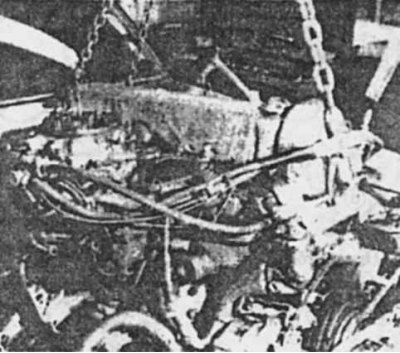
Removing the engine
1. Secure the hood in a vertical position or remove it completely.
2. Disconnect the negative terminal from the battery.
3. Drain the coolant.
4. Remove the radiator and cooling fan.
5. Remove the air conditioning compressor mount, move it to the side and secure it.
6. Disconnect the hoses from the power steering pump and close the channels with plugs.
7. Remove the air cleaner and disconnect the carburetor throttle control rods and, where necessary, the injection system components.
8. Mark and record (write down) the installation locations of all electrical connectors removed from the engine.
9. Disconnect the heater hoses, remaining coolant hoses and all vacuum hoses.
10. Disconnect the fuel hoses and the oil delivery line.
11. Apply the parking brake, raise the front of the vehicle and place it on stands.
12. On models equipped with an automatic transmission (AT), drain the fluid (oil) and disconnect the oil dipstick tube from the intake manifold. Disconnect the pipes from the oil cooler and remove their fastening elements on the power unit. Unscrew the bolts of the front transmission cover and fastening of the drive disk to the torque converter. Install two bolts on the top of the cover.
13. Disconnect the ground wire and unscrew the nuts from the shock absorbers on the front crossmember.
14. Remove the exhaust system.
15. Remove the starter.
16. Place a support under the gearbox. Remove the rear crossmember mounting bolts from the underbody and lower the unit slightly. Remove all transmission-to-engine mounting bolts using socket wrenches with extensions from the rear to gain access to the upper bolts. With all bolts removed, install the rear crossmember on the underbody.
17. Using an Allen key, loosen the lower mounting bolts. If the bolts are sticking, remove the engine mount from the body along with the shield.
18. Slightly raise the front of the engine with chains from a hoist attached to the engine mounts.
19. Remove the engine from the supports and move it forward (the front of the engine is raised) before disconnecting the primary (drive) shaft of the gearbox (or from a torque converter). On models with automatic transmission, pay attention to the connection of the oil pump to the torque converter.
20. Remove the engine from the engine compartment, being careful not to touch the surrounding elements. Secure the gearbox to the body.