
Removing
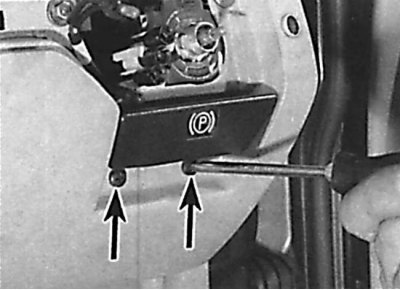
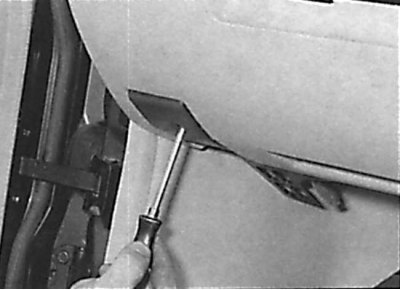
The location of the screws securing the parking brake release handle
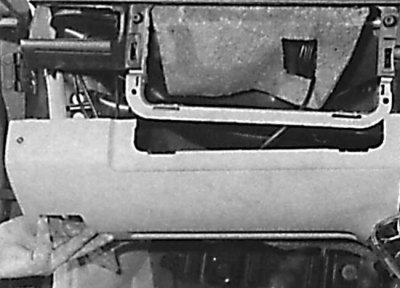
Disconnecting the cable from the parking brake release lever
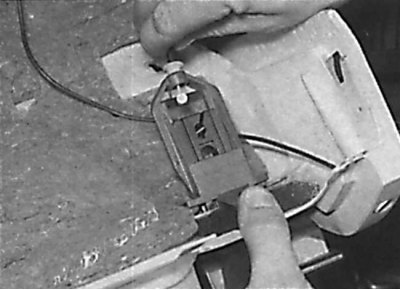
After removing the lower part of the instrument panel, disconnect the cable from the parking brake release lever
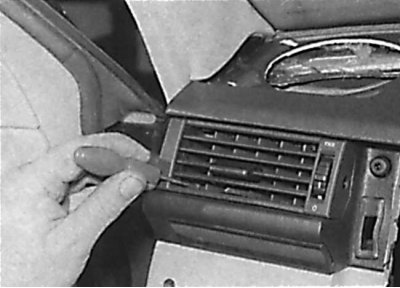
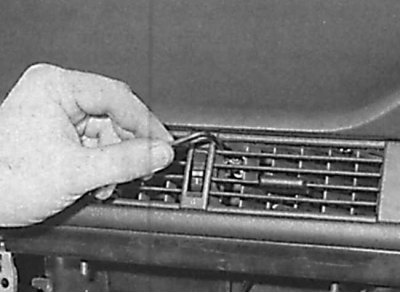
Using a screwdriver to release the latch securing the ventilation nozzles
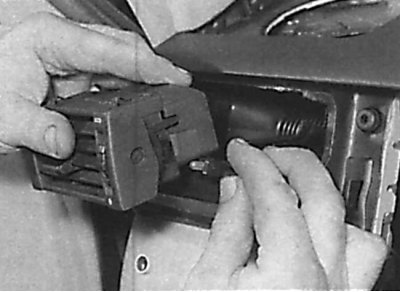
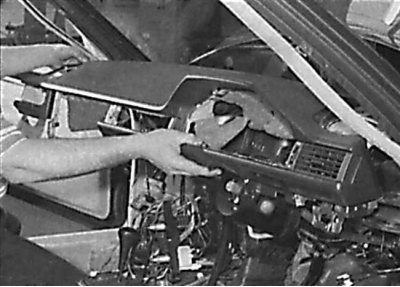
Removing the ventilation nozzle from the instrument panel
Unscrewing the parking brake lever from the lower trim of the instrument panel on vehicles with steering on the right side
Removing the lower trim of the instrument panel on cars with steering on the right side
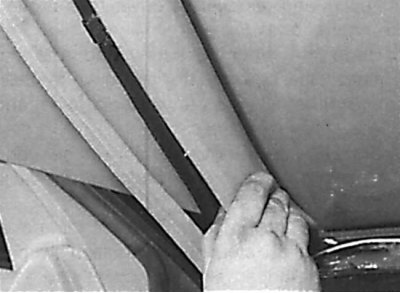
Removing the door seal from the A-pillar
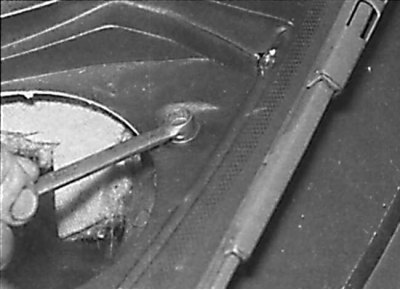
Unscrewing the screw securing the flap rod
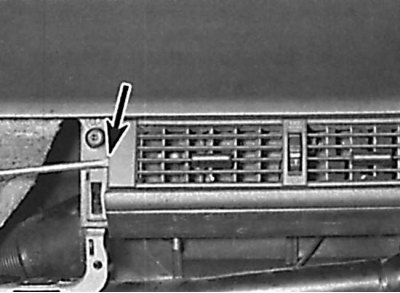
Location of the screw for fixing the center jet unit
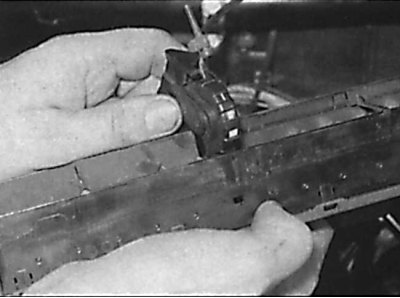
Removing the control handle from the rear of the center nozzle unit
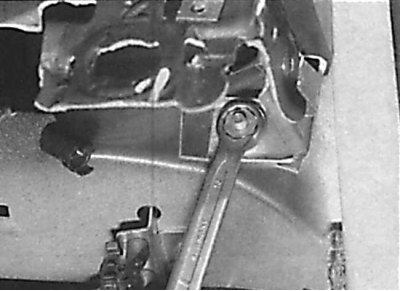
Unscrewing the nut securing the instrument panel on the driver's side
Unscrewing the instrument panel mounting bolt located in the speaker hole
Removing the dashboard from the car
1. Remove the ground wire from the battery.
2. Remove the steering wheel.
3. Remove the left and right loudspeakers from the instrument panel.
4. Remove the headlight corrector.
5. Remove the clips and remove the cover around the pedals.
6. Unscrew the screw, remove the hood opening lever and disconnect the cable from it. Remove the screws securing the parking brake release handle to the instrument panel (see fig. The location of the screws securing the parking brake release handle).
7. Using a screwdriver blade and being careful, remove the ignition lock trim.
8. Unscrew the upper mounting screws and remove the lower trim of the instrument panel from the driver's side. Separate the cable from the back of the parking brake lever and remove the trim panel with the lever (see fig. Disconnecting the cable from the parking brake release lever). Turn the light switch and remove it from the instrument panel.
9. Remove the glove box and glove box cover or passenger airbag.
10. Using the blade of a thin screwdriver, release the clips and remove the left and right ventilation nozzles from the instrument panel (see fig. Using a screwdriver to release the retainer securing the ventilation nozzles, Removing the ventilation nozzle from the instrument panel).
11. Remove the upper and lower screws securing the driver's side instrument panel lower trim and remove it (see fig. Unscrewing the parking brake lever from the lower trim of the instrument panel on cars with steering on the right side, Removing the lower trim of the instrument panel on cars with steering on the right side).
12. Remove the door seal from the two A-pillars (see fig. Removing the door seal from the A-pillar).
13. Through the holes in the central nozzles, unscrew the screw securing the air damper rod that controls the supply of fresh air. Unscrew the screw, then release the mounting brackets and remove the center jet unit, while disconnecting the control handle from the back of the unit (see fig. Unscrewing the screw securing the flap link, Locating the screw securing the center jet unit, Detaching the control handle from the back of the center jet unit).
14. Pulling towards you, remove the knobs of the heater regulator and the heater fan. Unscrew the two large nuts securing the regulators, then unscrew the two screws located at the bottom and remove the heater panel (see fig. Location of nuts and screws securing the heater panel).
15. Unscrew the four screws and remove the temperature control panel from the front of the center console and disconnect the electrical connector from the panel (see fig. Removing the temperature control panel from the center console).
16. Disconnect the ring switches located at the top of the switch panel. Carefully release the mounting brackets located on both sides of the switch panel and pull the switches out of the center console to access the center console mounting nuts. Unscrew the two nuts securing the center console to the instrument panel (see fig. Arrangement of nuts of fastening of the central console to the panel of devices).
17. Unscrew the nut securing the instrument panel on the driver's side and unscrew the two bolts located in the holes for the speakers. Being careful, move the instrument panel away from the bulkhead of the engine compartment, while freeing the windshield nozzles from the top of the heater and remove the instrument panel from the vehicle (see fig. Unscrewing the nut securing the instrument panel on the driver's side, Unscrewing the bolt securing the instrument panel located in the speaker hole, Removing the instrument panel from the vehicle).
Installation
1. Installation is made in sequence, return to removal. Check that the windshield nozzles are correctly aligned with the heater housing. Finally, connect the battery and check that all electrical components and switches work properly.