
Removing
1. Disconnect the negative cable from the battery.
2. Remove the steering wheel, instrument panel, combination switch, side moldings, speaker covers on both sides, glove box cover, instrument panel lower cover, shift lever cover, side and center air vents.
3. Remove deflector (1), unscrew the bolt (2) and remove the clamp (3).
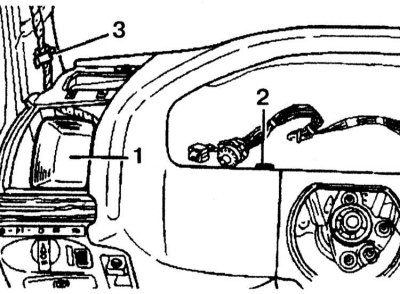
4. Disconnect the headlight dimmer rotary headlight switch wiring connectors and the headlight switch backlight bulb.
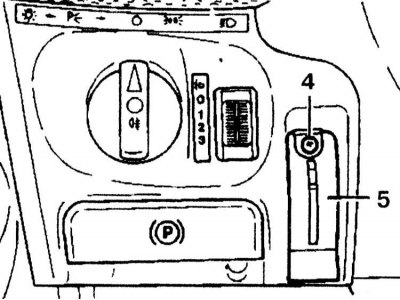
5. Remove the steering wheel adjuster drive. To do this, press the button, unscrew the bolt (4), remove the cover (5) up.
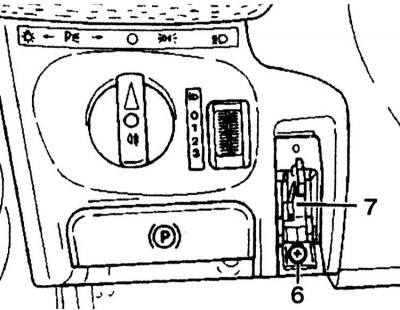
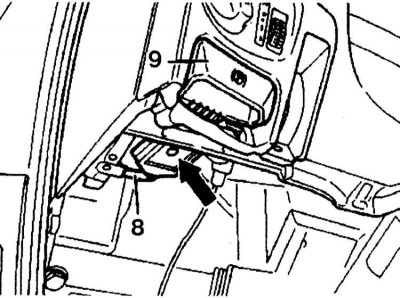
6. Remove the bolt (6) and remove the case (7). Do not unhook the control cable.
7. Remove cable (8) release the parking brake and remove the handle (9).
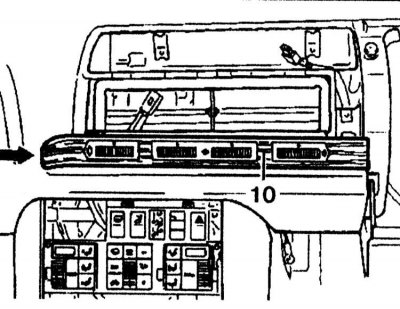
8. Unhook the cover on the wood panel.
9. Turn away fixing bolts.

10. Remove the wood panel (10).
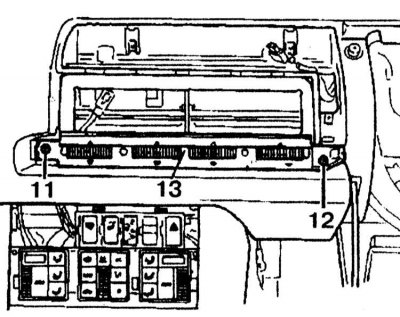
11. Turn away bolts (11) And (12), remove the control panel (13) and disconnect the wiring connectors and control cables from the heater.
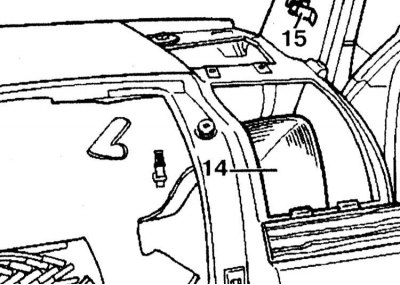
12. Remove the side deflector (14) and clamp (15).
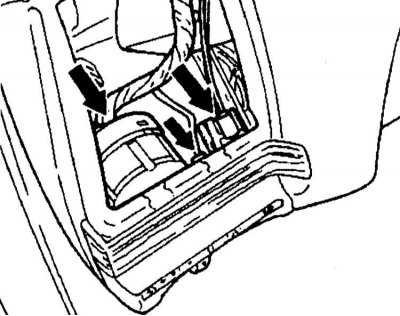
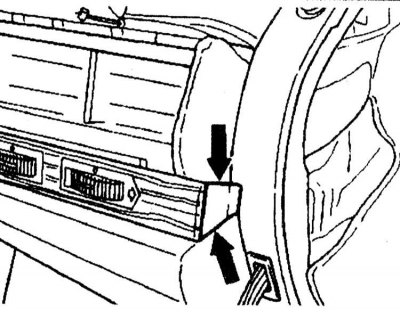
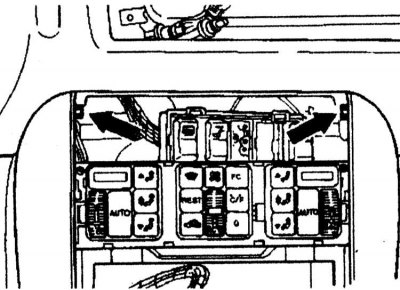
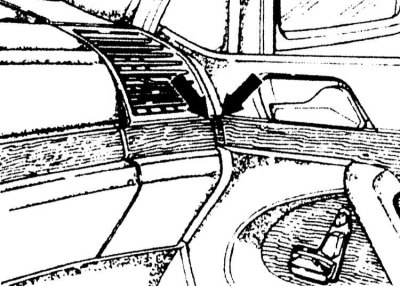
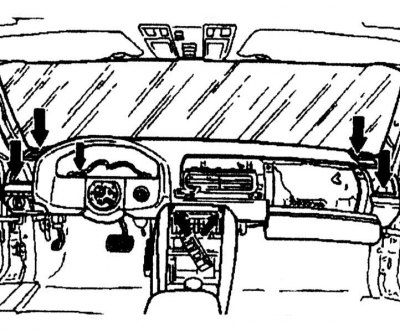
13. Turn away bolts (arrows) (8 mm) at the top of the console.
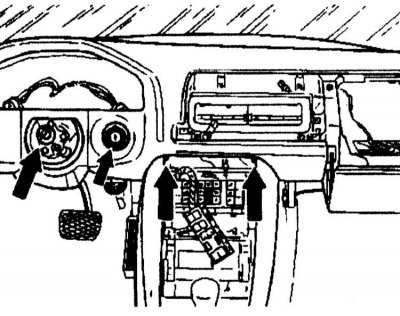
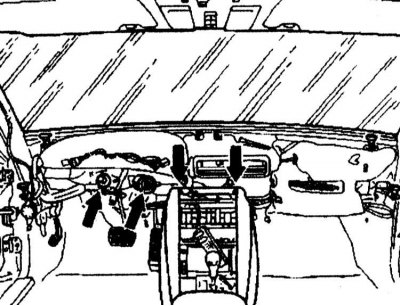
14. Turn away bolts (arrows) instrument panel mounting (10 mm).

15. Raise the instrument panel above the center console (arrows), then pull back the passenger side panel and remove it from the steering column and ignition switch.
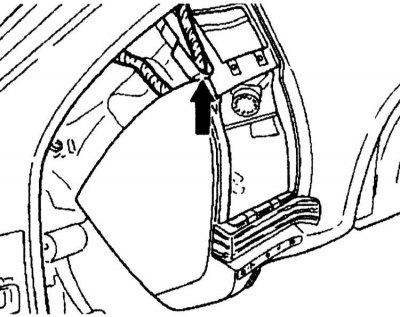
16. Disconnect the electrical wiring from the instrument panel on the driver's side (arrow).
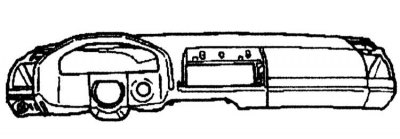
17. The instrument panel in the removed form is shown in the illustration.
Installation
1. Adjust the anchor points so that the top of each panel aligns with the wood panel on the doors.
2. First install the instrument panel on the front wall on the driver's side (put it on the steering column), ignition switch, overhead air vents and mounting flanges on the center console.
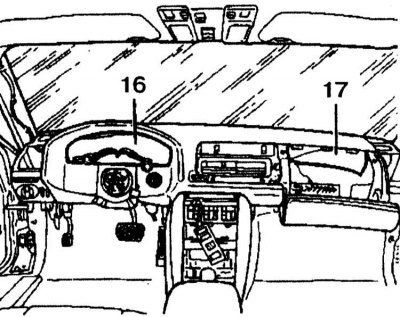
3. Install insulation pads (16) And (17), electrical wiring and control cables.
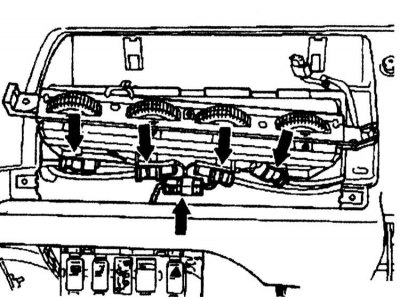
4. Install seven bolts (arrows) and tighten them.
5. Connect the wiring connectors for the rotary headlight switch, headlight dimmer, and headlight switch backlight bulb. 6. Install deflectors on both sides. Establish a clip on a forward wall of a body.
7. Install controls and connect heater control cables and wiring connectors.
8. Install the decorative wood panel.
9. Further installation is carried out in the reverse order of removal.