
Removing
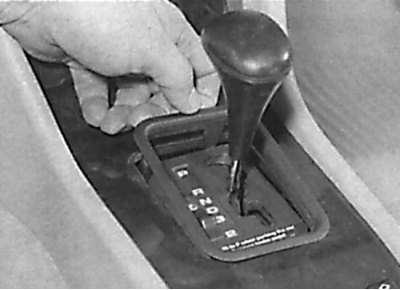
Removal of a decorative frame of the lever of a choice of transfers on models with an automatic transmission
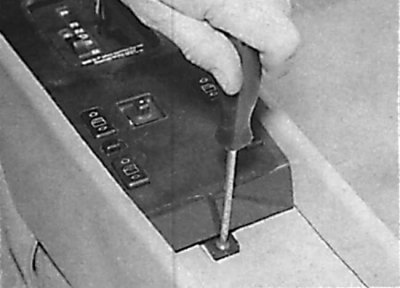
Unscrewing the screw securing the rear of the decorative cover to the center console
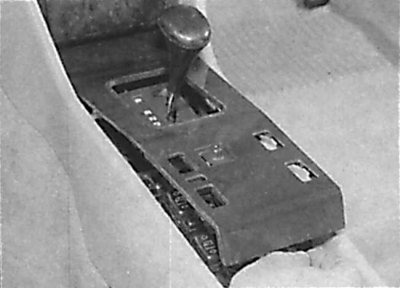
Removing the decorative cover from the center console
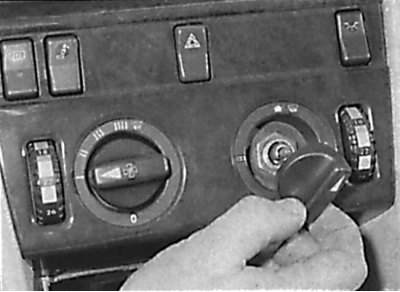
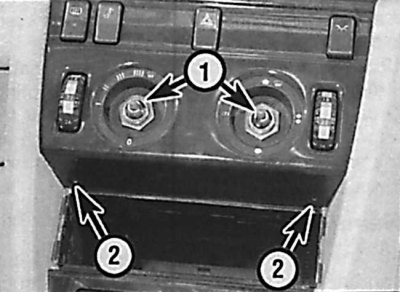
Removing the heater control knobs
Nut location (1) and screws (2) heater panel mounting
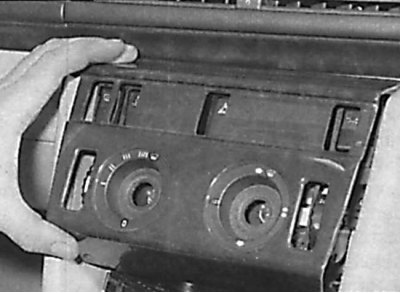
Removing the heater panel
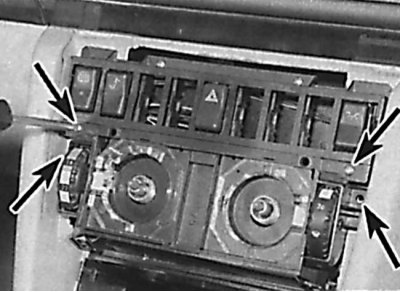
Location of temperature controller mounting screws
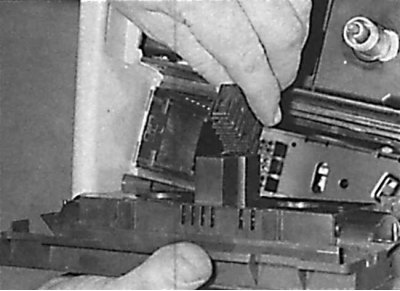
Removing the temperature control panel from the center console
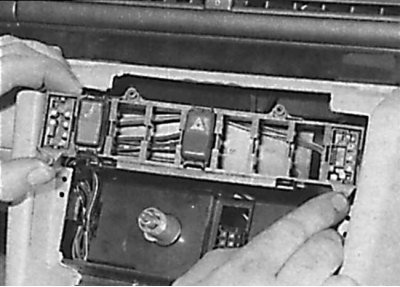
Removing the switch box from the center console
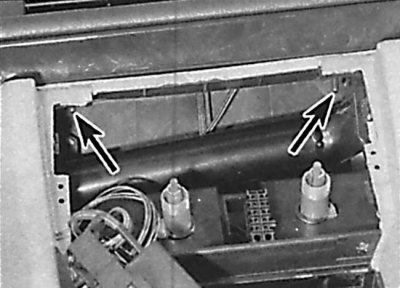
Arrangement of nuts of fastening of the central console to the panel of devices
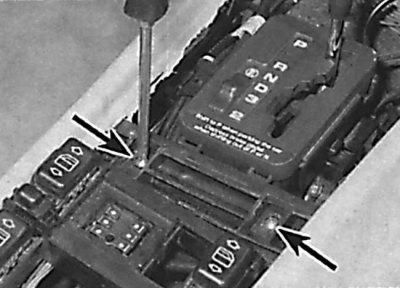
Location of screws securing the front of the center console
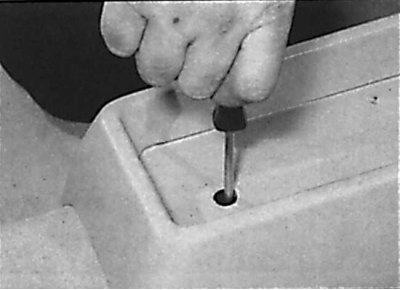
Unscrewing the screw securing the rear of the center console
Removing the center console

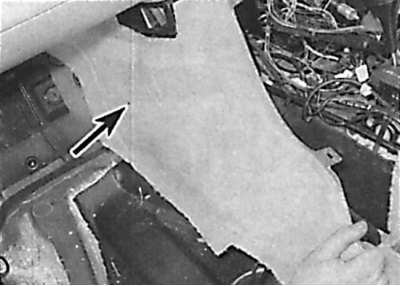
The location of the screw securing the side of the mat
1. Remove the ground wire from the battery.
2. Remove the trim and foam inserts from the rear of the center console.
3. Being careful, remove the decorative frame of the gear lever from the center console (see fig. Removal of a decorative frame of the lever of a choice of transfers on models with an automatic transmission).
4. Unscrew the screw securing the back of the decorative cover to the center console and remove the cover from the vehicle (see fig. Unscrewing the screw securing the rear part of the decorative cover to the center console, Removing the decorative cover from the center console).
5. Pulling towards you, remove the knobs of the heater regulator and the heater fan. Unscrew the two large nuts securing the regulators, then unscrew the two screws located at the bottom and remove the heater panel (see fig. Removing the heater control knobs, Location of nuts and screws securing the heater panel, Removing the heater panel).
6. Unscrew the four screws and remove the temperature control panel from the front of the center console and disconnect the electrical connector from the panel (see fig. The location of the temperature controller mounting screws, Removing the temperature control panel from the center console).
7. Disconnect the ring switches located at the top of the switch panel. Carefully release the mounting brackets located on both sides of the switch panel and pull the switches out of the center console to access the center console mounting nuts. Unscrew the two nuts securing the center console to the instrument panel (see fig. Removing the switch block from the center console, Location of nuts securing the center console to the instrument panel).
8. Remove the radio.
9. Release the mounting brackets and remove the switch panel from the rear of the center console.
10. Unscrew the screws securing the center console to the floor of the car (see fig. The location of the screws securing the front of the center console, Unscrewing the screw securing the rear of the center console).
11. Lift the center console, remove it from the shift lever and remove it from the vehicle (see fig. Removing the center console).
12. If necessary, after removing the center console, unscrew the screws and release the clips, and then remove the side parts of the rug (see fig. The location of the screw securing the side of the mat).
Installation
1. Installation is made in sequence, return to removal. Finally, check the operation of all switches.