



Interior finishing elements
1. Interior finishing elements are attached with screws or various types of staples.
2. Before removing an interior trim piece, check that it is not being held in place by another piece of trim placed on top of it.
3. First, unscrew the visible screws holding the interior trim element. If the interior trim element does not come off after this, it is held in place by hidden brackets or clips. The brackets or clips are usually located around the perimeter of the trim element and must be removed using a wide, flat-bladed screwdriver.
4. To install, align the retainer with the hole and, pressing on the interior trim panel, firmly fix it in the hole.
Glove box
Removal the glove compartment lock latch
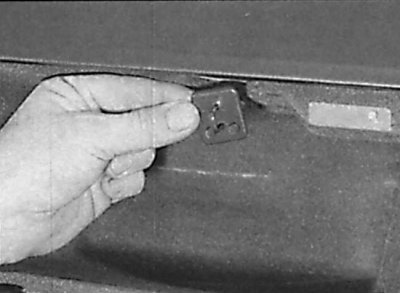
Removal the glove compartment light
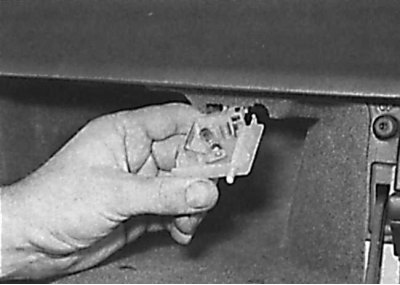
Location of screws securing the glove box to the instrument panel
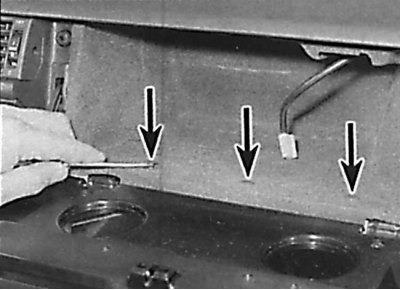
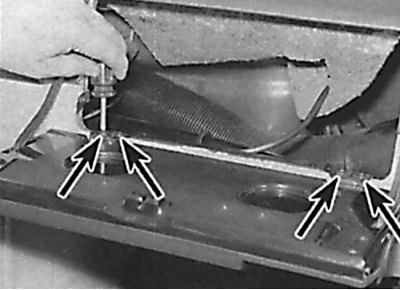
Location of glove box lid hinge mounting screws
1. Open the glove box, unscrew the screws and remove the glove box lock latch (see Fig. Removing the glove compartment lock latch).
2. Using a screwdriver as a lever, remove the glove box light and disconnect the electrical connector from it (see Fig. Removing the glove compartment light).
3. Unscrew the screws securing the glove box and remove it from the instrument panel (see Fig. Location of screws securing the glove box to the instrument panel).
4. If necessary, unscrew the screws securing the glove compartment lid hinges and remove the lid. At the same time, disconnect the shock absorber rod from the lid (see Fig. Location of glove compartment lid hinge mounting screws).
(Full article available on the resource: MercedesMAN)
5. Installation is carried out in the reverse order of removal.
Carpeting
1. The car floor carpet is secured with screws around the perimeter and in several places in the center.
2. Removing the carpet is not difficult, but it requires removing many components from the car's interior, such as seats, seat belts, center console, etc.