
Removing
1. Remove glow plugs and injectors.
2. Using wrench 3, unscrew threaded ring 1 (see fig.4.20).

Pic. 4.20. Prechamber:
1. Threaded ring,
2. Anterior chamber,
3. Key,
4. Puller.
3. Screw the puller into prechamber 2 and remove it.
4. Wipe and check the antechamber opening. If the prechamber is damaged or leaking, it must be replaced. Prechamber rod 1 must not be burnt or rusty (see fig.4.21). The diameter of the lower part 2 of the prechamber should be 15 mm. Prechamber identification number: 601/36.
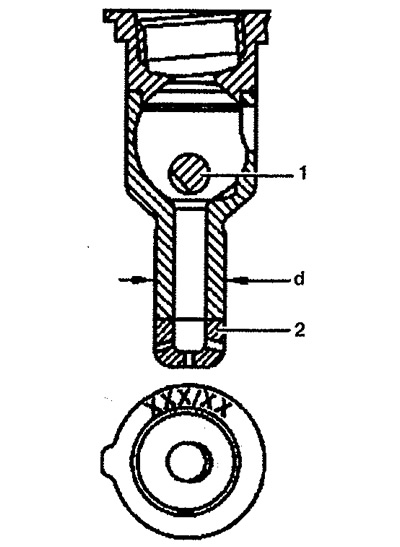
Pic. 4.21. Checking the opening of the antechamber:
1. Rod,
2. The lower part of the prechamber,
d. Outer diameter of the lower part of the prechamber,
X. Prechamber identification number.
The protrusion of the lower part of the ancestor-measure should be within 7.6 -8.1 mm (see fig.4.22).
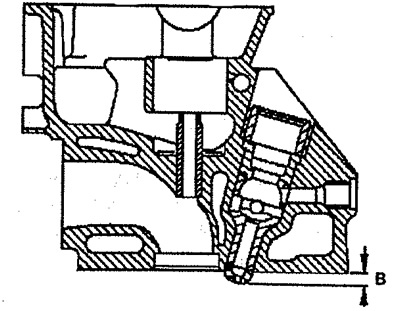
Pic. 4.22. Checking the protrusion of the prechamber:
B. Protrusion of the prechamber.
Installation
5. Installation is made in an order, the return to removal.