
Removing
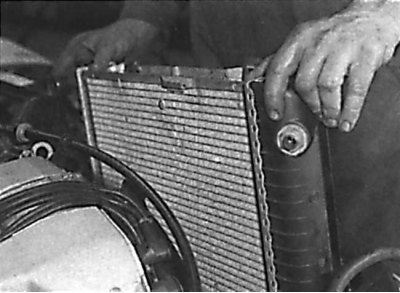
Unscrewing the screw securing the plastic radiator casing
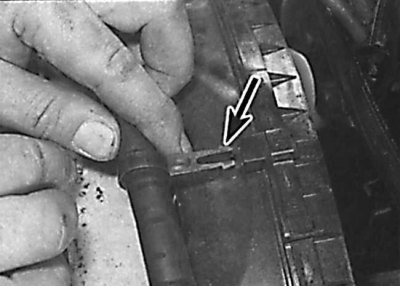
Removing the mounting clip securing the plastic radiator shroud
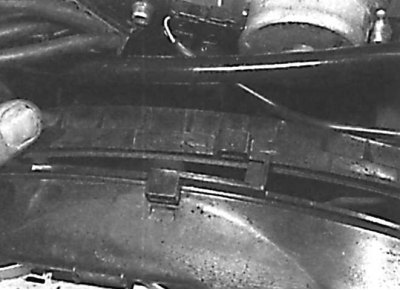
Placement of fastening elements of the plastic radiator casing
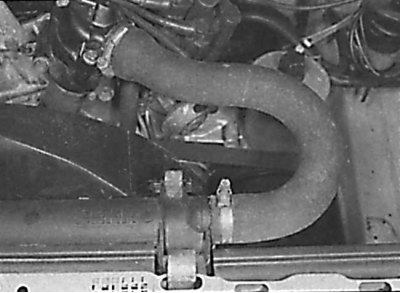
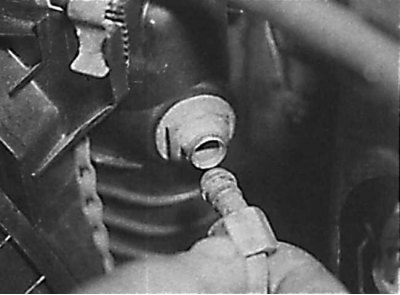
Removing the hose from the upper radiator hose on a 6-cylinder gasoline engine

Removing the hose from the lower radiator hose on a 6-cylinder gasoline engine
Removing the hose from the upper radiator hose on a 4-cylinder gasoline engine
Removing the overflow hose from the top of the radiator
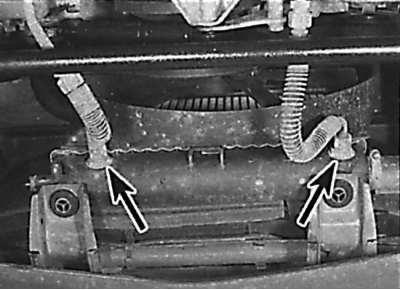
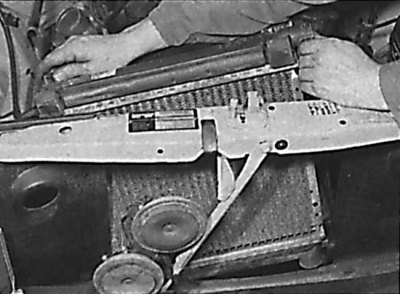
Removing clips securing the top of the radiator fan shroud
Removing the radiator fan shroud and placing it over the fan impeller
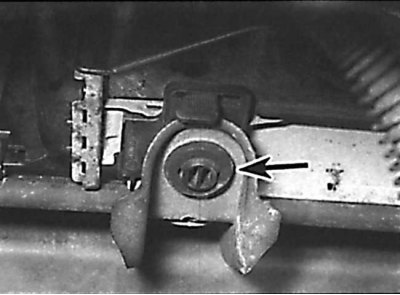
Removing the guide cover retainer
Removing the guide cover
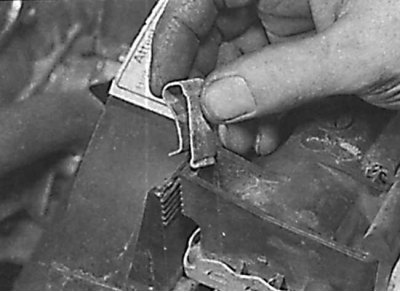
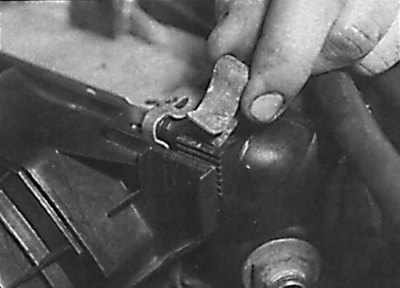
Removing the guide cover clip
Removing the guide casing from the engine compartment
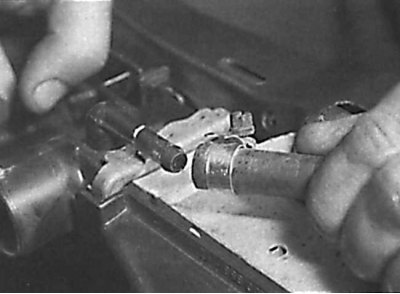
Disconnecting the hose from the transmission fluid heat exchanger on models with a 6-cylinder gasoline engine
Connection points for coolant supply hoses to the heat exchanger on models with 4-cylinder gasoline engines
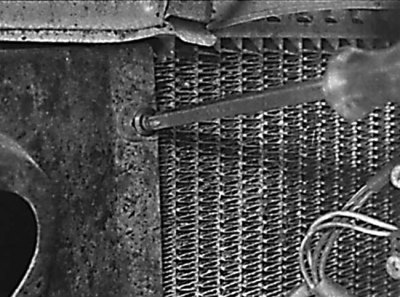
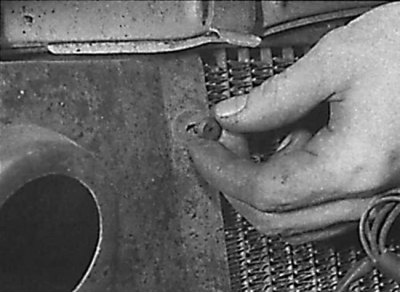
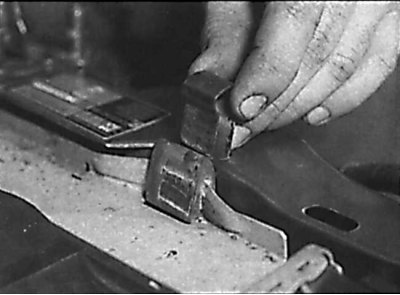
Removing the metal radiator clip
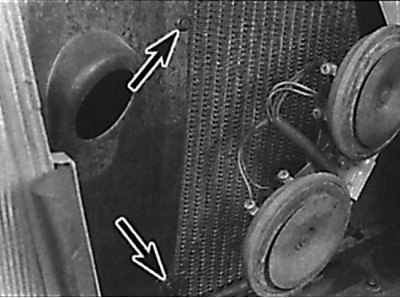
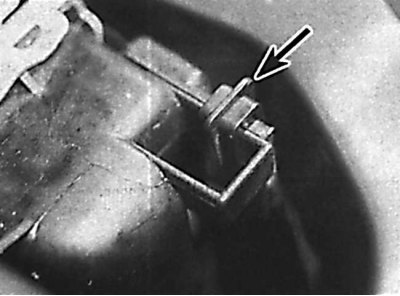
The location of the plastic clip mounting the radiator
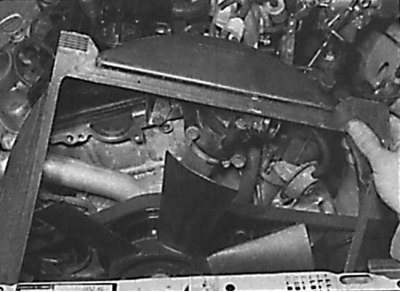
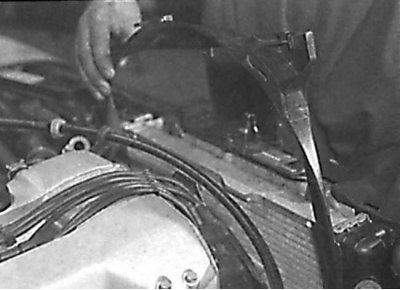
Removing the radiator from the engine compartment on models with 6-cylinder gasoline engines
Removing the radiator on models with 4-cylinder petrol engines
1. Remove the ground wire from the battery and drain the coolant from the cooling system.
2. Unscrew the screws, remove the mounting clips and remove the plastic shrouds from both sides of the heatsink (see fig. Unscrewing the plastic radiator shroud fixing screw, Removing the plastic radiator shroud mounting clip, Placing the plastic radiator shroud fasteners).
3. On models with petrol engines, unscrew the screws and remove the air intake pipe system from the front cross member.
4. Loosen the clamps and remove the upper and lower hose from the radiator pipes. If present, remove the overflow hose from the top of the radiator (see fig. Removing the hose from the upper radiator hose on a 6-cylinder gasoline engine, Removing the hose from the lower radiator hose on a 6-cylinder gasoline engine, Removing the hose from the upper radiator hose on a 4-cylinder gasoline engine, Removing the overflow hose from the top of the radiator).
5. Remove the clips securing the top of the radiator fan shroud to the radiator. Lift the shroud and place it over the radiator fan impeller. Remove the retainer, disconnect the guide casing, move it to the left and remove it from the engine compartment (see fig. Removing the clips securing the upper part of the radiator fan shroud, Removing the radiator fan shroud and placing it above the fan impeller, Removing the guide shroud retainer, Disconnecting the guide shroud, Removing the guide shroud clip, Removing the guide shroud from the engine compartment).
6. On automatic transmission models, pinch the hoses going to the transmission fluid heat exchanger, then disconnect the connections and remove the hoses from the heat exchanger (see fig. Disconnecting the hose from the transmission fluid heat exchanger on models with 6-cylinder gasoline engines, Connection points for coolant hoses to the heat exchanger on models with 4-cylinder gasoline engines). Close the open ends of the tubes with stoppers.
7. Remove the metal or plastic clips holding the radiator to the body. Remove the heatsink by lifting it up from the rubber pads at the bottom (see fig. Removing the metal radiator clamp, Locating the plastic radiator clamp, Removing the radiator from the engine compartment on models with 6-cylinder gasoline engines, Removing the radiator on models with 4-cylinder gasoline engines). Remove the radiator fan shroud from the fan impeller.
Examination
1. If the radiator was removed due to a decrease in throughput, flush it with a jet of water in two directions.
2. Blow out the radiator with compressed air.
3. If the radiator is leaking, do not attempt to weld or solder the leak, as the plastic parts of the radiator will be damaged.
4. Minor radiator leaks can be repaired with radiator sealant.
5. Check the condition of the lower rubber radiator mounts and replace if necessary.
Installation
The lower radiator mounts must fit into the rubber o-rings.
1. Installation is carried out in the reverse order of removal, taking into account the following points:
- check that the lower tabs on the radiator are seated in the rubber mounts;
- check that all hoses are properly connected and securely fastened with clamps;
- Finally, add coolant to the cooling system.