
Removing
1. Contact Chapter 1 and drain the coolant.
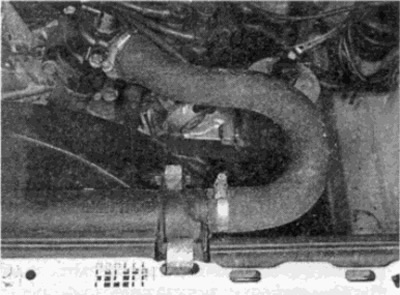
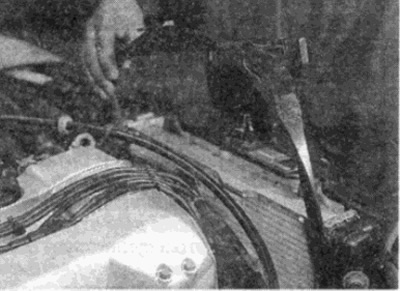
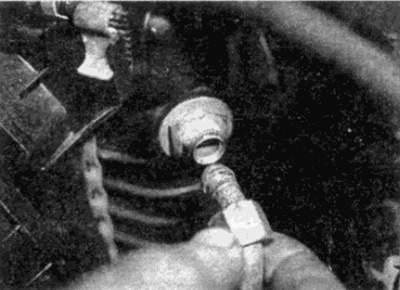
2. Loosen the clamps and disconnect the upper, lower and, where required, the overflow hose from the radiator (see fig. 3.3, a-d).
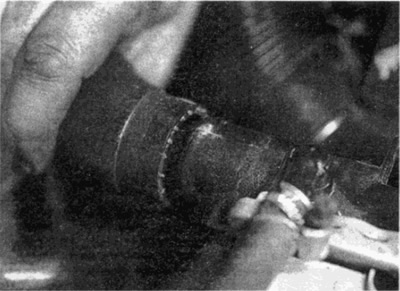
Pic. 3.2. A. Loosen and disconnect the top hose...
Pic. 3.2b....and the lower hoses from the radiator olives (6-cylinder petrol engine shown)
Pic. 3.2, c. Upper Radiator Hose (4 cylinder petrol engine shown)
Pic. 3.2, d. Where provided, also disconnect the overflow hose from the top of the radiator
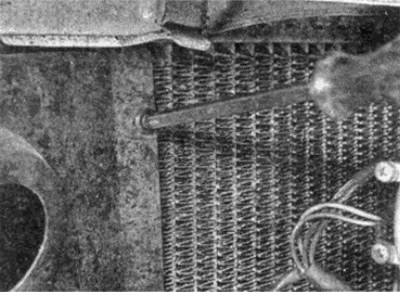
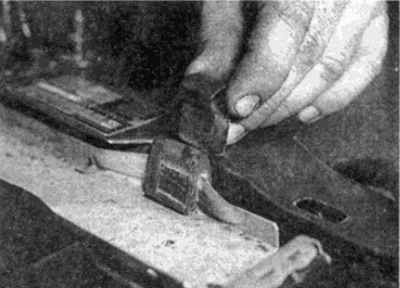
3. Gently release the spring clips holding the top of the fan shroud to the heatsink. Separate the shroud from the heatsink and place it on top of the fan blades (see fig. 3.3, a-e).
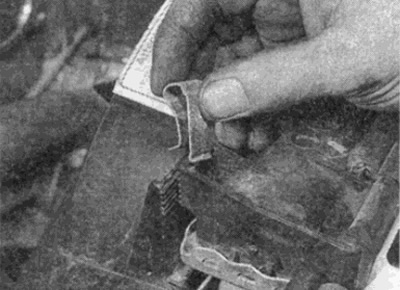
Pic. 3.3, a. Squeeze the latches on the fan shroud...
Pic. 3.3b....then separate the shroud from the heatsink and place it on top of the fan blades

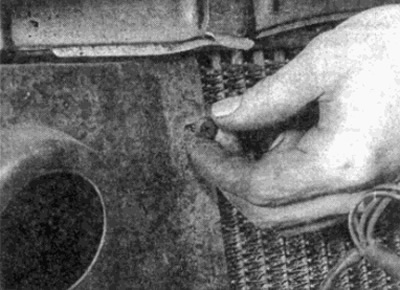
Pic. 3.3, c. On models with a split radiator shroud, remove the retaining pin (shown by arrow)
Pic. 3.3, d....then separate the shroud ring by turning it to the left and placing it on top of the fan blades
Pic. 3.3, e. Remove the spring clips...
Pic. 3.3, f.... then release the fan shroud from the radiator and remove it from the engine compartment
4. On vehicles without air conditioning, unscrew the plastic expander screws holding the side panels to the radiator and remove the expander housing (see fig. 3.4, a-c).
Pic. 3.4, c. Loosen the screws...
Pic. 3.4, b....and remove the expander housings...
Pic. 3.4, c....located above and below the side panels (shown 4 cylinder engine)
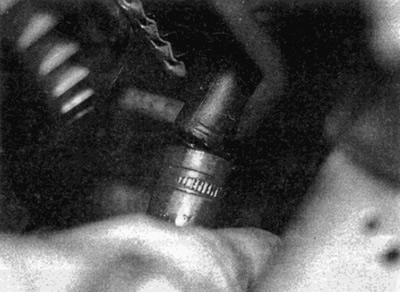
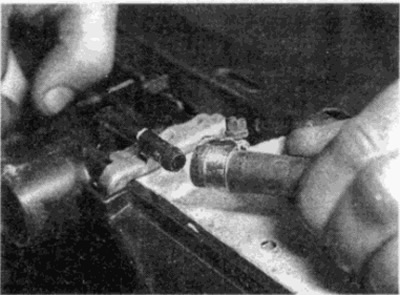
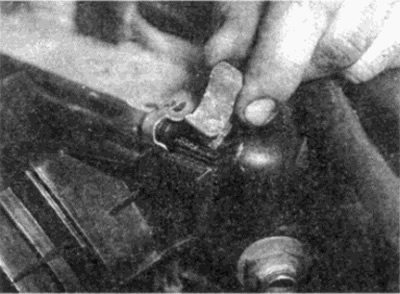
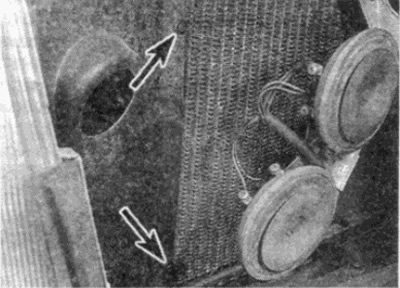
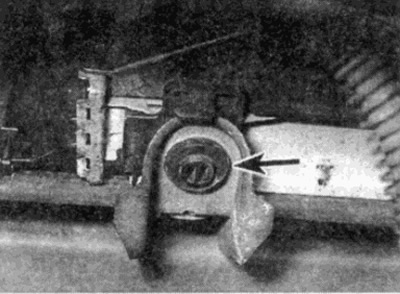
5. On automatic transmission models, clamp the transmission fluid heat exchanger hoses with secure tab clamps and unscrew the hose fittings from the lower or side radiator compartment, depending on the model (see fig. 3.5. a, b). Carefully remove and close the hoses.
Pic. 3.5, a. Disconnect the hoses from the automatic transmission fluid heat exchanger (6-cylinder petrol engine shown)

Pic. 3.5b. Union of the heat exchanger of a liquid of an automatic transmission (shown by arrows) (4-cylinder petrol engine shown)
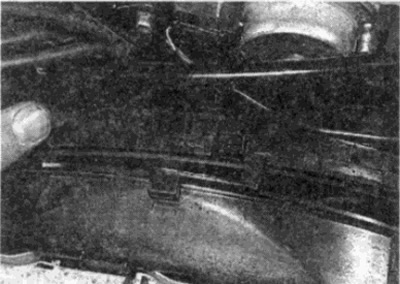
6. Carefully release the spring clips holding the top of the heatsink to the chassis panel (see fig. 3.6, a, b).
Pic. 3.6, a. Unfasten the metal...

Pic. 3.6b....and where provided, plastic spring clips (shown by arrows)
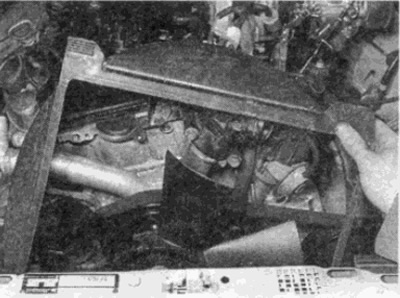
7. Lift the radiator up to separate the lower mounting tabs and remove it from the vehicle (see fig. 3.7, a, b).
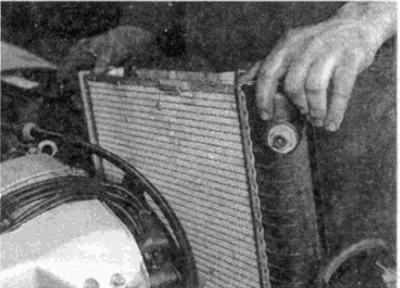
Pic. 3.7, a. Lift the radiator out of the engine compartment (air-conditioned 6-cylinder petrol engine shown)
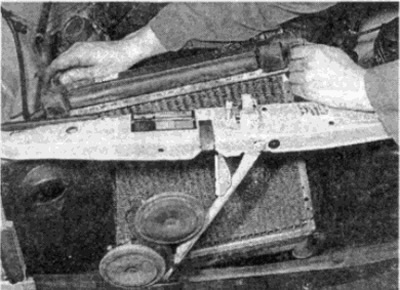
Pic. 3.7b. Removing the radiator (4-cylinder petrol engine without air conditioning)
Examination
8. Carefully inspect the radiator for leaks, core corrosion, or damage to the plastic side, top, or bottom cages. If the radiator requires repair, due to the design of the radiator, the repair must be carried out by a specialist. Sweep or blow stuck leaves or other debris from the radiator core. Check the condition of all hoses, support clamps and clamps. Replace if necessary.
Installation
9. Install the radiator in reverse order. however, check that the support legs fit correctly into the rubber bushings (see fig. 3.9). After installation, fill the cooling system. as described in Chapter 1. On models with automatic transmission, check the fluid level as described in Chapter 1.
Pic. 3.9. Make sure the lower radiator supports are aligned with the rubber grommets (shown by arrows)