



Contents: Removal ↡ Installation ↡
Removal
Attention! On models with petrol engines, a special tool must be used to attach the radiator fan pulley to the bracket. At home, the tool can be made from 4 mm steel wire. It is not recommended to use a homemade tool on models with diesel engines to avoid damaging the radiator fan pulley and related components.
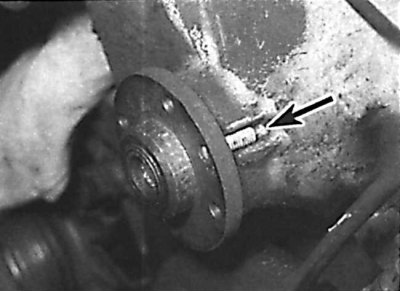
Using a special tool to prevent the radiator fan pulley from turning
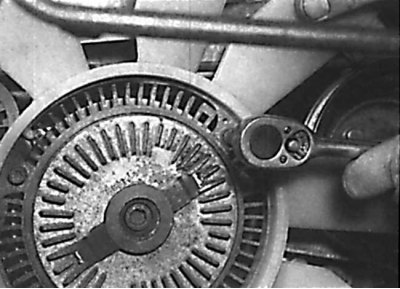
Unscrewing the radiator fan impeller mounting bolts
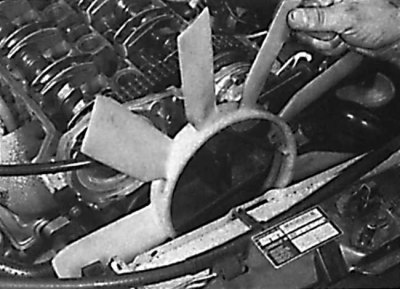
Removal the radiator fan impeller from the coupling
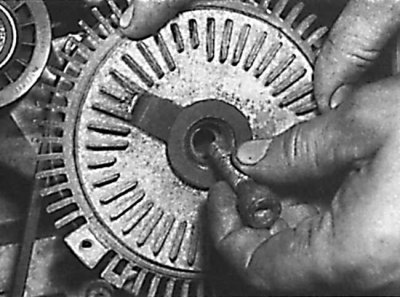
Unscrewing the central bolt securing the radiator fan clutch
Removal the radiator fan clutch
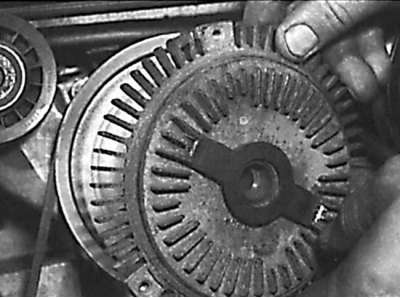
Removal the gasket from the radiator fan pulley
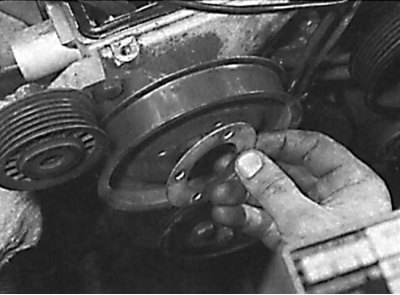
After unscrewing the mounting bolts, remove the gasket from the radiator fan pulley.
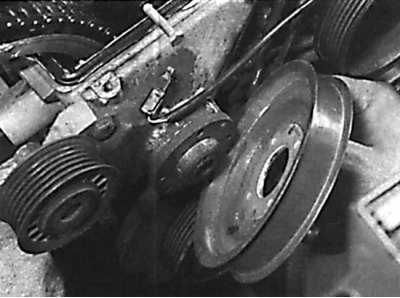
Removal the radiator fan pulley
1. Remove the battery ground cable and accessory drive belt.
2. Remove the screws and plastic covers located above and below the radiator. If present, remove the coolant hose from the mounting bracket on the upper cover.
3. On models with a one-piece radiator fan shroud, remove the metal spring clips and pull the shroud away from the radiator. Lift the shroud off the fan and position it between the motor and the fan wheel.
4. If equipped, remove the retainer, rotate the guide shroud to the left and remove it from the radiator fan shroud. Position the guide shroud between the engine and the radiator fan impeller.
5. Remove the metal brackets, detach the radiator fan shroud from the radiator and remove it from the engine compartment along with the guide shroud.
6. On petrol models, rotate the radiator fan pulley until the locking hole on the pulley aligns with the notch in the bracket. To prevent the pulley from turning, insert a special tool or a 4 mm steel rod through the hole in the pulley (see fig. Using a special tool to prevent the radiator fan pulley from turning).
7. On diesel models, to prevent the radiator fan pulley from turning, use only a special tool that grips the edge of the radiator fan pulley and the auxiliary belt.
8. Remove the screws and remove the radiator fan impeller from the coupling. On models with a one-piece fan shroud, remove the shroud from the engine compartment (see fig. Unscrewing the radiator fan impeller mounting bolts, Removing the radiator fan impeller from the coupling).
9. Remove the center bolt and the coupling from the radiator fan pulley. If necessary, remove the bolts and pull the pulley off the shaft (see fig. Unscrewing the central bolt securing the radiator fan clutch, Removing the radiator fan clutch, Removing the gasket from the radiator fan pulley, Removing the radiator fan pulley).
Installation
1. Installation is carried out in the reverse order of removal.