



Usually the starter has a long service life, so it is economically feasible to replace the faulty starter with a new one.
Disassembly
1. To disassemble the starter, unscrew the nut and remove the connecting wire of the traction relay.
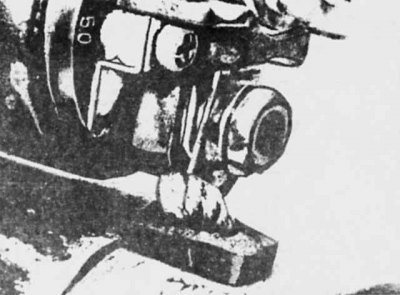
2. Loosen the bolts and remove the traction relay housing and spring from the end bracket.
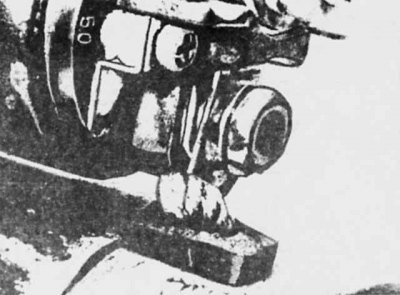
3. Disconnect the traction relay anchor from the drive lever.
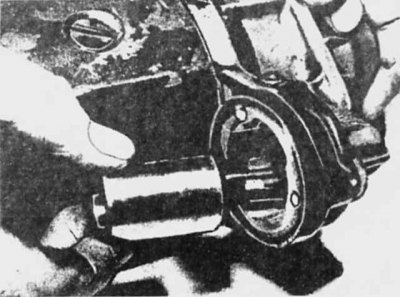
4. If necessary, remove the mounting bracket.
5. Loosen the screws and remove the end cap.
[Original can be found on the website MERCEDESMAN.ru]
6. Remove the retaining ring and thrust washer.
7. Loosen the through-bolts and remove the end cover.
8. Press the springs and remove the brushes.
9. Check the pinion gear for wear or damage to the teeth.
10. Insulating mica plates should be milled to a depth of 0.6-0.8 mm.
11. Put grease into the bushings and assemble the starter in the reverse order of disassembly. If new brushes are installed, check their free movement in the brush holders. When installing the brushes, hold the springs with a piece of wire.
12. After assembling the starter, apply voltage to the traction relay and check the gap between the end of the drive pinion and the stop on the drive housing. This gap should be between 1.0 and 4.0 mm.