
Pic. 75
Before replacing lamps, turn off the lights to avoid short circuits.
Handle lamps only with a clean, lint-free cloth. Hands must be dry and clean.
Use only 12V lamps of the same type and wattage.
Check your headlights regularly.
To replace the LEDs, contact one of the service stations «Mercedes Benz».
Replacing the front lamps
Turn off the lights. Open the hood.
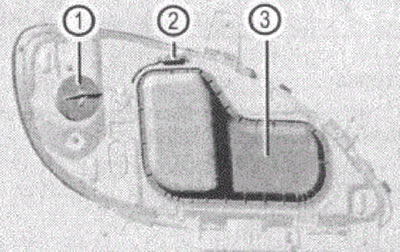
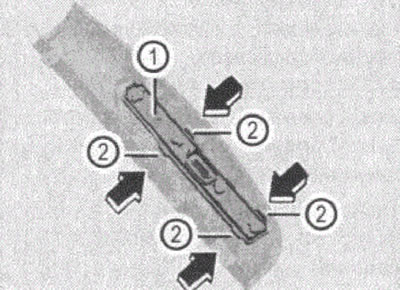
Pic. 76
1. Housing cover with snap lock
2. Stopper
3. Housing cover
Push stop 2 down. Case cover 3 is unlocked.
Pull back the housing cover. Open it up.
Remove the connector from the lamp holder. Unfasten the spring clip and remove the lamp.
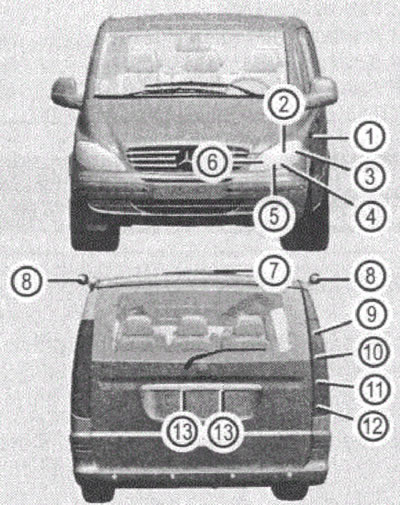
Front lamps
| Pos. | pampas | Type |
| 1 | Additional turn signal (in the mirror) | LEDs |
| 2 | dipped beam | H7 55 W |
| 3 | Turn indicator | R¥21 W |
| 4 | high beam | H7 55W |
| 5 | parking light | W5W |
| 6 | Anti-fog headlight | H7 55W |
Rear lamps
| Pos. | Lamp | Type |
| 7 | Third brake light | LEDs |
| 8 | Additional roof turn signal | P21W |
| 9 | Brake light, tail light | P21/5W |
| 10 | Turn indicator | PY21 W |
| 11 | reversing lamp | P21W |
| 12 | Rear fog lamp (on the driver's side) parking light | R 21 W |
| 13 | Room lamp | C5W |
Install the new bulb so that the protrusion on the bulb base aligns with the notch in the bulb holder socket.
Fasten the spring clip.
Install the plug in the lamp holder.
Install housing cover 3 from above into the holder. Press the housing cover until the stopper clicks into place. A distinctive click should be heard
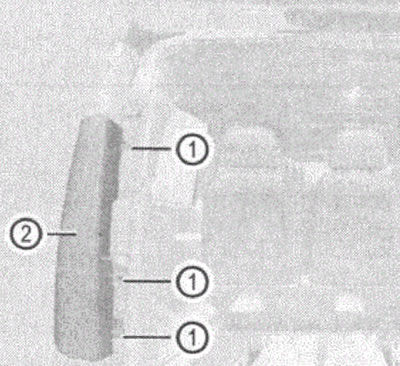
The location of the lamps inside the right headlight
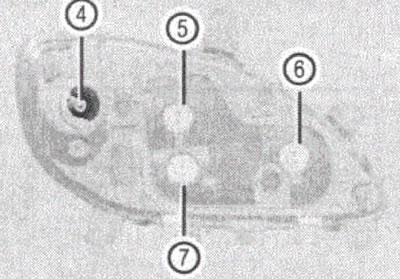
Pic. 77
4. Direction indicator
5. Dipped beam
6. Fog light
7. high beam
Turn indicator
Turn the housing cover with snap-lock 1 to the left. Extract it.
Pull the lamp back. Remove the lamp (with a turn to the left) from the holder.
Install the new bulb in the holder. Pull the lamp back and install it by turning to the right.
Install the lamp holder in the lantern.
Turn it to the right until it clicks into place.
Additional turn signal
The lamp is located on the sides of the car in front of the doors.
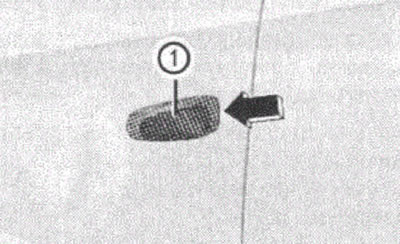
Pic. 78
1. Turn signal light
Slide the indicator light housing forward 1. Turn it outward.
Pull the lamp back. Remove the lamp (with a turn to the left).
Install the new bulb in the holder. Pull the lamp back and install it by turning to the right.
Establish a front part of the case of a lantern of the index of turn 1. Pull inward a back part of the lantern case before snapping into place.
Replacing the rear lamps
To avoid damage to the paintwork, the removal of the rear light unit must be carried out with extreme care and forethought.
Rear lights
To replace the bulbs, the rear light unit must be dismantled.
Pic. 79
1. Fixing screws
2. Rear light block
The screwdriver is located in the on-board tool kit in the right storage compartment in the luggage compartment.
- Turn off the lights.
- Open the lid or tailgate.
- Unscrew the three side fixing screws 1.
- Turn the rear light unit 2 outwards.
- Remove the rear light unit 2 from the mounting holes.
- Disconnect the electrical connector.
Removing the lamp holder
Pic. 80
1. Lamp holder
2. Clips
Press the tabs 2 in the direction of the arrow. Remove lamp holder 1.
Lamp arrangement
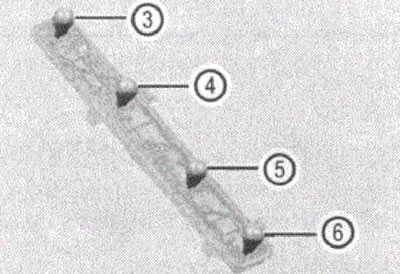
Pic. 81
3. Brake signal / position light
4. Direction indicator
5. Reverse
6. Fog light (only on the driver's side)
Lamp replacement
Click on the lamp and remove it (with a turn to the left).
Install a new lamp (with right turn) into the holder.
Mounting the rear light unit
Install the bulb holder into the rear light assembly until it clicks into place.
Install the connector in the lamp holder.
Install the rear light unit on the side into the mounting holes.
Rotate the rear light assembly inward.
Install the three side mounting screws 1.
License plate light
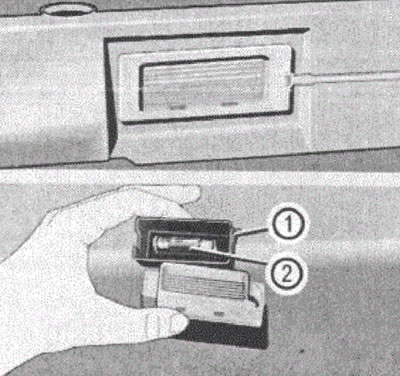
Pic. 82
1. Lantern cover
2. Bulb
Press the lantern against the force of the spring. Take it outside.
Remove the cover.
Remove the lamp from the holder.
Install a new lamp.
Put the cover on the lantern.
Install the lamp in place.
Press the lantern until it clicks into place.
Additional roof turn signal
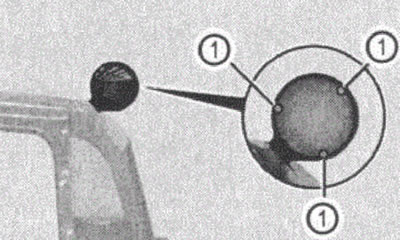
Pic. 83
1. Fixing screws
Turn off the lights.
Unscrew the three fixing screws 1.
Remove the turn signal glass.
Remove the lamp from the lamp holder.
Install a new lamp.
Install the turn signal glass and screw in the three side fixing screws 1.
All tools required for installation are included in the on-board tool kit in the right additional storage compartment in the luggage compartment.