



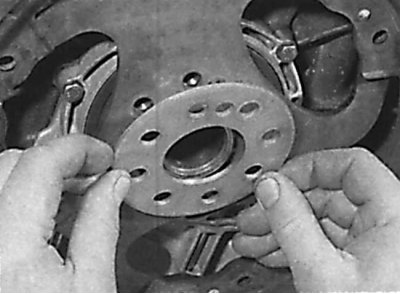
Removal the gasket from the drive plate
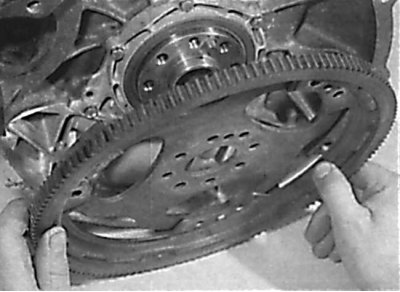
Removal the drive plate on automatic transmission models
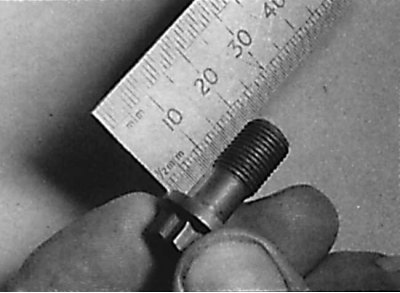
Measuring the length of the drive plate mounting bolt
O-ring for camshaft controlling exhaust valves on CIS fuel injection models
1. Remove the radiator fan impeller and hydraulic clutch.
2. Remove the plastic cover from the front cylinder head cover.
3. Disconnect the central high-tension wire from the distributor cap.
4. Unscrew the bolts, remove and move aside the distributor cap without disconnecting the remaining high-voltage wires from it.
5. Unscrew the screws and remove the distributor rotor.
6. Unscrew the central bolt and remove the distributor rotor drive from the end of the camshaft.
7. Remove the protective screen and gasket from the upper drive chain cover.
8. Using a screwdriver blade, remove the old sealing ring.
9. Alternatively, drill two small holes in the O-ring, located at diametrically opposite ends of the O-ring. Screw two self-tapping screws into the drilled holes in the O-ring and, using pliers, pull the O-ring out by the screw heads.
10. Clean the sealing ring seat.
11. To prevent damage to the working edges of the sealing ring during its installation, wrap the end of the camshaft with adhesive tape.
12. Using a tubular mandrel of the appropriate diameter, install a new O-ring.
13. Remove the adhesive tape from the end of the camshaft.
14. Further installation is carried out in the reverse order of removal.
15. Front crankshaft seal ring.
16. Remove the crankshaft pulley/vibration damper and hub.
17. Measure the installation depth of the sealing ring.
18. Using a screwdriver blade, remove the sealing ring.
19. Alternatively, drill two small holes in the sealing ring, located at diametrically opposite ends of the seal. Screw two self-tapping screws into the drilled holes in the sealing ring and, using pliers, pull the sealing ring out by the screw heads.
20. Clean the sealing ring seat.
21. To avoid damaging the working edges of the sealing ring when installing it, wrap the front end of the crankshaft with adhesive tape.
[Article was borrowed from the website www.mercedesman.ru]
22. Dip the new O-ring into clean engine oil and, using a tubular drift of the appropriate diameter, install the new O-ring into the seat to the previously measured depth.
23. Remove the adhesive tape from the end of the crankshaft.
24. Install the crankshaft pulley/vibration damper and hub.
Rear crankshaft seal ring
1. Remove the flywheel/drive plate.
2. Replace the rear crankshaft seal ring in the same manner as the front crankshaft seal ring. After removing the seal ring, check the crankshaft surface that contacts the seal ring, and if this crankshaft surface is worn, the crankshaft must be replaced.
3. Install the flywheel/drive plate.