



Crank mechanism parts
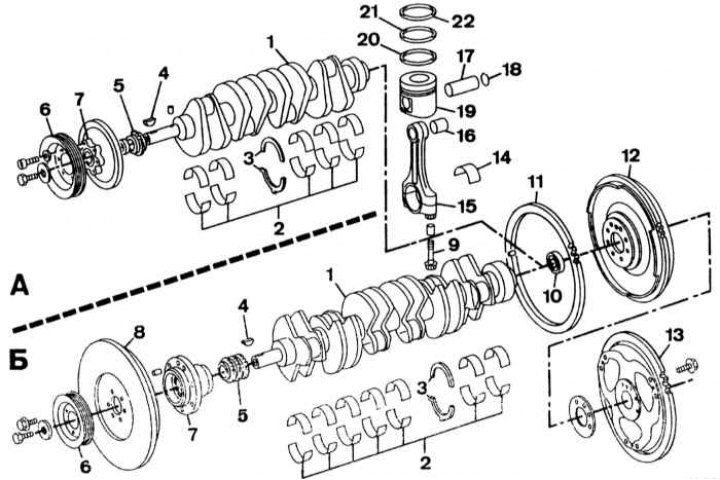
A - 4-cylinder engine; B - 6-cylinder engine; 1 - crankshaft; 2 - main bearing shells; 3 - thrust half rings for adjusting the axial stroke of the crankshaft; 4 - key; 5 - crankshaft sprocket; 6 - crankshaft pulley; 7 - pulley hub; 8 - flange; 9 - connecting rod cap mounting bolt; 10 - gearbox primary shaft centering bearing; 11 - flywheel crown; 12 - engine flywheel for cars with manual transmission; 13 - flywheel of the engine of cars with automatic transmission; 14 - lower connecting rod head insert; 15 - connecting rod; 16 - connecting rod upper head bushing; 17 - piston pin; 18 - retaining ring; 19 - piston; 20 - oil scraper ring; 21 - lower compression ring; 22 - upper compression ring
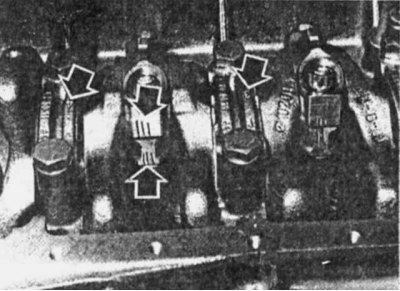
Marking of connecting rod caps and main bearings
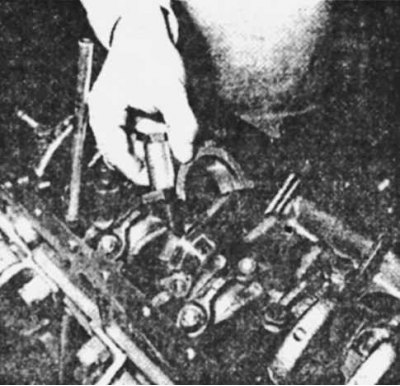
Installing the center main bearing cap with thrust half rings
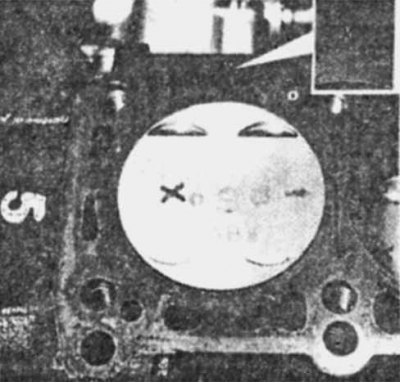
Installing pistons into cylinders. The arrow on the piston bottom should point towards the camshaft drive.
X — marking of cylinder and piston diameter classes
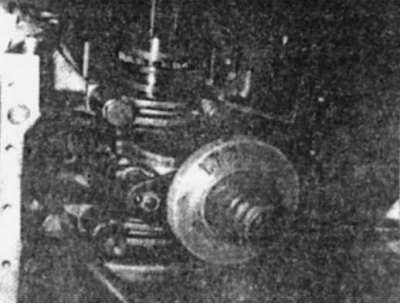
Tightening the connecting rod cap bolts with a tightening angle tester
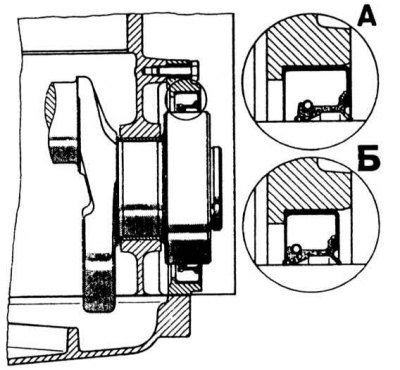
Installing the rear crankshaft oil seal
A - at the factory
B - during repairs
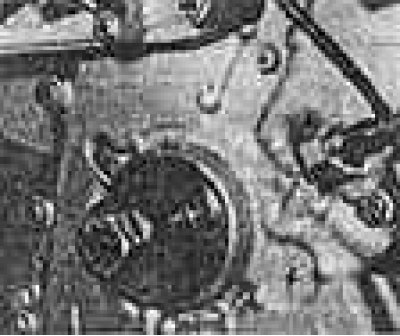 Installing a tool for pressing in the front crankshaft oil seal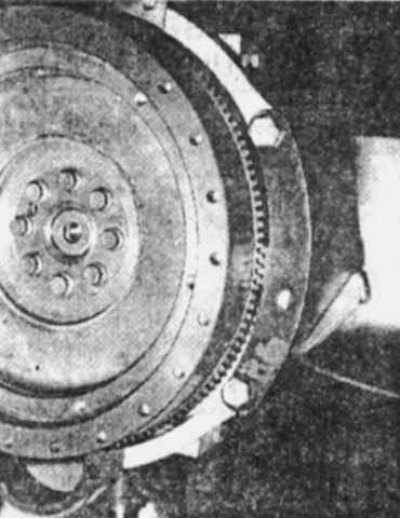
Installing the flywheel lock 102 589 01 40 00 on a removed engine
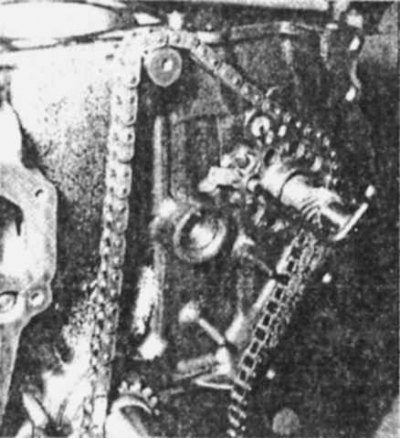
Removing the intermediate shaft stop of the M 102 engine
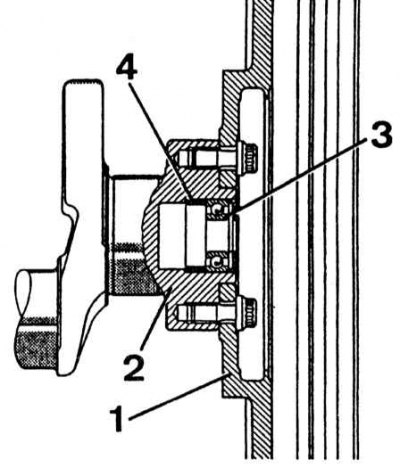
Installing the gearbox primary shaft bearing on the M 102 engine crankshaft
1 - flywheel; 2 - crankshaft; 3 - bearing; 4 - thrust spacer
1. Check the size and condition of the crankshaft.
2. Check the condition of the main bearing shells. If they are to be reused, mark them in accordance with the cylinder numbering.
3. Check the elongation and elongation rod diameter of the connecting rod cap bolts and replace them if necessary.
4. Check the mating of the caps with the connecting rods. Put the connecting rod cap on the bolt in a horizontal position until it stops against the connecting rod and make sure that the cap does not move. Otherwise, replace the connecting rod.
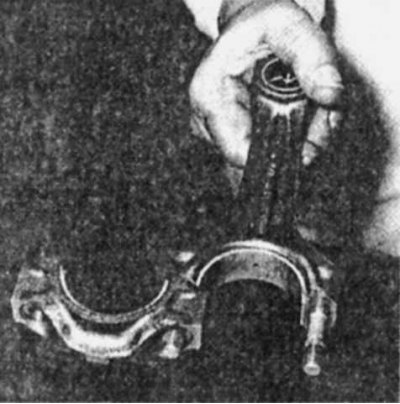
5. Check the piston outside diameter, condition of pistons and piston rings. Check the condition of the piston pin and the pin holes in the piston. On engines produced since 1984, check the clearance between the connecting rod and the piston.
6. Check the condition of the flywheel mounting bolts.
7. Lubricate the main bearing shells with engine oil and install them in the bearing caps. Place the crankshaft in the main bearings. Install the main bearing caps.
8. Tighten the main bearing cap bolts.
9. Check the axial free play of the crankshaft. If it is greater than the norm, replace the thrust half rings in the middle main bearing seats.
[Text republished from the website: MercedesMAN]
10. Assemble the pistons with the connecting rods, lubricate the working surfaces of the liners with engine oil and install them in the connecting rods and connecting rod caps. The mark on the connecting rod cap should be directed towards the intake manifold, and the arrow on the piston bottom should be directed towards the camshaft drive.
11. Position the piston ring locks at an angle of 120°. They should not be along the crankshaft axis and perpendicular to it. The Teflon guide bushing of the oil scraper ring spring should be on top of the ring lock.
12. Using a piston ring compressor, insert the pistons with connecting rods into the cylinders. Install the connecting rod caps and tighten their mounting bolts.
13. Check the piston protrusion at TDC above the plane of the cylinder block.
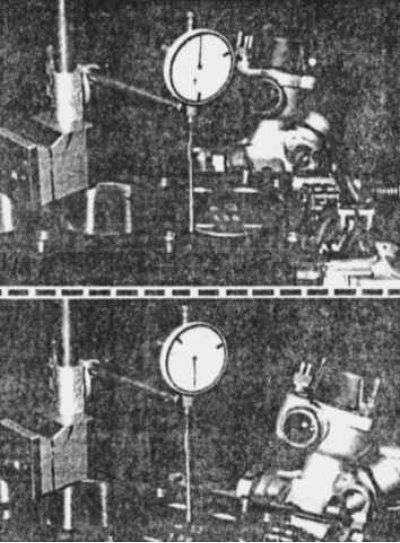
14. Install the rear oil seal retainer onto the crankshaft flange.
15. Place the oil seal on tool 102 589 00 43 00 and press it into the holder (the spare parts supplied include an oil seal with the edge shifted 3 mm towards the engine to prevent the working edge of the new oil seal from sliding along the sliding surface of the old oil seal.
16. Install the crankshaft gear, aligning its groove with the mounting belt.
17. Install the oil pump drive spacer.
18. Install the intermediate shaft with the thrust half ring.
19. Tighten the lock bolt.
20. Install the ignition distributor sensor.
21. Install the tensioner pusher shoe.
22. Install the camshaft drive chain.
23. Install the lower chain guide.
24. Install the front crankshaft oil seal retainer.
25. Install the camshaft drive cover with a new gasket (please note the different lengths of the bolts that secure it).
26. Tighten the bolts securing the oil receiver to the 2nd main bearing.
27. Using tool 102 589 000 14 00, press in the new front crankshaft oil seal.
28. Insert the key into the groove of the crankshaft.
29. Install the crankshaft pulley hub.
30. Install the engine crankcase.
31. Lock the flywheel of the locking device and tighten the pulley mounting bolt with three washers.
32. Install the pulley onto the hub.
33. Turn the crankshaft until the piston of the 1st cylinder reaches TDC.
34. Install the cylinder head.
35. Install the camshaft drive chain tensioner.
36. Install the oil filter, ignition distributor, generator, power steering pump, starter, intake and exhaust manifolds on the engine.