



Contents: Examination ↡ Replacement ↡
Examination
1. Apply the handbrake, then raise the front of the car and secure it on stands.
2. Check the condition of the rubber flexible coupling connecting the front part of the cardan shaft to the output flange of the gearbox for wear, damage, cracks and aging. Replace the rubber flexible coupling if necessary.
Replacement
Attention! When replacing the rubber elastic coupling of the cardan shaft, it is necessary to use new coupling fastening nuts.
1. Remove the driveshaft.
Front clutch
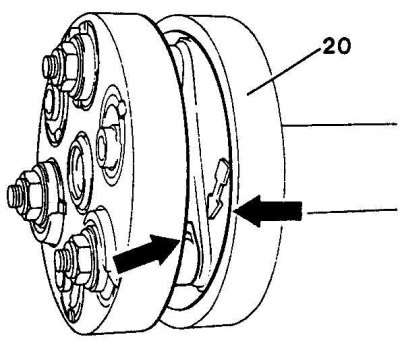
The location of the torsional vibration damper projection on models where the axis of the mounting bolts is offset by 40 mm from the axis of the propeller shaft
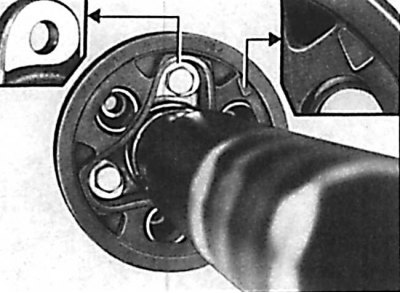
Alignment of the arrow with the flange protrusion on models where the bolt axis is offset by 45 mm or more relative to the propeller shaft axis
2. Apply alignment marks to the coupling and the driveshaft vibration damper.
(Article obtained from this portal: www.MercedesMan.ru)
3. Unscrew the nuts, remove the bolts and remove the coupling from the cardan shaft. Check the condition of the torsional vibration damper and replace it if necessary.
4. Install the vibration damper on the propeller shaft in accordance with the marks applied before removal. On models where the axis of the mounting bolts is offset from the propeller shaft axis by 40 mm, install the vibration damper as shown in the figure Location of the projection of the vibration damper on models where the axis of the mounting bolts is offset by 40 mm from the propeller shaft axis. On models where the axis for the mounting bolts is offset from the crankshaft axis by 45 mm or more, install the vibration damper so that the arrow aligns with the projection on the flange (see fig. Alignment of the arrow with the flange protrusion on models where the bolt axis is offset by 45 mm or more relative to the propeller shaft axis).
5. Install a new rubber coupling onto the driveshaft, with the side with the inscription facing the driveshaft. Insert the coupling mounting bolts, screw the nuts onto them and tighten them to the required torque.
6. Install the driveshaft.
Rear clutch
2. Unscrew the nuts, then remove the bolts and remove the flexible coupling from the cardan shaft.
3. Install a new flexible coupling on the cardan shaft, insert the mounting bolts and screw new nuts onto them and tighten them to the required torque.
4. Install the driveshaft.