



Contents: Engine M 110 ↡ Engine M 123 ↡
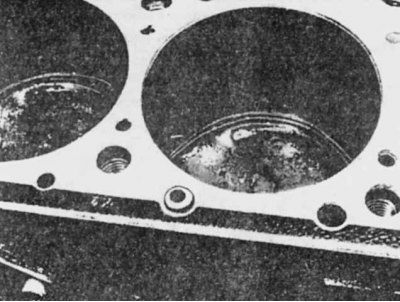
Location of the dowel pins on the cylinder block (engine M 110)
1. Clean the cylinder head and block surfaces and install a new gasket on the block pins. Do not use sealant.
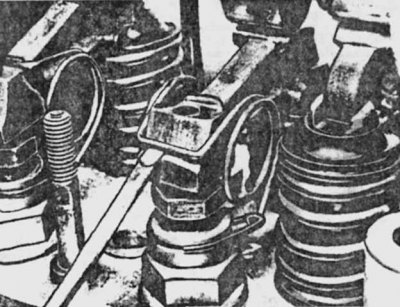
2. Set the 1st piston to the TDC position and check that the TDC marks on the camshaft are aligned and that the tops of the camshaft cams of the 1st cylinder are directed upwards.
Engine M 110
1. Place two wooden blocks on the front and back of the gasket.
2. Ask an assistant to insert the chain through the hole in the cylinder head and hold the right chain guide inside, then lower the cylinder head onto the wooden blocks.
3. Remove the front block and lower the cylinder head onto the pin, then lower the rear of the head onto the rear pin in the same manner.
4. Dip the head bolts in oil and insert them into place along with the washers.
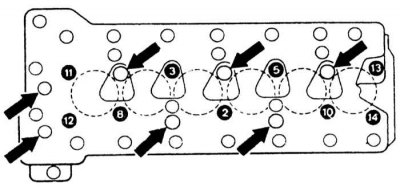
5. Tighten the bolts evenly in three or four steps to the specified torque in the sequence shown in the illustration.
6. Make sure both camshafts rotate freely.
7. Install the side guide into the cylinder head and align the holes, then install the locking pins with a hammer, ensuring that the chain is positioned correctly.
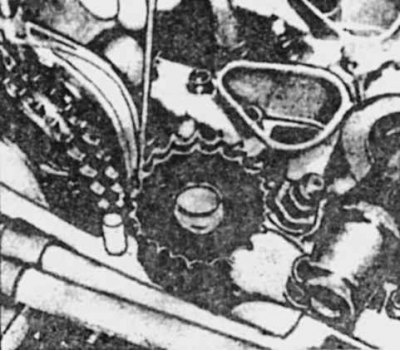
8. Using a piece of wire, lower the guide sprocket into engagement with the chain. Lubricate the bearing axle and drive it into the sprocket with a hammer. Remove the wire.
9. Insert and tighten the cap plug. Install a new gasket if necessary.
10. Move the camshafts back and install the sprockets and spacers; make sure the chain is in the correct position.
11. Insert the bolts with spacers into the camshafts and tighten them by hand.
Tightening the camshaft bolt (engine M 110)
12. Make sure that the TDC mark on the vibration damper is aligned with the valve timing indicator arrow and that the TDC marks on the timing gears and camshaft housing are also aligned.
13. Install the upper guide rod into the camshaft bearing and hammer in the studs.
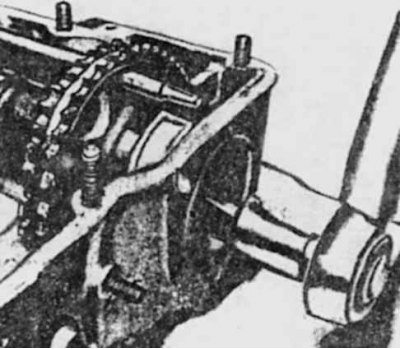
14. Insert a metal rod into the hole of the timing chain tensioner, press the guide rod to tighten the chain, then check the alignment of the TDC marks again.
15. Early design tensioners should be disassembled and adjusted. Do not fully tighten the spring tension plug, limit yourself to one or two turns. On later designs, disassemble the tensioner, then reassemble it during installation.
16. Replace the tensioner components and tighten the plugs and outer ring.
17. Turn the crankshaft two full revolutions and check the alignment of the TDC marks.
18. When carrying out work on each camshaft in turn, lock the sprocket using a metal rod passed through one of the holes and tighten the bolt.
Installing the guide gear (engine M 110)
19. Install a radiator if the design requires it.
20. When installing the valves one by one, turn the crankshaft so that the top of the cam lobe is facing up, dip the cam follower in oil and install it by pressing the valve down. Hook the spring to the clamp and slide it onto the cam follower using a screwdriver.
21. Adjust the valve clearances.
22. Install the valve cover with a new gasket and tighten the nuts.
23. Install the thermostat housing with a new gasket and tighten the bolts.
24. Install the bypass hose from the water pump to the thermostat housing and tighten the clamps.
25. Install the oil return pipe with a new gasket and tighten the bolt.
26. Install the front covers with new gaskets and tighten the bolts.
[Original can be found on the website: MercedesMAN.ru]
27. If required by the design, install a compressor and hydraulic pump.
Engine M 123
1. Have an assistant insert the chain up through the hole in the cylinder head and slide the chain guide up. Then lower the cylinder head onto the gasket, centering it on the dowel pin.
2. Dip the head bolts in oil and insert them together with the washers.
3. Tighten the bolts evenly in two steps to the specified torques in the sequence shown in the figure. Make sure the camshaft rotates freely. Don't forget the two bolts in the chain opening.
4. Insert the breather tube between the water pump and the cylinder head, insert and tighten the bypass bolts with new washers.
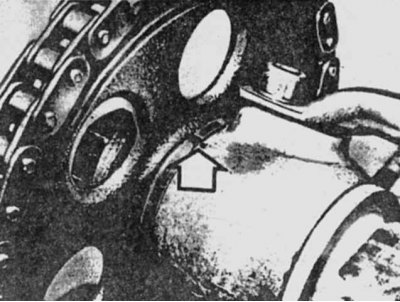
5. Make sure that the TDC mark on the vibration damper is aligned with the valve timing indicator arrow and that the TDC mark on the camshaft is aligned with the mark on the front pillar.
The arrow shows the TDC marks on the camshaft (engine M 123)
6. Engage the camshaft sprocket with the chain, correctly positioning the Woodruff key. Then slide it onto the camshaft. Insert the bolt and spacer and tighten the bolt by hand.
7. Insert a metal rod through the hole in the chain tensioner, press down on the guide to tighten the chain and again check that the TDC marks are still aligned.
8. Install the timing chain tensioner housing, then insert the plunger and tighten the plug.
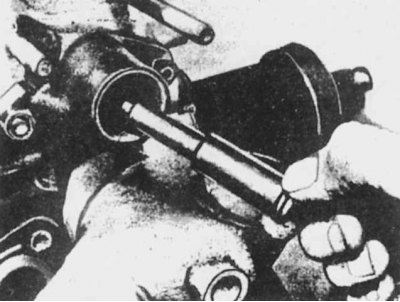
Installing the timing chain tensioner plunger (engine M 123)
9. Lock the camshaft sprocket using a metal rod passed through one of the holes, then tighten the bolt to the specified torque.
10. On vehicles with automatic transmission, reinstall the cross brace between the right engine mount and the cylinder head.
11. Replace the thermostat housing with a new gasket and tighten the bolts.
12. Replace the bypass hose between the water pump and thermostat housing and tighten the clamps.
13. Adjust the valve clearances (see Checking and adjusting clearances in the valve drive mechanism on M 123 and M 110 engines).
14. Replace the valve cover with a new gasket and tighten the nuts.
15. Install auxiliary units.
16. Lightly coat the dipstick tube with sealing paste before pressing it into the oil pan housing.