
Gas engine
Removing
Attention! Be sure to pay attention to good ventilation of the workplace. Fuel vapors are poisonous, avoid naked flames due to fire hazard!
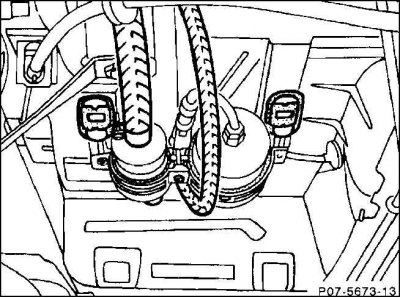
The fuel pump, when viewed in the direction of travel, is located on the bottom of the vehicle on the right in front of the rear axle.
1. Disconnect the ground wire from the battery terminal (–).
Attention! This erases the anti-theft code of the radio.
2. Reduce the fuel vapor pressure by briefly opening the fuel tank filler cap.
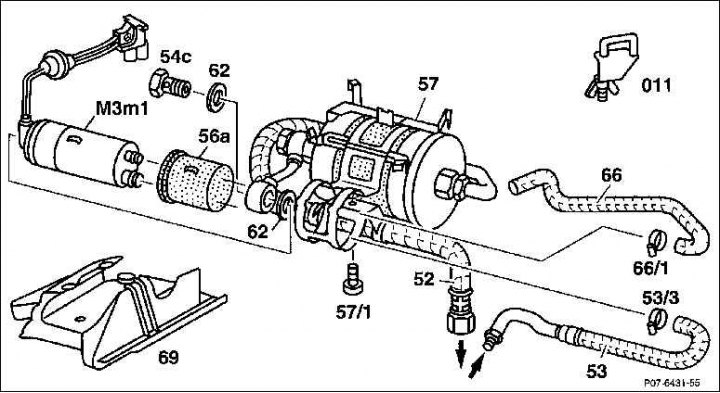
3. Remove the protective cover (69), after noting its mounting position.
4. Disconnect the inlet from the clamps (53) and pressure (52) pipes and ventilation hose (66) with standard hose clamps. Mark the hoses with adhesive tape to facilitate installation.
5. Unscrew the pressure pipe with a hollow bolt on the fuel pump. Wipe up spilled fuel with a rag.
6. Remove the intake hose by first loosening the hose clamp.
7. Remove the protective cover of the trunk floor.
8. Remove the protective cover of the cable duct and the protective mat.
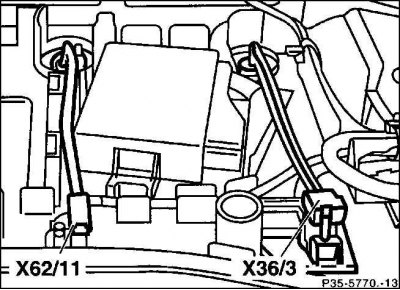
9. Disconnect the plug connection on the fuel pump and lead it out through the boot floor. To do this, squeeze out the rubber bushing.
10. Disconnect the electrical wire from the spring clip on the holder.
11. Remove the ventilation hose (66), after loosening the hose clamp (66a).
12. Remove the fuel inlet hose (53), after loosening the hose clamp (53a).
13. Unscrew on the holder (57) bolt (57/1).
14. Remove the fuel pump (М3m1).
Installation
1. Using the guide, insert the fuel pump into the groove of the plastic sleeve (56a), and her - in the guide of the holder (57). Thanks to this, the fuel pump is fixed with a plastic sleeve. The plastic sleeve must always be installed between the fuel pump and the holder. When doing this, pay attention to the fact that it protrudes on both sides of the holder. Otherwise, when the fuel pump comes into direct contact with the holder, contact corrosion of metals may occur.
2. Screw the fuel pump to the bracket.
3. Attach the ventilation hose and secure it with a clamp.
4. Fit the fuel inlet hose and secure it with a clamp.
5. Enter the electrical wire through the bottom of the trunk and connect the plug. Seal the opening in the trunk bottom with a rubber grommet.
6. Install the insulating mat and protective cover for the cable duct.
7. Install the protective cover on the bottom of the trunk.
8. Insert the electrical wire into the spring clips on the holder and secure with the inline clamps.
9. Screw on the fuel line with a hollow bolt and with a new copper sealing ring (62). Estimated tightening torque 25 Nm.
10. Remove hose clamps.
11. Install the protective cover.
12. Connect ground wire to battery (–).
13. Set the time on the clock.
14. Enter the radio's anti-theft code.