
Removing
1. Remove the door trim as described in paragraph 18.
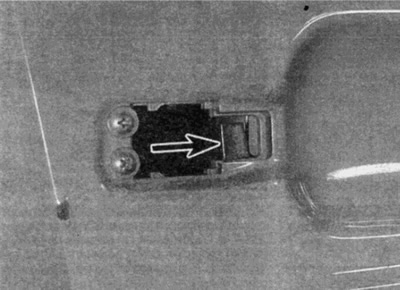
2. Remove the plug from the rear door toria (see fig. 24.2).
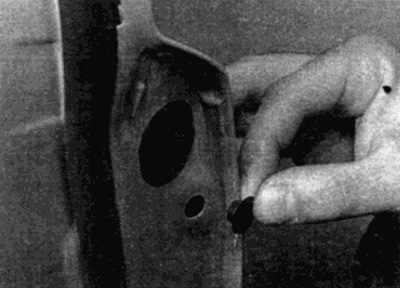
Pic. 24.2. Remove the plug
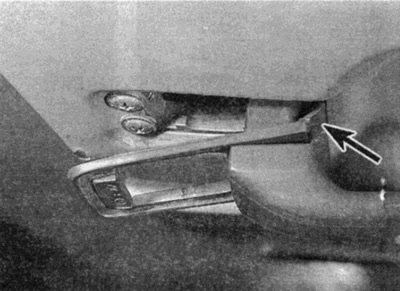
3. Using the Allen key inserted through the hole in the plug, unscrew the countersunk screw of the lock cylinder (see fig. 24.3).
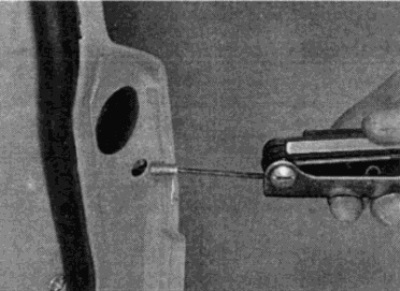
Pic. 24.3. Loosen the grub screw
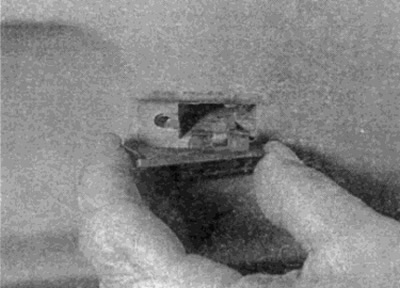
4. Insert the key into the door lock cylinder and turn approx. 60°back (see fig. 24.4, a). At the same time, push the lock cylinder back to release the inner latch and remove it from the door handle (see fig. 24.4, b).
Pic. 24.4, a. Turn the key 60°in the opposite direction...
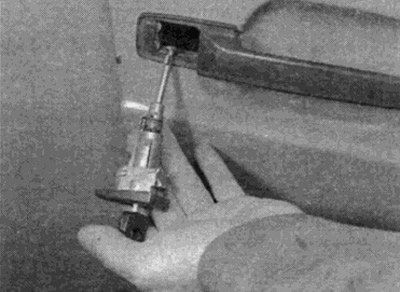
Pic. 24.4, b....and remove the lock cylinder
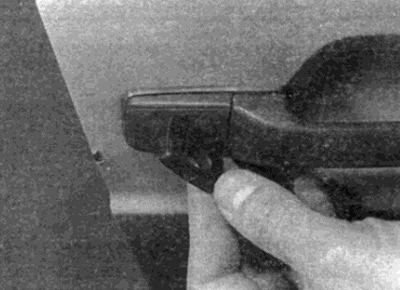
5. Push the outer handle back while pulling it outward, then release the clips at the front from the support bracket (see fig. 24.5).
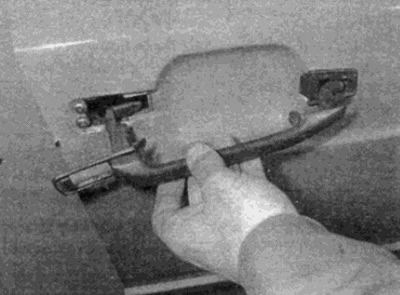
Pic. 24.5. Remove the outer handle
6. Remove the rubber pad from the front attachment point of the handle (see fig. 24.6).
Pic. 24.6. Remove the rubber pad
7. Remove the three bracket fixing screws and remove the support bracket through the hole in the inner door panel (see fig. 24.7, a, b).
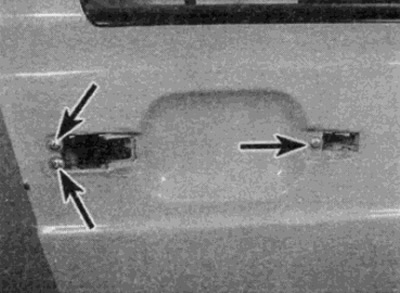
Pic. 24.7, a. Loosen the bracket screws (shown by arrows)...
Pic. 24.7, b....and remove the support bracket
Installation
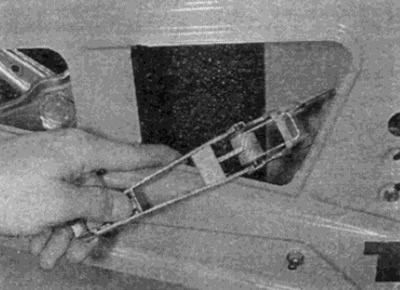
8. Installation is carried out in the reverse order. When installing the handle, make sure that the rear lug of the handle, as well as the lock lever, is installed behind the wire spring of the support bracket (see fig. 24.8, a, b). Then move the handle forward to secure it. The tip on the rubber pad on the back of the handle is installed between the door panel and the support bracket (see fig. 24.8, b).
Pic. 24.8, a. When installing, the lug of the outer handle must be installed behind the lock lever (shown by arrow)...
Pic. 24.8, b....and the tip of the handle pad (shown by arrow) is located between the door and the bracket