



Contents: Removal ↡ Installation ↡
Removal
1. Remove the door trim as described in paragraph 18.
2. Lower the window so that you can reach the nut that secures the window lift lever to the glass frame through the small hole in the front of the door (see fig. 19.2).
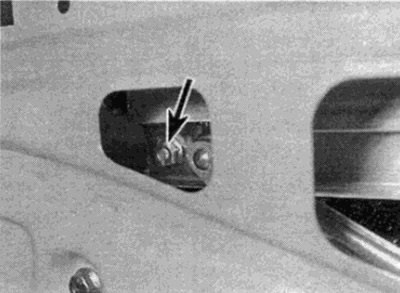
Fig. 19.2. Unscrew the nut securing the window lift lever to the glass frame
3. Hold the glass in this position by placing a wooden wedge between the glass and the door or using tape wrapped around the top of the door frame (see fig. 19.3).
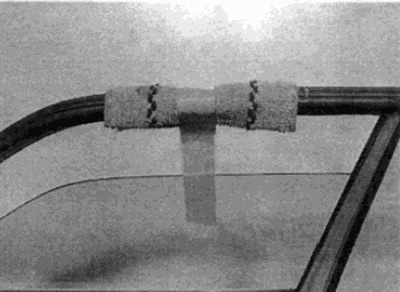
Fig. 19.3. Using adhesive tape to hold glass
4. With the glass secured, unscrew the nut securing the window lift lever to the glass frame.
5. On vehicles with power windows, disconnect the wires from the cable connector terminals.
6. Unscrew the two nuts securing the guide channel to the door panel (see fig. 19.6) and remove the gutter from the panel.
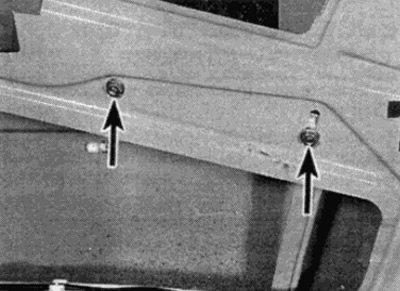
Fig. 19.6. Unscrew the fastening nuts (shown by arrows) guide channel to the door panel
7. Unscrew the four bolts (see fig. 19.7) on vehicles with manual windows, or three bolts on vehicles with power windows, securing the window mechanism to the door.
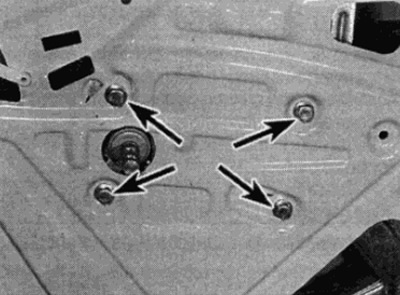
Fig. 19.7. Unscrew the four bolts (shown by arrows) window lift mechanism
8. On vehicles with manual windows, temporarily install the power window handle and lower the window until the two latches engage (see fig. 19.8) twisted out of place. Remove the handle.
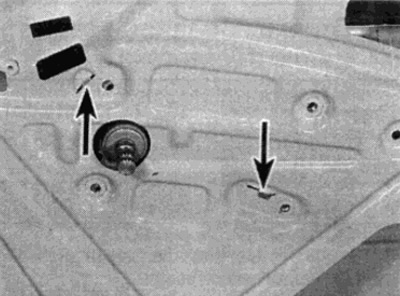
Fig. 19.8. Remove the latches (shown by arrows)
9. Disconnect the rear window lift arm from the glass holder and pull the window lift mechanism out through the lower hole in the door (see Fig. 19.9. a, b).
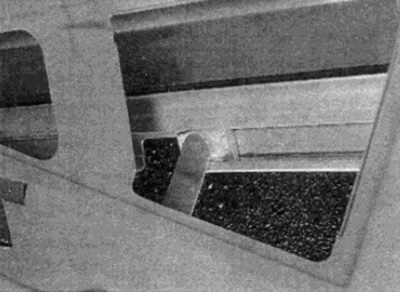
Fig. 19.9, a. Disconnect the rear window lifter arm...
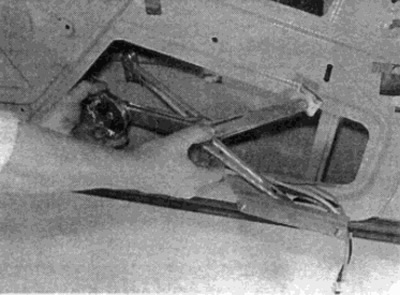
Fig. 19.9, b....and remove the window lift mechanism
Installation
10. Installation is carried out in the reverse order, taking into account the following notes. Before installing the trim, hand tighten the window lift arm to frame nut and guide channel nuts. Then adjust the glass position as follows.
11. Lower the glass down until it stops.
12. Press the glass down and forward at the front into the front guide channel and back at the top into the rear guide channel.
13. While holding the glass in this position, tighten the nut securing the window lifter lever to the glass frame.
14. Press the rear guide chute nut down and tighten, then tighten the front guide chute nut.
15. Check the operation of the window lift mechanism, then install the trim as described in paragraph 18.