
Removing
1. Turn away the screw and remove a decorative overlay of the lock of a door (see fig. 18.1).
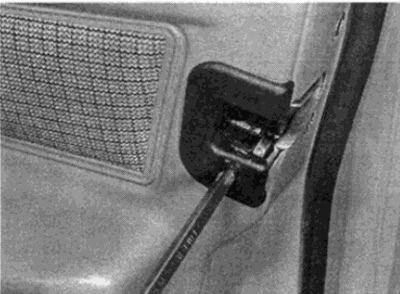
Pic. 18.1. Remove the door lock trim
2. Gently pry the plastic cover from the top of the inner recessed handle (see fig. 18.2).
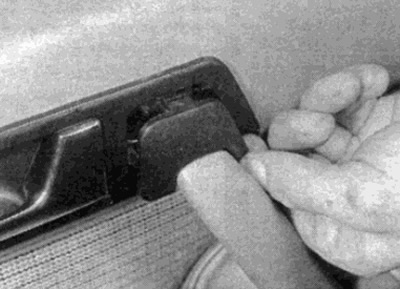
Pic. 18.2. Pry off the plastic cover on the recessed door handle
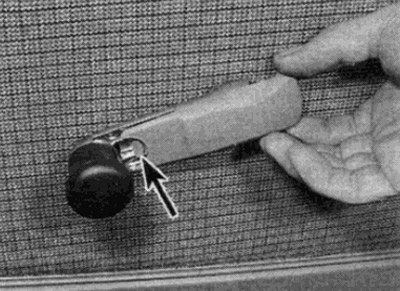
3. Turn away a bolt of fastening of the recessed handle of opening of a door (see fig. 18.3).
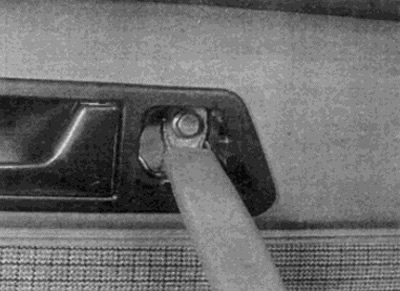
Pic. 18.3. Loosen the door handle bolt
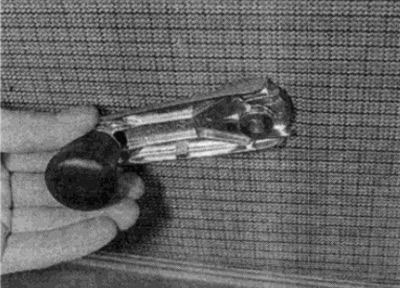
4. Pull the inner lock release handle out of the upholstery while sliding the body assembly forward to release the inner fastening hooks (see fig. 18.4).
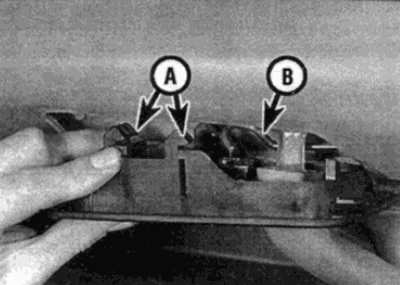
Pic. 18.4. Release the hooks on the inside opening handle (A) and separate the drive rod (IN)
5. Separate the lock drive rod from the back of the handle and remove the handle and body from the door.
6. On vehicles equipped with power windows, after loosening the latch, pressing it down with a small screwdriver, remove the decorative trim of the handle (see fig. 18.6).
Pic. 18.6. Remove the decorative trim of the window handle after pressing the latch down (shown by arrow)
7. Remove the power window handle and decorative disc (see fig. 18.7, a, b).
Pic. 18.7, a. Remove the power window handle...
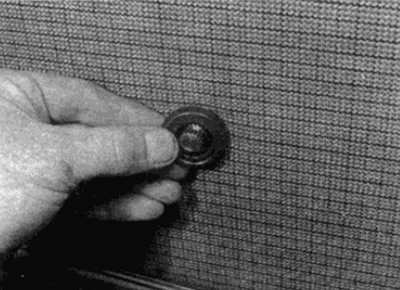
Pic. 18.7, b....and a decorative disc
8. Lift the trim up to release the hook holders on the back of the trim panel in the middle, bottom, and side (see fig. 18.8). When the casing is released, lift above the lock lock button and remove from the door.
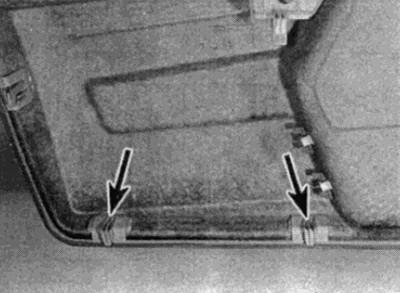
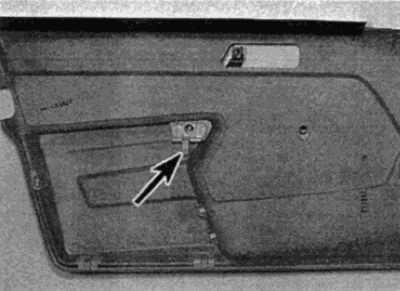
Pic. 18.8. Rear lower door trim hooks (shown by arrows)
9. To access the inside of the door, carefully peel off the moisture barrier and remove from the door (see fig. 18.9).
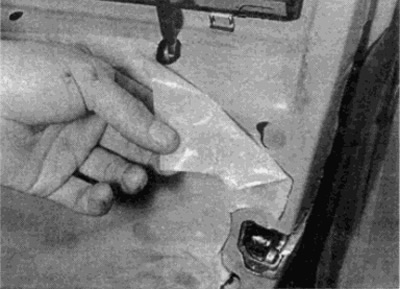
Pic. 18.9. Gently peel off the waterproof film
Installation
10. Installation is carried out in the reverse order. When aligning the skin holders, first align the longer one in the center of the skin (see fig. 18.10), then lift the panel just enough to align the remaining holders without separating the center one.
Pic. 18.10. When installing, first align the middle trim holder (shown by arrow)