



Contents: Removal ↡ Installation ↡
Removal
1. Remove the front door outside handle as described in paragraph 24.
2. Loosen the inner handle connecting rod from the guide latch on the door (see Fig. 25.2, a), then disconnect it from the lock lever (see fig. 25.2, b).
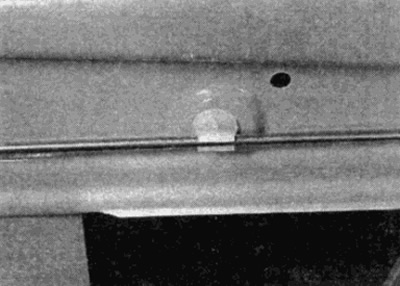
Fig. 25.2, a. Release the connecting rod from the guide lock...
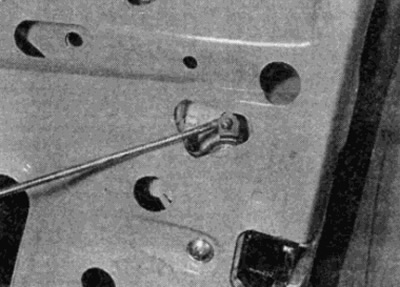
Fig. 25.2, b....and the lock lever
3. On vehicles equipped with a central locking system, release the latch on the top of the door and remove the plastic water deflector through the hole in the door (see Fig. 25.3, a, b). Disconnect the wires and vacuum connections at the central locking solenoid (see fig. 25.3, in).
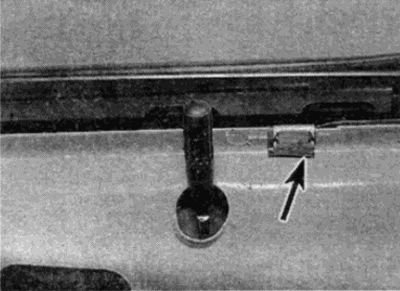
Fig. 25.3, a. Release the shown lock...
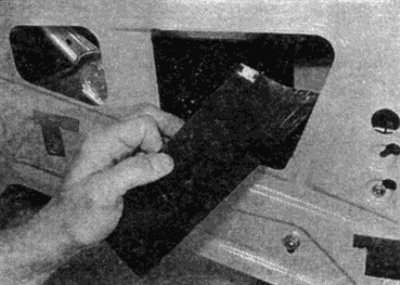
Fig. 25.3, b....and remove the water deflector
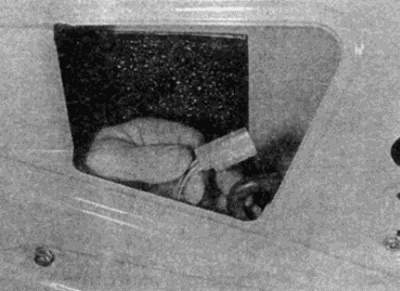
Fig. 25.3, c. Disconnect the electrical wires and vacuum hose from the solenoid
4. Remove the screws that secure the lock to the door (see fig. 25.4).
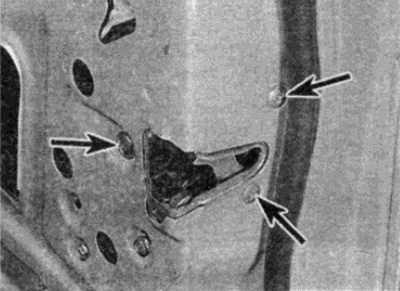
Fig. 25.4. Loosen the door lock mounting screws (shown by arrows)
5. On vehicles equipped with central locking, remove the screws securing the central locking solenoid to the door (see fig. 25.5).
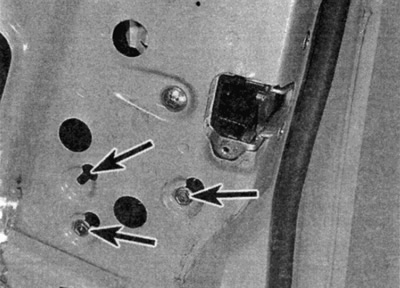
Fig. 25.5. ...and screws of the central lock solenoid (indicated by arrows)
6. Lower the lock and remove it together with the central lock solenoid (where it is installed) through the hole in the door panel (see fig. 25.6).
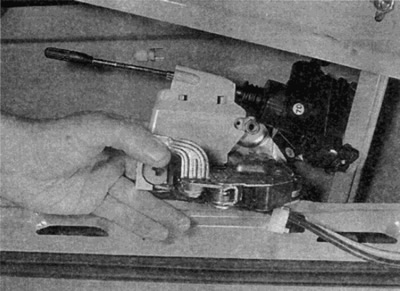
Fig. 25.6. Remove the lock and solenoid from the door
Installation
7. Installation is carried out in the reverse order. When installing the water deflector on cars with a central lock, before fixing it on top of the door, the reflector should be passed behind the glass guide frame.