
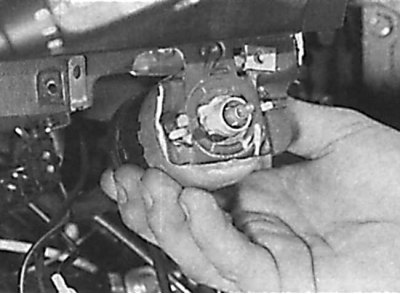
Removing the light switch by turning it counterclockwise
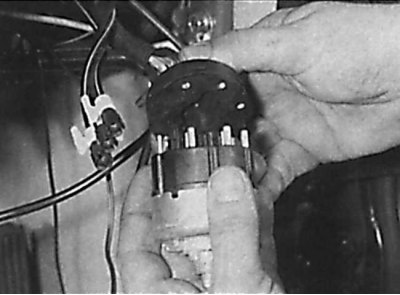
Removing the light switch from the electrical connector
1. Remove the handle from the light switch and unscrew the large nut located under the handle (see fig. Unscrewing the nut located under the light switch handle).
2. Carefully remove the light switch bezel and disconnect the vacuum hoses and electrical connectors. Vacuum hoses must be painted in different colors for identification. Otherwise, mark the vacuum hoses. Remove the headlight range control from the light switch trim panel (see fig. Removal of the corrector of light of headlights from the decorative panel of the switch of illumination).
3. Raise the floor mat, then unscrew the fixing screws and remove the cover around the pedals.
4. Unscrew the screw securing the hood release lever and remove the lever from the lower trim of the instrument panel on the driver's side and disconnect the hood release cable from the lever. Unscrew and remove the screws securing the parking brake lever to the instrument panel.
5. Being careful, remove the decorative panel of the ignition lock.
6. Unscrew the screws and remove the lower trim of the instrument panel from the driver's side. Disconnect the cable from the rear of the parking brake release lever and remove the trim panel and lever.
7. Turn the light switch counterclockwise, remove it from the bracket and disconnect the electrical connector from it (see fig. Removing the light switch by turning it counterclockwise, Removing the light switch from the electrical connector).
8. Installation is made in sequence, return to removal.