
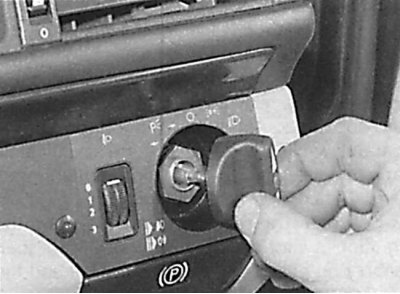
Removing the handle from the light switch
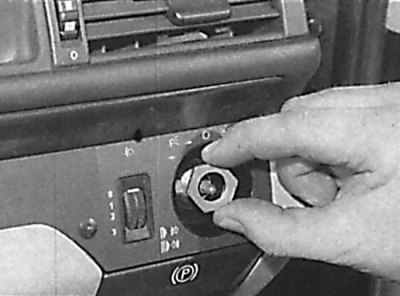
Unscrewing the nut located under the light switch handle
Disconnection from the decorative panel of the switch of illumination of vacuum hoses and an electric socket
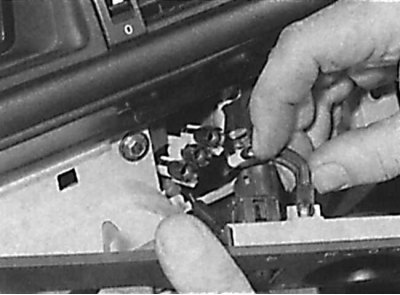
Removal of the corrector of light of headlights from the decorative panel of the switch of illumination

1. Remove the handle from the light switch and unscrew the large nut located under the handle (see fig. Removing the handle from the light switch Unscrewing the nut located under the light switch handle).
2. Carefully remove the light switch bezel and disconnect the vacuum hoses and electrical connectors. Vacuum hoses must be painted in different colors for identification. Otherwise, mark the vacuum hoses. Remove the headlight range control from the light switch trim panel (see fig. Disconnecting the vacuum hose lighting switch trim panel and electrical connector, Removing the headlight range control from the lighting switch trim panel).
3. Installation is made in sequence, return to removal. Check that the vacuum hoses are connected correctly and securely.