



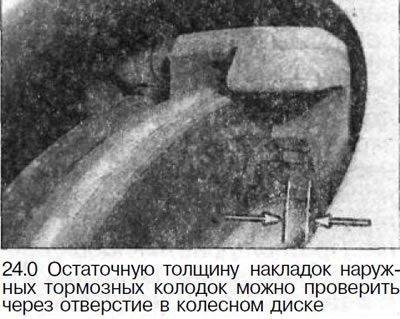
If such a check is not possible, then the wheels must be removed to check the residual thickness of the brake shoe linings.
Warning! Jacking up a vehicle or placing it on jack stands can pose a risk of injury. Therefore, it is recommended that you familiarize yourself with the safety precautions set out in Chapter "Jacking up a car".
1. Mark the position of the wheels on the hubs with paint. The balanced wheel can then be installed in its original position.
2. Loosen the wheel mounting bolts. The car must be on the ground.
3. Raise the vehicle and remove the wheels.
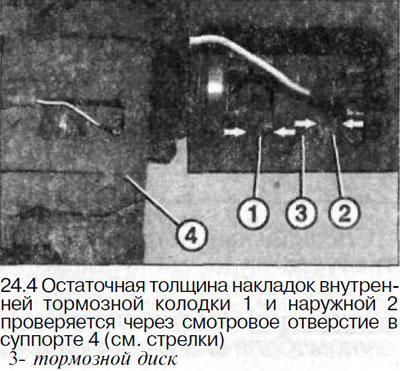
4. Check the thickness of the brake shoe linings. The remaining thickness of the inner 1 and outer 2 brake shoe linings is checked through the inspection hole in the caliper 4 (see arrows in the illustration). The wear limit is considered to be reached if the thickness of the pad, excluding the metal base, is 2.0 mm (VANEO 3.0 mm).
Article borrowed from the web portal www.MercedesMan.ru
Attention! In workshops, when performing vehicle maintenance, the front wheel brake pads are replaced when their residual thickness is less than 7 mm, excluding the support plate (VANEO less than 9 mm). The brake pads of the rear wheels of the workshop are changed if their remaining thickness is less than 6 mm (VANEO less than 5 mm).
To accurately measure the residual thickness of the linings, it is necessary to remove the brake pads and measure the residual thickness of the linings with a caliper. If at least one brake pad lining has reached the permissible wear limit, then all four linings on all pads of both brake mechanisms of the corresponding bridge are subject to replacement.
Attention! As a rule of thumb, 1 mm of brake pad lining corresponds to at least 1,000 km of mileage. This rule can be applied when operating a car in adverse conditions. Under normal operating conditions, the pads last longer. With a lining thickness of 4.0 mm, they last for at least another 2,000 km of mileage.
5. Check the calipers for signs of brake fluid leakage. If any are found, repair the caliper immediately (the work is carried out in the workshop).
6. Check the outer and inner surfaces of the brake disc for grooves, rust and cracks. Ventilated brake discs with hair-thin cracks up to 25 mm long, caused by high loads on the disc, do not need to be replaced. However, if the cracks have widened and the grooves formed are more than 0.5 mm deep, then such a brake disc must be replaced.
7. Check the thickness of the brake discs, see the relevant chapter.
8. Replace the wheels using the marks made before removing the wheels. Before installing the wheels, apply a thin layer of plastic grease to the wheel rim centering seat. Do not grease or oil the threads of the wheel mounting bolts. Replace rusty bolts with new ones.
9. Screw in the wheel mounting bolts.
10. Lower the car onto its wheels.
11. Tighten the wheel mounting bolts in a crisscross pattern to a torque of 110 Nm.