
Attention: To facilitate the installation of the gearbox, engage first gear before removing it.
To remove the gearbox, perform the following operations:
Raise the vehicle and place it on jack stands.
disconnect wire "weight" from the battery. Disconnect and remove the entire exhaust system.
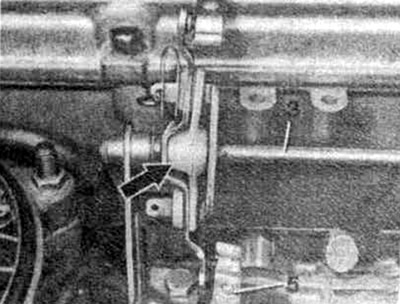
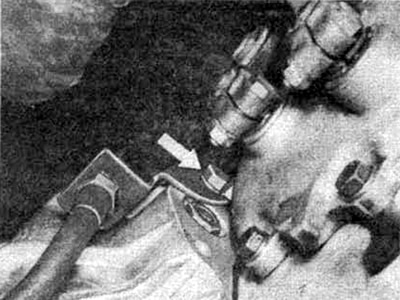
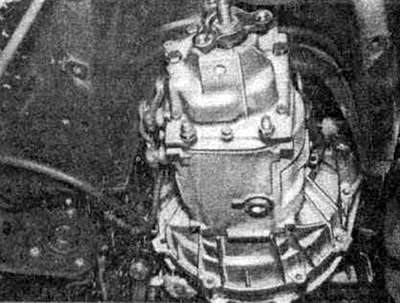
Disconnect the adjusting shaft (3) (see arrow).
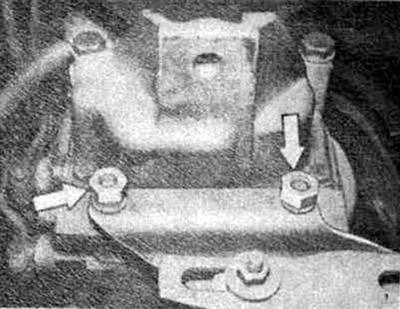
Support the gearbox with a jack and, working under the car, unscrew the bolt securing it to the cushion (see arrow) in the back cover of the gearbox.

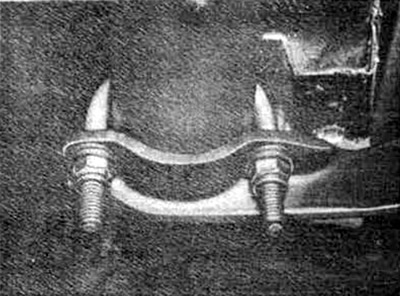
Remove the rear box support and cross. Remove the exhaust system bracket from the rear of the gearbox, noting the position in which it stood (see arrows).
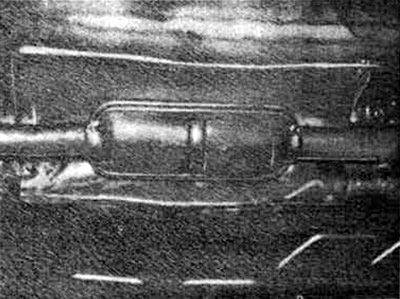
Remove the clamp and exhaust pipe bracket.
Remove heat shield.
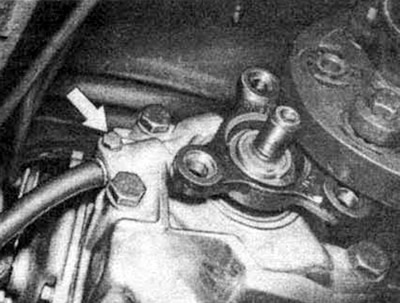
Disconnect the speedometer cable by first unscrewing the drive gear (see arrow), and pin aside.
Loosen the propshaft lock nut.
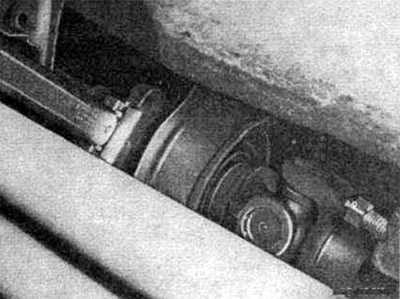
Remove cardan shaft.
Caution: The flexible coupling must remain on the shaft.
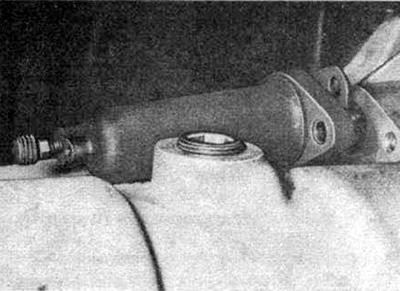
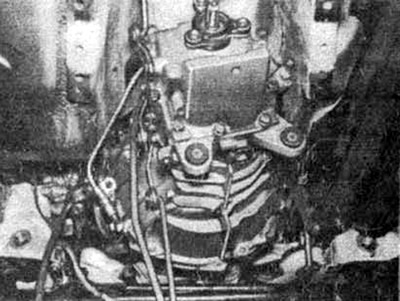
Remove the clutch slave cylinder by first unscrewing the hydraulic line mount.
Remove the starter and disconnect the gearshift mechanism.
Remove the bolts securing the gearbox to the engine, then with someone's help, lower the gearbox to the floor and pull it out from under the car.
Attention: Before lowering the gearbox, make sure that the input shaft has come out of the clutch driven disk, otherwise the disk may be damaged.
Check that the machine is securely fastened, as it may be necessary to swing the box a little in order for it to go.
The gearbox is installed in the reverse order.
It is necessary to ensure that the clutch release lever and the bearing do not stick, and the functional disk is aligned with the transmission drive shaft.
Lubricate the splines of the drive shaft of the gearbox with molybdenum-based grease, check and, if necessary, add oil to the gearbox.