



Sequence of works


1. Place the front of the car on stands and remove the corresponding wheel.
2. Loosen the self-locking nut securing the ball joint pin.
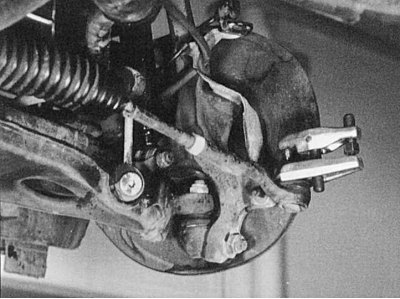
Fig. 7.16. Using a puller, press the ball joint pin out of the steering arm
3. Using a puller, press the ball joint pin out of the steering arm (Fig. 7.16), then remove the nut.
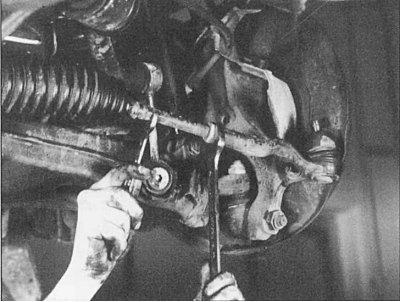
Fig. 7.17. Loosen the lock nut securing the tip to the steering rod
4. Mark the position of the tip on the steering rod (or count the number of turns when unscrewing the tip), so that when reinstalling, screw the tip to the previous distance, otherwise the wheel alignment will be disrupted. Clean the threads from dirt using an anti-corrosion liquid. Loosen the lock nut securing the steering rod tip with a SW21 wrench and, holding the rod by the splines with a SW13 wrench (Fig. 7.17), unscrew it from the steering rod.
5. Before reinstallation, clean the tip cone and the tie rod bore.
6. Insert the ball joint pin of the steering rod into the steering arm and tighten it with a new self-locking nut to a torque of 60 N·m, tighten the lock nut securing the tip to the steering rod to the same torque.
7. Check the wheel and steering alignment. If necessary, adjust at a service station.