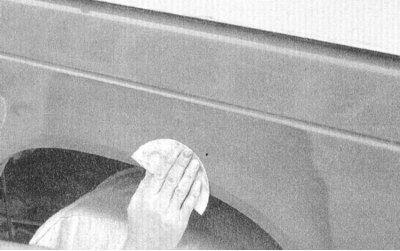
In case of extensive damage to the body, first of all, you should make sure that there are no displacements of panel elements that could affect the controllability of the car or cause increased wear of any of its components.
Due to the fact that most of the body elements (hood, fenders, etc.) are separate components that can be replaced individually, and replacing them in the event of serious damage does not seem advisable. It is often much more reasonable and economical to find a suitable replacement element, which can be found not only in auto parts stores, but also in car junkyards, which naturally allows you to significantly reduce costs.
If you cannot access the back of the body panel to tap out the dent, you should pull it out using a sliding hammer. In the deepest part of the dent, or along its border, drill or tap small holes at least 2.5 cm apart…
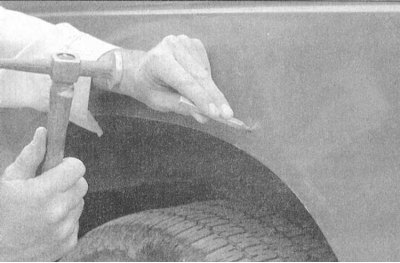
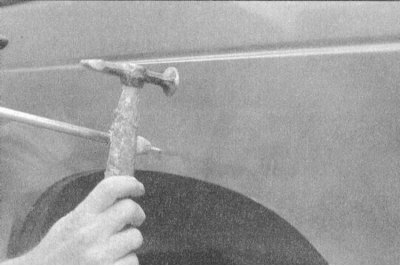
…then screw the hammer rod into the hole and set it in motion. Tap with a regular hammer at the edge of the dent to help the metal take its original shape. After completing this procedure, the surface of the dent should approach its original contour and protrude about 0.3 cm above the surface of the surrounding metal.
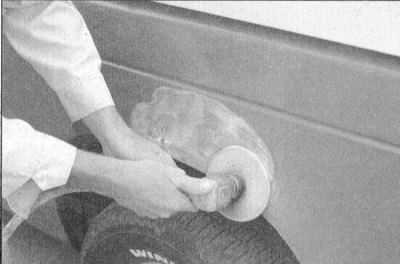
Using coarse sandpaper, remove the paint down to bare metal. You can do this by hand, but the tool shown in the photo will help you speed up the process. Using finer sandpaper, about #320, remove the paint in a radius of at least 2.5 cm around the dented area.
After removing the paint, it is better to check by touch rather than by sight whether the metal surface is smooth enough. Hammer the bulges and/or pull out the depressions where necessary. Clean the surface to be restored with wax or silicone stain remover.
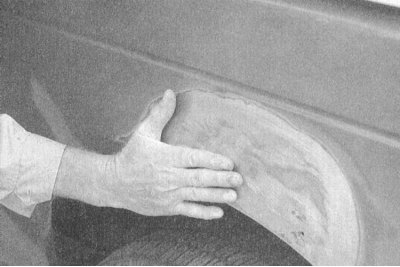
Mix a pack of plastic filler with hardener according to the instructions on the package. The mixing ratio is critical, and if you mess it up, the filler will set too slowly or too quickly (and you won't have time to apply it and give it the desired shape).
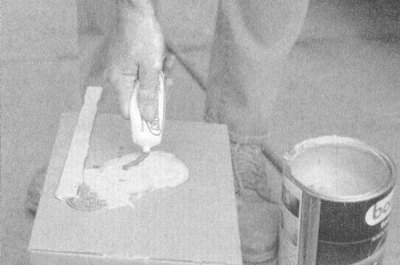
Working quickly to prevent the filler from setting, apply it to the metal surface with pressure using a plastic applicator, making sure it bonds completely to the metal. Work the filler until it resembles the original shape of the area and is slightly raised above the surrounding surface.
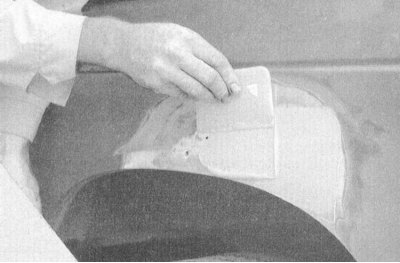
Let the filler harden until it can only be pressed through with a fingernail. Using a file or the tool shown in the photo, roughly file the filler.
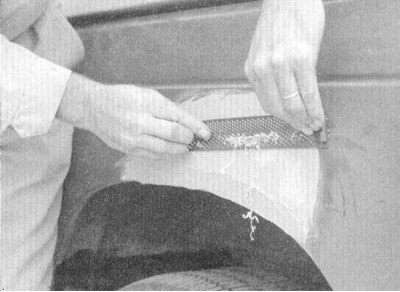
Using coarse sandpaper on a board or block, sand the filler until it is smooth and even. Gradually move on to finer and finer grades of paper, always using a board or block, and finish with 360 or 400 grit.
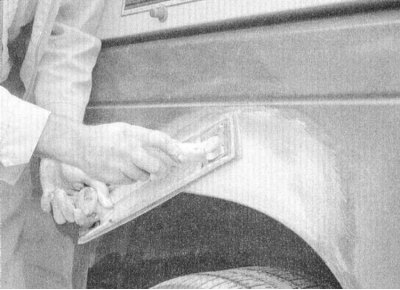
As a result of the treatment, the hand should not feel the boundaries of the transition from the putty to the bare metal and from the bare metal to the old paint. If this goal is achieved, remove the dust and cover the adjacent panels and trim parts.
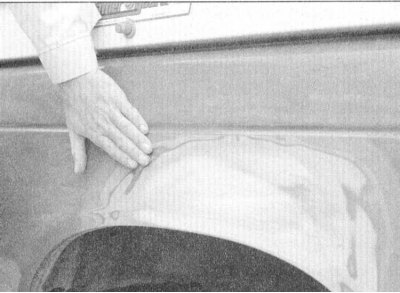
Apply several coats of primer to the surface to be treated. Do not spray too much primer so that it does not run off, and let the previous coat dry after applying each coat. A professional spray gun is usually used here, but auto parts stores sell primer in inexpensive aerosol cans.
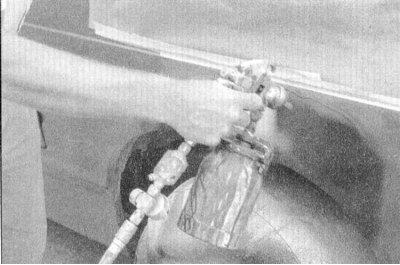
The primer will help to reveal any imperfections or scratches. Fill them with polishing compound. Following the instructions on the package, sand it smooth with fine (#360 or 400) sandpaper. Repeat the polishing process, applying polishing compound and sanding it until the primed surface is completely smooth.
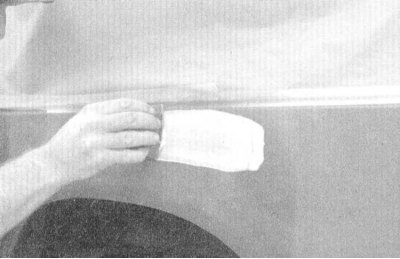
Finish sanding with very fine paper (400 or 600 grit) to remove excess primer. Wash the area with water and allow to dry. Use a tack cloth to remove all dust, then apply a coat of exterior paint. Do not attempt to wipe or wax the area until the paint is completely dry (at least two weeks).