
Removing
1. Place the vehicle on a level surface, apply the parking brake. Raise the front of the car with a jack and place it on stands (see "Lifting the vehicle and placing it on stands"). Remove the front left wheel.
2. Remove the nuts from the mounting studs and lower the left wheel arch locker (see fig. 34.2)
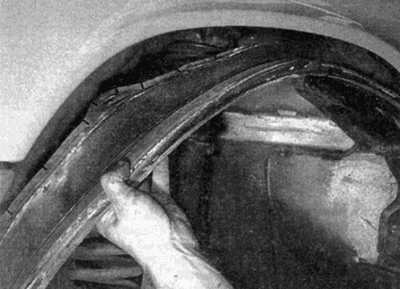
Pic. 34.2. Removing the wheel arch locker
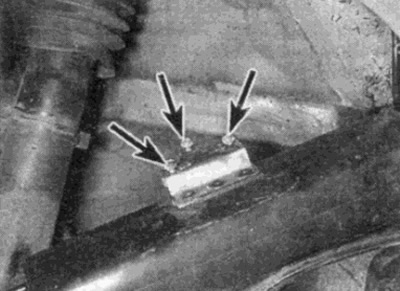
3. Operating from the engine compartment, on the left wing panel, loosen the three screws securing the filter absorber bracket to the wing panel (see fig. 34.3). There is no need to unscrew the screws, since the holes in the wing are elongated.
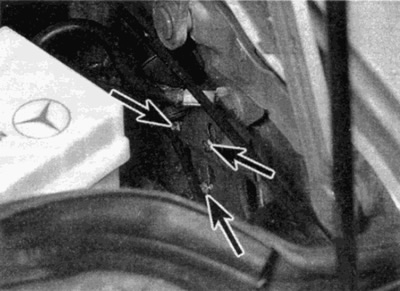
Pic. 34.3. Screws for fastening the absorber filter bracket (shown by arrows)
4. Disconnect the lower hose from the filter, then by manipulating the absorber filter together with the mounting bracket, pull it out of the arch (see fig. 34.4, a, b). Before removing the filter from under the wheel arch, disconnect the remaining hoses.
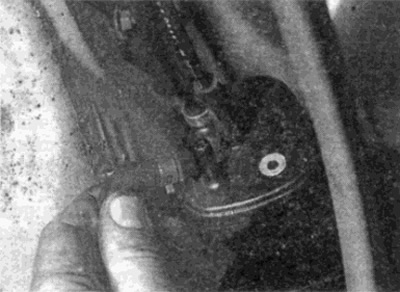
Pic. 34.4, a. Disconnect the hose from the filter -
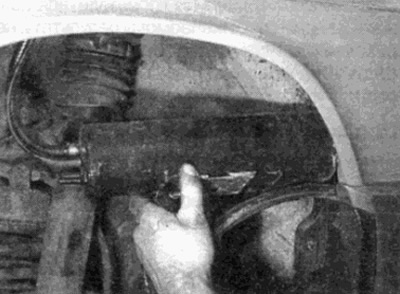
Pic. 34.4, b....then remove the filter absorber
Installation
5. Installation is carried out in the reverse order (see fig. 34.5).
Pic. 34.5. Make sure the absorber bracket screws are (shown by arrows) are in line with the holes in the wing panel