



Turn off the air conditioning system, on an automatic transmission, set the lever to position "P".
Turn off electrical consumers. Connect the tachometer and CO meter according to their instructions, leave the air filter fixed.
Engine Crankcase Ventilation Hose (see arrow), as well as a vacuum hose for the accelerator pump (next to the right) remove and muffle.
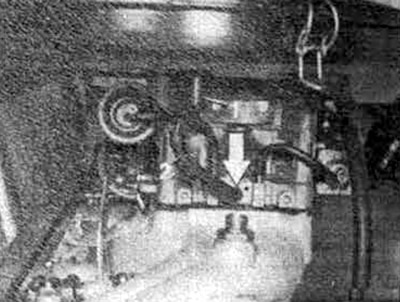
Start the engine and let it idle.
Check the intake system for leaks. To do this, lubricate all the seals of the intake system with gasoline using a brush. If you briefly increase the engine speed, the engine sucks in additional air. Localize the leaks and eliminate the leaks.
Warning: Do not inhale fuel vapors are toxic! Do not spray gasoline on hot parts or the ignition system. Fire hazard!
Check if the throttle lever is at the idle stop. To do this, slightly lift the throttle lever and increase the speed to about 2500 rpm. Then release the lever, it should return to the idle stop on its own. Otherwise, lubricate and adjust the throttle levers.
If available, check the adjustment of the tempomat. The first version with a cable - the cable should be located without tension on the adjustment lever, otherwise turn the adjustment nut to the appropriate position. The second version: unhook the connecting rod and pull it down until it stops. Turn the ball cup on the rod until it is directly opposite the head of the ball. Then unscrew the ball cup by 2 turns and secure with a lock nut. Attach the connecting rod.
Material borrowed from an online resource www.mercedesman.ru
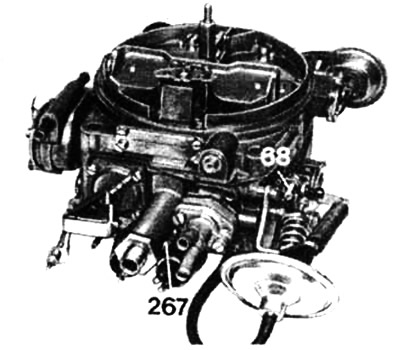
Adjust the idle speed with the adjusting screw (68) to the reference value.
Remove the exhaust manifold inlet pipe plug bolt on the front of the exhaust manifold (cylinders 1-3) and connect the CO meter. Check the CO content, note the measured value.
Then unscrew the plug bolt on the rear exhaust pipe (cylinders 4-6) and connect the CO meter. Plug the front inlet pipe.
Check the CO content and compare this value with the value measured previously (cylinders 1-3). Both values should be approximately the same and be within the control value's range of variation.
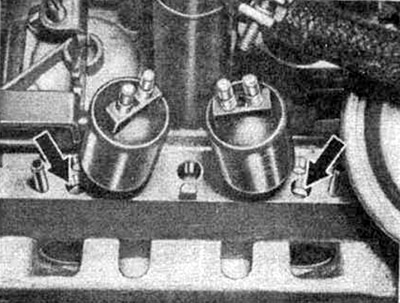
Otherwise, adjust the CO values using two adjusting screws (see arrows). The arrow on the right in the figure points to the screw for cylinders 1-3, while the screw for cylinders 4-6 is shown by the arrow on the left. When you unscrew the screw, the mixture becomes richer, when you screw it in, it becomes leaner. Plug the exhaust manifold.
Adjust the control rod so that when gas is supplied, the movement is transferred to the rocker arm without play.
Adjust the vacuum regulator.