
Removing
Loosen wheel bolts.
Raise and support the front. Remove front wheel.
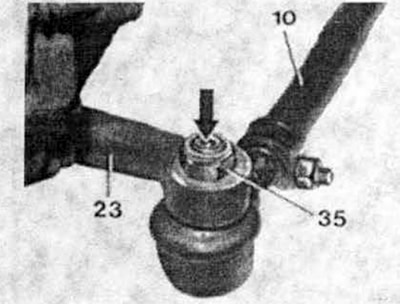
Loosen the lock nut (35) from tie rod end (10), while holding the tip (see arrow) socket wrench. The figure also shows the pendulum arm (23).
Remove the connecting rod ends from the pendulum arms using a special puller.
Caution: Care must be taken not to damage the rubber covers.
Inspection of connecting rod parts:
Move the tie rods back and forth. If there is play or too free play, the tie rod ends must be replaced.
Inspect rubber covers for leaks and damage. A defective shroud requires a tip replacement.
Note: If the shroud was damaged when it was removed, just replace the shroud and keep the old tip.
Installation
If necessary, clean the cones and sockets of the pendulum levers from grease.
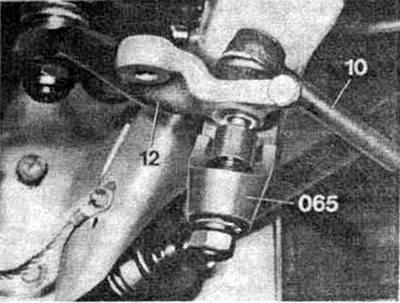
Press the ball joint into the cone of the pendulum arm.
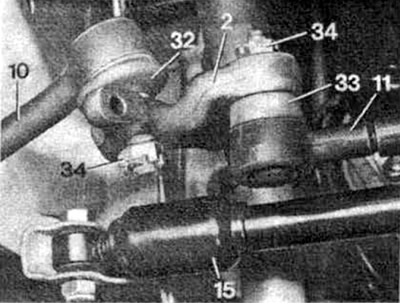
Tighten castle nuts (34), insert the cotter pins and bend them.
Attention: If necessary, you can tighten the castle nut a little more so. so that the cotter pin can be inserted The figure also shows the pendulum lever (2), connecting rod (10), Tie Rod (11), steering damper (15), anther (32), plastic cover (33).
Install new self-locking nuts and tighten them while holding the hinge with a socket wrench.
Install the wheel.
Lower the car.
Tighten wheel bolts diagonally.
Check the alignment of the front wheels.