
A-pillars
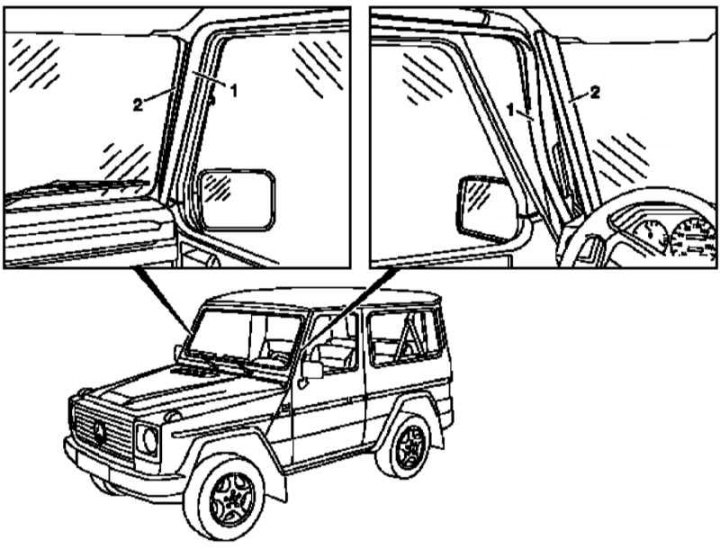
A-pillar trim panel installation details
1 - sealant of the doorway; 2 - Finishing panels
1. Release the rubber seal from the front edge of the doorway (1).
2. Pull out the trim panel (2) on the window frame seal.
3. Installation is carried out in the reverse order.
B-pillars
Convertible Models
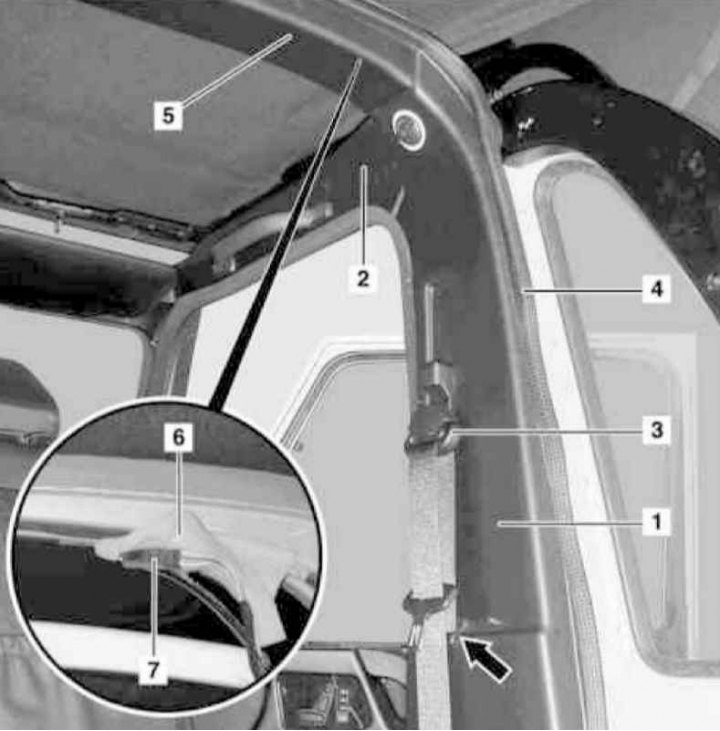
B-pillar trim panel installation details on Convertible models
1 - Finishing panel of the rack; 2 - Top side trim panel; 3 - Guide bracket of the upper anchor assembly of the seat belt; 4 - Protector; 5 - Ceiling finishing panel; 6 - Coating of porous rubber; 7 - Reverse signal buzzer connector (BA); Arrow - split cap
1. Remove the trim side panels (see Section Removal and installation of trim panels).
2. Loosen the rivet fastener of the trim panel (1) at the base of the B.
3. Having unscrewed the fixing bolts located under the facing frames, remove the top handle.
4. After releasing the corresponding edge of the door seal, remove the upper side trim panel (2).
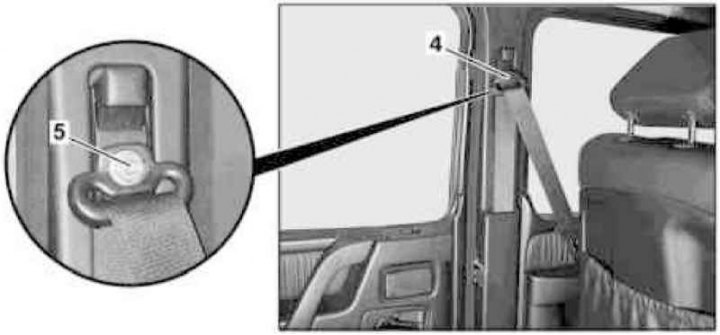
5. Loosen the nut located under the facing cover, remove the guide bracket (3) seat belt.
6. Remove the protector (4) on both sides of the ceiling trim panel (5).
7. Remove the panel (5).
8. Appropriate models (code J44) release the porous rubber coating (6) and unplug the connector (7) ultrasonic sensor wiring harness signaling device BA (only on the right side).
9. Release the door seal from the body opening in the B-pillar area.
10. Remove the protector (4) on the back of the B-pillar.
11. Gently release the latches and remove the split cover (arrow) and release the seat belt from it.
12. Remove the panel (1) rack trim.
13. Installation is carried out in the reverse order.
Models Wagon
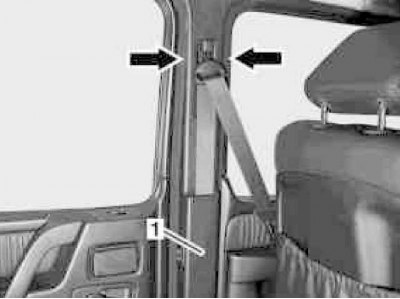
Installation Details for B-pillar Trim Panels on Wagon Models (1 of 4)
1 - Finishing panel
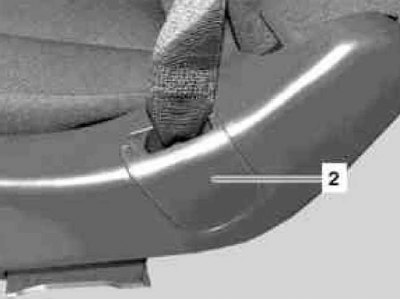
Installation Details for B-pillar Trim Panels on Wagon Models (2 of 4)
2 - Plug
Installation Details for B-pillar Trim Panels on Wagon Models (3 of 4)
3 - Anchor bolt
Installation Details for B-pillar Trim Panels on Wagon Models (4 out of 4)
5 - Nut of the guide bracket of the upper anchor assembly of the seat belt
1. Remove door seals (arrows) on both sides of the B-pillar.
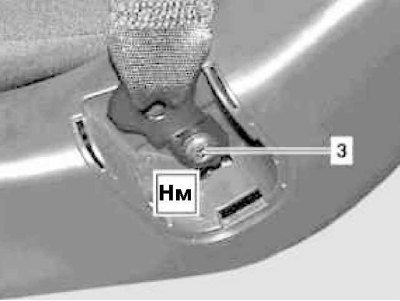
2. Remove the cap (2) and remove the bolt (3) lower anchor assembly of the seat belt.
3. Remove the facing cover (4) and give the nut (5) fastening the guide bracket of the upper anchor assembly of the seat belt.
4. Release the seat belt from the panel (1) rack trim B.
5. Appropriate models (code H11) Disconnect the wiring from the rear seat heating switch.
6. Remove the panel (1) rack trim B.
7. Installation is carried out in the reverse order.
Rear racks (station wagon models)
Relevant illustrative material is presented in the illustration Tailgate installation details on Wagon models and sopr. illustrations, which include all references in the text.
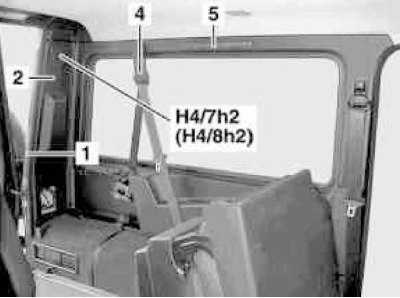
Details of installation of the panel of furnish of the left back-pillar
1 - Protector; 2 - Finishing panel; H4 / 7h2 - Left rear speaker; H4/8h2 - Right rear loudspeaker
1. On models of the corresponding configuration (codes V53 and V57) remove the trunk lid (A).
2. Appropriate models (code V53) remove the cover (IN) side storage compartment, then remove the fixing screw (D) and separate the storage compartment (WITH) from the rear rack.
3. Remove the protector from the rear pillar (1) edge of the doorway.
4. Slide to the side, remove the trim panel (2) racks, - do not forget to disconnect the loudspeaker wiring connector (H4/7h2 or H4/8h2).
5. Appropriate models (code J44) disconnect the electrical wiring connector of the signaling device BA (only on the right side).
6. Remove the panel (2).
7. Installation is carried out in the reverse order.