
Instrument panel switches
2. To remove the switches on either side of the instrument panel, carefully pry one end of the switch with a knife blade or thin screwdriver. In doing so, protect the surface of the instrument panel.
3. Remove the switch assembly and unplug the plug at the back (see fig. 6.3).
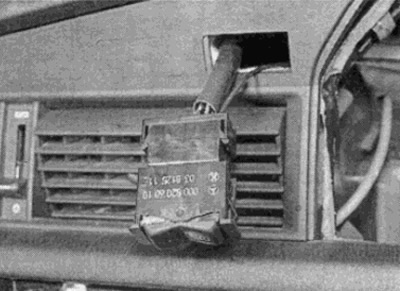
Pic. 6.3. Pry the switch out of the panel and unplug the wire
4. To install, connect the wire plug and press the switch into place.
Headlight switch
5. Remove the cover under the instrument panel on the driver's side.
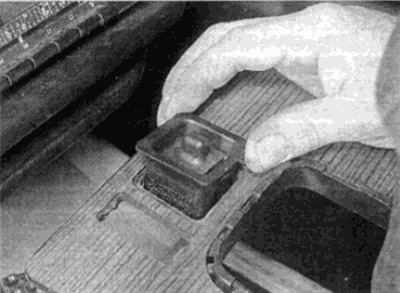
6. Using pliers and a protective cloth. carefully remove the switch button (see fig. 6.6, a, b).
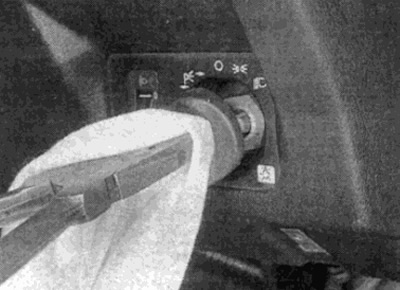
Pic. 6.6. A. Use pliers and a cloth to release the switch button...
Pic. 6.6b....then remove the button
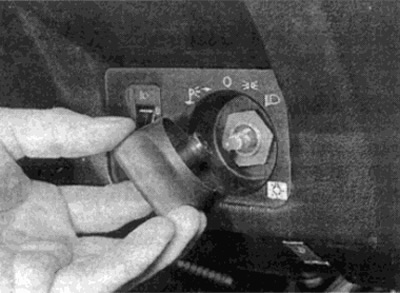
7. Using a small screwdriver, pry off the light control rotary switch (see fig. 6.7). Disconnect the vacuum hoses, pull out the backlight holder and remove the switch.
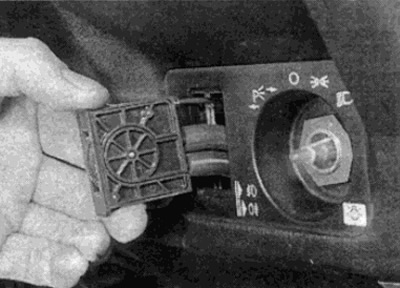
Pic. 6.7. Removing the headlight control switch
8. Turn away a nut of fastening of the switch of light of headlights (see fig. 6.8) and pull out the switch from the back of the instrument panel. Disconnect the wire plug and remove the switch.
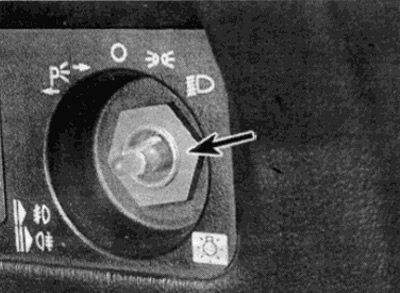
Pic. 6.8. Nut of fastening of the switch of light of headlights
9. Installation is carried out in the reverse order.
Central console switches
10. Using a small screwdriver, carefully pry the appropriate switch from the socket (see fig. 6.10).
Pic. 6.10. Removing the central console switch
11. Disconnect the plug and remove the switch.
12. Installation is carried out in the reverse order.