



Contents: Interior lighting fixture ↡ Sun visor illumination ↡ Glove Box Pump ↡ Luggage compartment light ↡
Interior lighting fixture
1. Carefully pry up the lampshade and diffuser, then open the reflector (see Fig. 12.1, a-c).
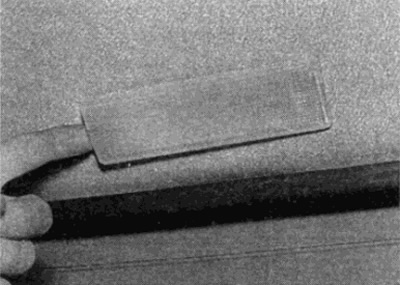
Fig. 12.1, a. Pry up the light shade...
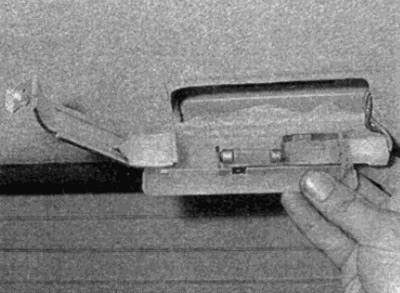
Fig. 12.1, b....then open the diffuser and remove the rear lamp...
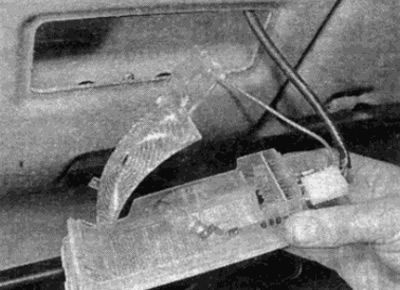
Fig. 12.1, c....or rear interior light
2. Press the contacts and remove the finger lamp.
3. Installation is carried out in reverse order.
Sun visor illumination
4. Unscrew the sun visors and carefully pry the cover in the left and right recesses.
5. Move the contacts apart and remove the finger lamp.
6. Installation is carried out in reverse order.
Glove Box Pump
7. Pry up the lamp diffuser and, by moving the contacts apart, remove the finger lamp (see fig. 12.7).
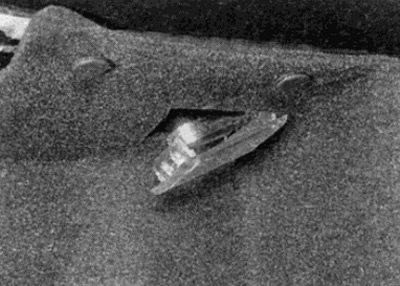
Fig. 12.7. Glove box lamp and light
8. Installation is carried out in reverse order.
Luggage compartment light
9. Working through the hole in the trunk lid, spread the contacts and remove the finger lamp.
10. To increase the working gap, remove the switch and lamp holder, then remove the lamp (see fig. 12.10).
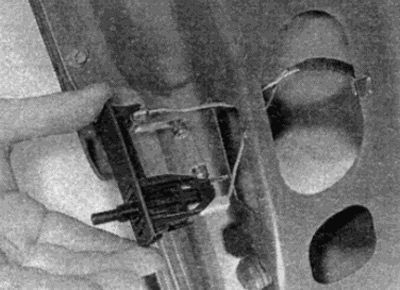
Fig. 12.10. For better access, remove the ceiling light switch and luggage compartment light holder