
Attention: Different coil springs with their own rubber mounts may be installed on different models. The type of spring is indicated by a red or blue stripe applied to its last coil, as well as a number stamped on it. When replacing springs, make sure that the new ones always have the same markings as the old ones.
Removing
With the machine standing on a flat surface, remove the upper shock absorber mount.
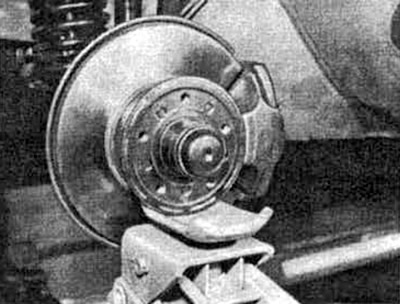
Loosen the wheel bolts, support the front end with chocks and remove the front wheel.
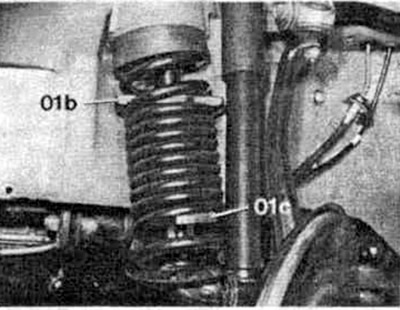
Install a puller on the spring so that it covers 9 of its turns. When using a pressure plate puller (01b/01c), before installing it, it is necessary to turn the plates 90°, and check that they securely grip the spring. It should be remembered that considerable force is required to compress the spring. It is not allowed to compress the spring only on one side, as this may lead to its breakage.
Carefully raise the lower control arm with a jack to help compress the spring.
Slightly lower the control lever and pull the compressed spring together with the rubber cup towards you.
Turn the rubber cup to the left and remove it. Place the compressed spring between the jaws of the vise and slowly release the pressure applied to it.
Installation
Before installing the spring, check the rubber cup for porosity and damage and replace if necessary. Clean the contact surface of the control lever.
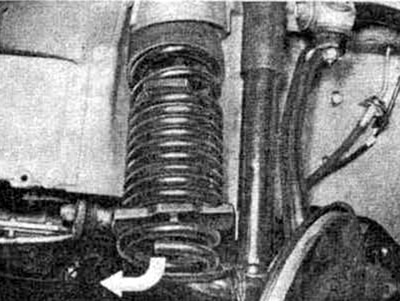
Check if the drain hole is blocked (see arrow) in the spring plate and clean it if necessary.
Place a puller on the spring and compress it slowly.
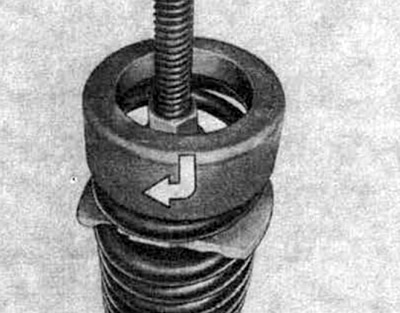
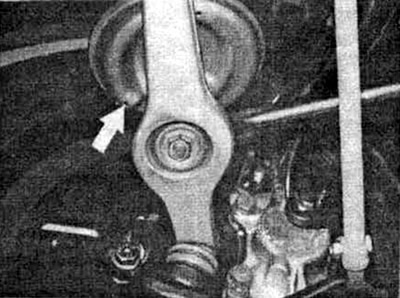
Install the rubber cup on the spring by turning it to the right (direction shown by arrow). Install the spring in place so that the end of the lower coil "sat down" into the recess in the spring cup.
Slightly raise the control lever with a jack, install the shock absorber in place and tighten its fasteners.
Slowly release pressure from the spring, making sure the rubber cup is properly seated on the frame and control arm.
Reinstall the front wheel, lower the machine and tighten the wheel bolts in a diagonal sequence.
Check the levelness of the front of the machine.
Check headlight beam adjustment.