



Contents: Checking the level ↡ Draining and filling ↡
Checking the level
1. Place the vehicle on an inspection pit or lift the front and rear parts with a jack and place them on supports. The vehicle must be level for the test results to be reliable.
2. Clean the area around the filler plug on the left side of the final drive, then remove the plug from the housing (see fig. 19.2).
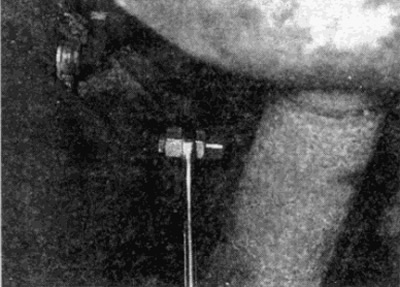
Fig. 19.2. Location of the filler/inspection hole plug
3. The oil level should be level with the lower edge of the filler hole. Check this with a clean piece of wire bent at a right angle.
4. If necessary, add oil to the required level. Fill with oil until it flows back from the main gear housing and allow excess to drain.
5. When the final drive oil level is correct, install the filler plug and tighten it securely. Lower the vehicle to the ground.
6. Remember that the need for frequent oil top-up indicates leaks, possibly through the oil seal. Determine the cause of the oil leak and eliminate it.
Draining and filling
7. Draining the oil can be made easier if you do it after a short trip; the oil will heat up and its viscosity will decrease.
8. Place the vehicle on an inspection pit or lift the front and rear parts with a jack and place them on supports.
9. Clean the area around the filler/check plug on the left side of the final drive, then remove the plug from the housing.
10. Remove the drain plug located on the right side, behind the main gear unit (see fig. 19.10). Let the oil drain into a container. When finished, clean the plug and install a new seal. Install the plug and tighten it securely.
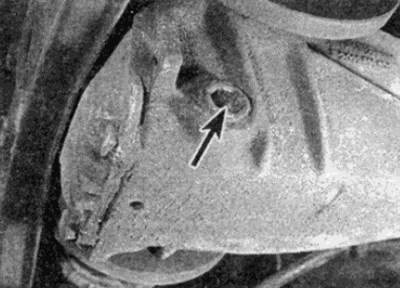
Fig. 19.10. Location of the main gear drain plug
11. Fill the differential through the filler hole with new oil as required by specifications. When finished, check the oil level as described in the previous subsection.
(Material created based on the website MercedesMAN.ru)