
Oil cup input shaft
1. Remove the gearbox as described in paragraph 6.
2. Remove the clutch release bearing as described in Chapter 6.
3. Remove the mounting bolts and remove the cover plate from the inside of the gearbox bell housing (see fig. 4.3).
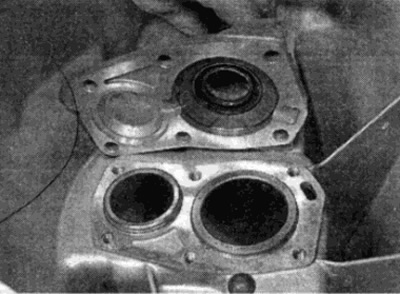
Pic. 4.3. Removing the cover plate from the gearbox housing
4. Gently slide the cover plate over the input shaft and remove the shims (see fig. 4.4).
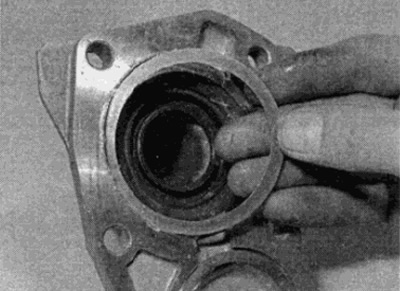
Pic. 4.4. Remove shims
5. Pry off the oil seal from the plate body with a screwdriver (see fig. 4.5).
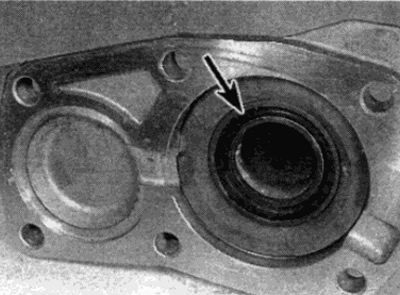
Pic. 4.5. The location of the oil cuff input shaft (shown by arrow) on the cover plate
6. Thoroughly clean the cuff seat in the cover.
7. Hammer in a new cuff with a key head or pipe so that the cuff rests on the protrusions in the cover.
8. Hold the shims in place with a small amount of grease, then slide the cover into place on top of the input shaft.
9. Apply sealant to the threads of the cover plate mounting bolts, then install the bolts and tighten them to the correct torque.
10. Install the clutch release lever and bearing as described in Chapter 6.
11. Install the gearbox as described in paragraph 6.
Oil cup of a secondary shaft
Note: A new transmission output flange nut will be required during installation.
12. Disconnect the propeller shaft from the flange of the output shaft of the gearbox, as described in Chapter 8.
13. Make sure the gear lever is in neutral.
14. Establish on a flange of a secondary shaft the adaptation for fixing. You can use two metal strips and bolts - install the bolts into the holes in the flange and use a tool to hold the flange. Note that the fixture must not block access to the flange nut.
15. Hold the flange from turning and unscrew the fastening nut. When installing, use a new nut (see fig. 4.15).
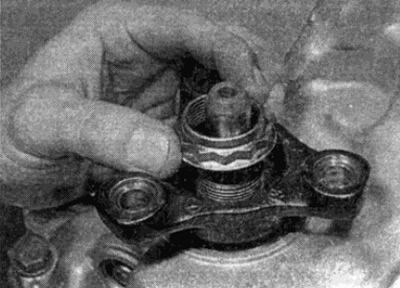
Pic. 4.15. Unscrewing the nut securing the flange of the secondary shaft of the gearbox
16. Remove the flange from the shaft, using a puller if necessary.
17. Pry the oil seal out of the body with a screwdriver.
18. Thoroughly clean the cuff body.
19. Hammer in a new seal using a pipe or wrench head until the outer surface of the seal is flush with the surface of the housing.
20. Install the flange on the output shaft and secure it with a new nut. Tighten the nut to the required torque.
21. Connect the propeller shaft to the output shaft flange as described in Chapter 8.