



Checking the front suspension and steering
1. Raise the front of the vehicle and support it securely on stands.
2. Inspect the ball joint protective boots (see fig. 10.2). Any wear of the covers, cracks, abrasions or destruction lead to loss of lubrication, dirt and water getting inside, which leads to rapid destruction of the ball joints. Also check that the steering gear mounting bolts are tightened to the required force (see Chapter 10).
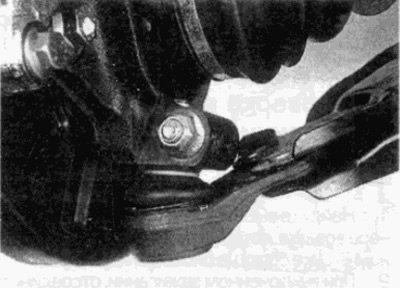
Fig. 10.2. Inspect the ball joint dust boots
3. On vehicles with power steering, check the condition of the system hoses and tubes, as well as the hose connections. Pay attention to fluid leaks. Check for fluid leaks from the steering gear under pressure. Leaks may indicate a failure of the seals inside the steering gear.
4. Grasp the wheel at the 12 and 6 o'clock positions and try to rock it (see fig. 10.4). There may be very little play, but if the movement is noticeable, you should determine the cause of the play. Continue to rock the wheel, asking an assistant to press the brake pedal. If after this the play stops or decreases significantly, the hub bearings are probably worn. If the play is still felt when the brake pedal is pressed, then the suspension joints or supports are worn. Remember that the front hub bearings are adjustable (see Chapter 10).
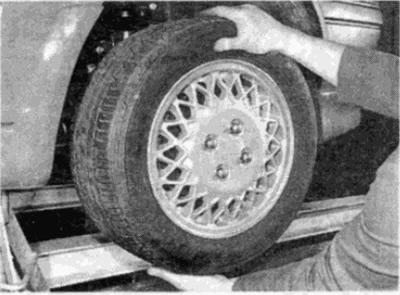
Fig. 10.4. Grasp the wheel at 12 and 6 o'clock and try to swing it
5. Grasp the wheel at the 3 and 9 o'clock positions and try to rock the wheel as before. Any perceptible movement may again be caused by wear in the hub bearings or tie rod ball joints. If the inner or outer ball joint is worn, there will be obvious movement.
6. Using a large screwdriver or flat metal rod, check the wear of the suspension mounting bushings by inserting a lever between the relevant suspension part and the mounting point. Minor movement can be expected, since the bushings are made of rubber. However, significant play indicates wear of the bushings. Also check the condition of the visible parts of the rubber bushings, paying attention to cracks, tears or contamination of the rubber.
7. With the car on its wheels, have an assistant turn the steering wheel from side to side one eighth of a turn each time. There should be a slight delay between the steering wheel and the front wheels. If this is not the case, carefully check the linkages of the control arms and supports as described earlier, but also check the wear of the steering column universal joint and the steering gear itself.
Checking the shock absorber / suspension strut
8. Check for leaks around the shock absorber/strut housing or from under the rubber boot around the piston rod. If leaks are found, the shock absorber is faulty and should be replaced.
Note: Suspension shock absorbers should be replaced in pairs on the same axle.
9. The effectiveness of the suspension shock absorber can be tested by rocking the car at each corner (see fig. 10.9). The body should return to its original position and stop when released. If it rises and falls, the suspension strut/shock absorber is probably faulty. Also check the wear of the upper and lower shock absorber mounts.
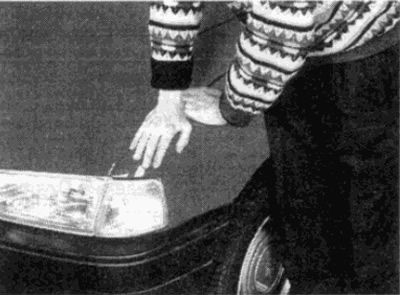
Fig. 10.9. The effectiveness of the suspension shock absorbers can be tested by rocking the car at each corner separately