



Contents: Halogen headlights ↡ Xenon headlights ↡
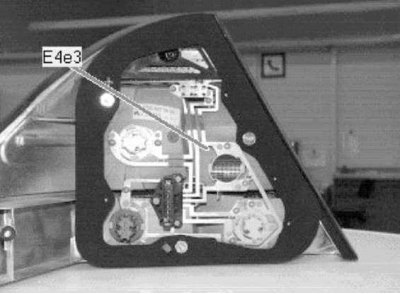
Reversing light
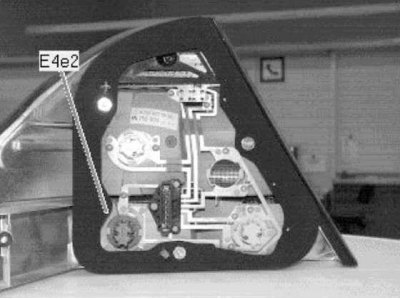
Clearance lamp
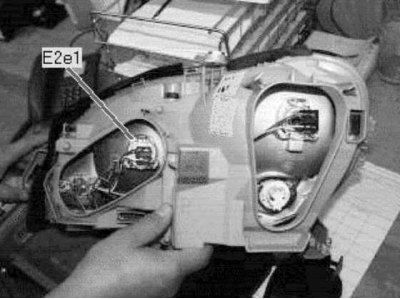
High beam lamp
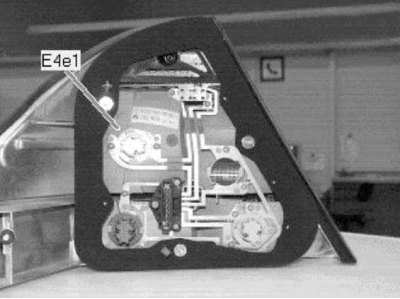
Rear turn signal lamp
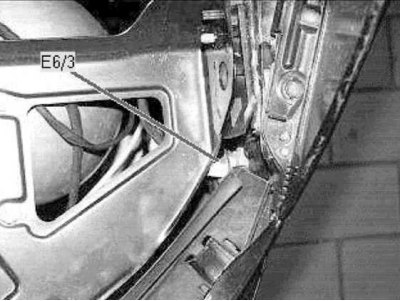
Left parking light bulb
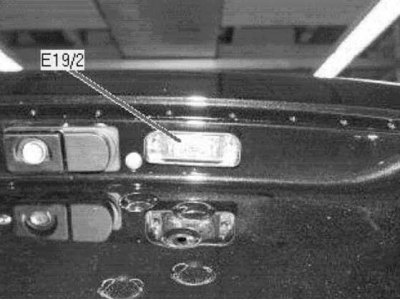
License plate light
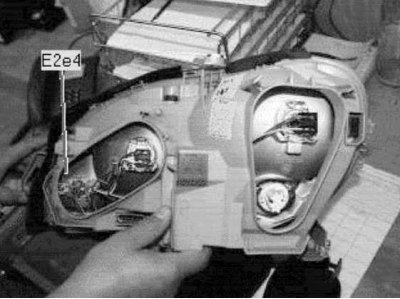
Fog light bulb
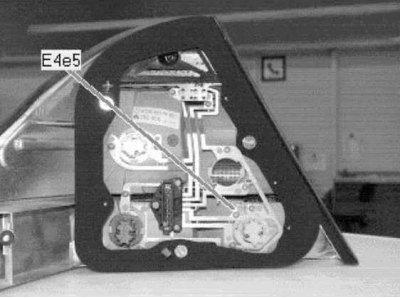
Rear fog light bulb
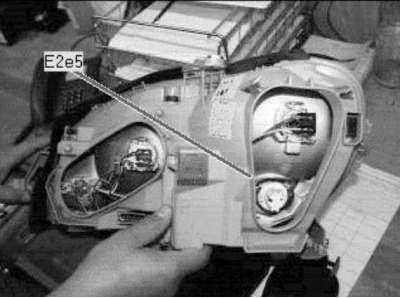
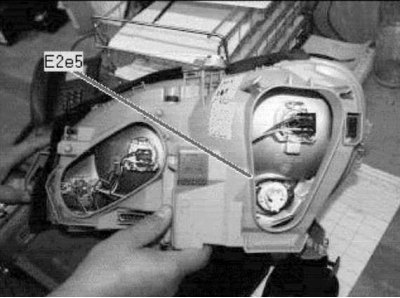
Turn signal lamp E2e5
Right turn signal lamp integrated into rear view mirror
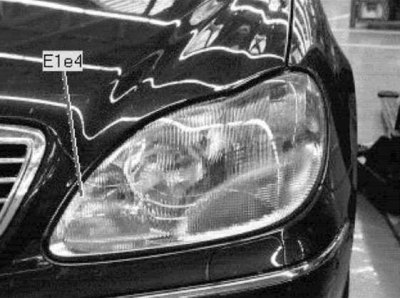
Fog light
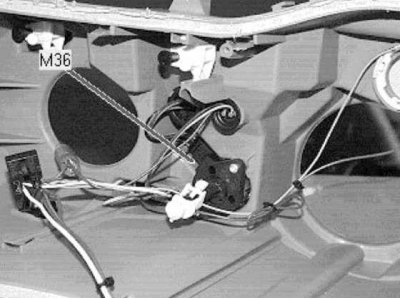
Headlight regulator. Left one shown
There is a risk of injury!
Incandescent bulbs and bulb holders can be very hot. Therefore, wait until the light fixture has cooled down before replacing the bulbs.
Keep lamps out of reach of children.
Do not use dropped or scratched lamps as they may break.
Replacing the H7 lamp
the lamp is under pressure. Therefore, you should wear protective glasses and gloves.
Headlights with xenon low beam:
There is a risk of injury due to high voltage!
Do not replace the bulbs on the xenon low beam headlights yourself. Only entrust work on the low beam headlights to specialists.
Note: Before replacing bulbs, turn off the vehicle lights to avoid short circuit.
Note: Only handle the lamp using a clean, lint-free cloth or similar material. Keep your fingers dry and clean!
Note. Use only incandescent lamps rated for 12 V, of the same type and the appropriate power.
Check the headlight alignment regularly.
Halogen headlights
Front headlight
 |
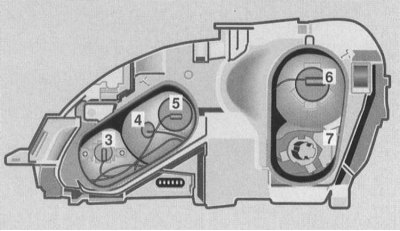 |
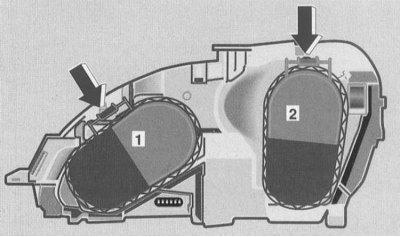
1 - Housing cover; 2 - Housing cover; 3 - Fog light H1 55W; 4 - Side lights W 5 W; 5 - High beam H7 55W; 6 - Low beam H7 55W; 7 - Direction indicator light PY 21 W (yellow)
1. Open the hood.
2. Squeeze the clamp and remove the housing cover "1".
3. Disconnect the plug from the lamp.
4. Release the retaining spring and remove the bulb.
5. Insert the new bulb so that the base fits into the recess in the socket.
6. Attach the retaining spring and place the plug on the lamp.
7. Install the housing cover "1" and secure it.
Side lights
1. Open the hood.
2. Squeeze the clamp and remove the housing cover "1".
3. Pull out the lamp holder.
4. Pull out the incandescent bulb.
5. Press in the incandescent lamp.
6. Press the lamp holder.
7. Install the housing cover "1" and secure it.
Low beam, high beam
1. Open the hood.
2. Squeeze the clamp and remove the housing cover (1 or 2).
3. Disconnect the plug from the lamp.
4. Release the retaining springs and remove the bulb.
5. Insert the new bulb so that the base fits into the recess in the socket.
6. Attach the retaining springs and place the plug on the lamp.
7. Install the housing cover (1 or 2) and secure it.
Direction indicator light
1. Open the hood.
2. Squeeze the clamp and remove the housing cover "2".
3. Turn the holder with the incandescent lamp to the left and remove it. Press the incandescent lamp, turn it to the left and remove it.
4. Insert the bulb and turn it to the right.
5. Install the bulb holder and secure by turning it to the right.
6. Install the housing cover "2" and secure it.
Xenon headlights
There is a risk of injury due to high voltage!
Do not remove the xenon low beam cover.
Fog light
 |
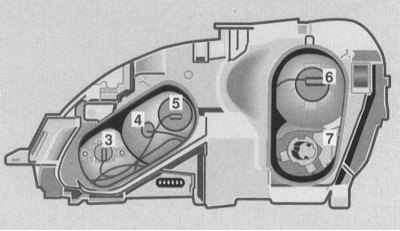 |
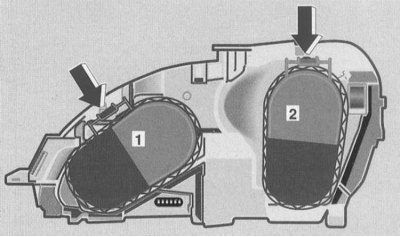
1 - Housing cover; 2 - Housing cover; 3 - Fog light H1 55W; 4 - Side lights W 5 W; 5 - High beam H7 55W; 6 - Low beam H7 55W; 7 - Direction indicator light PY 21 W (yellow)
1. Open the hood.
2. Squeeze the clamp and remove the housing cover "1".
3. Disconnect the plug from the lamp.
4. Release the retaining spring and remove the bulb.
5. Insert the new incandescent lamp so that the base fits into the recess in the socket.
6. Attach the retaining spring and place the plug on the lamp.
7. Install the housing cover "1" and secure it.
Side lights
1. Open the hood.
2. Squeeze the clamp and remove the housing cover "1".
(Original published on the website: «MercedesMan»)
3. Pull out the lamp holder.
4. Pull out the incandescent bulb.
5. Press in the incandescent lamp.
6. Press the lamp holder.
7. Install the housing cover "1" and secure it.
Lantern of the decree
1. Open the hood.
2. Squeeze the clamp and remove the housing cover "1".
3. Disconnect the plug from the lamp.
4. Release the retaining springs and remove the bulb.
5. Insert the new bulb so that the base fits into the recess in the socket.
6. Attach the retaining springs and place the plug on the lamp.
7. Install the housing cover "1" and secure it.
Direction indicator light
1. Open the hood.
2. Squeeze the clamp and remove the housing cover "2".
3. Turn the holder with the incandescent lamp to the left and remove it. Press the incandescent lamp, turn it to the left and remove it.
4. Insert the bulb and turn it to the right.
5. Install the bulb holder and secure by turning it to the right.
6. Install the housing cover "2" and secure it.
Rear light
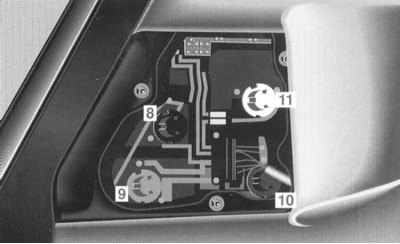
8 - Black base: Reversing light P 21 W
9 - Red base: side lights R 5 W
10 - Gray base: side lights, rear fog light (on the driver's side) R 21/4 W
11 - White base: PY 21W direction indicator light (yellow)
1. Open the trunk lid.
2. Move the trim to the side.
3. Turn the holder with the incandescent lamp to the left and remove it.
4. Press the bulb, turn it to the left and remove it.
5. Insert the bulb and turn it to the right.
6. Install the bulb holder and secure by turning it to the right.
Additional direction indicator lights on outside rearview mirror, high-mounted brake light and brake light lights
Additional direction indicator lights on the outside rearview mirror, upper brake light (3rd brake light) and the brake lights in the rear lights are equipped with LEDs.
In case of malfunction or failure, contact one of the maintenance stations "Mercedes-Benz".
Partial gluing of headlights
In countries with traffic regulations that differ from the traffic regulations in the country where the vehicle is approved for use, it is necessary to partially cover the headlights.
Stickers can be purchased at any maintenance station "Mercedes-Benz". It is recommended to use only branded stickers for this purpose. Other stickers may cause damage to the surface protective layer of the headlights.