
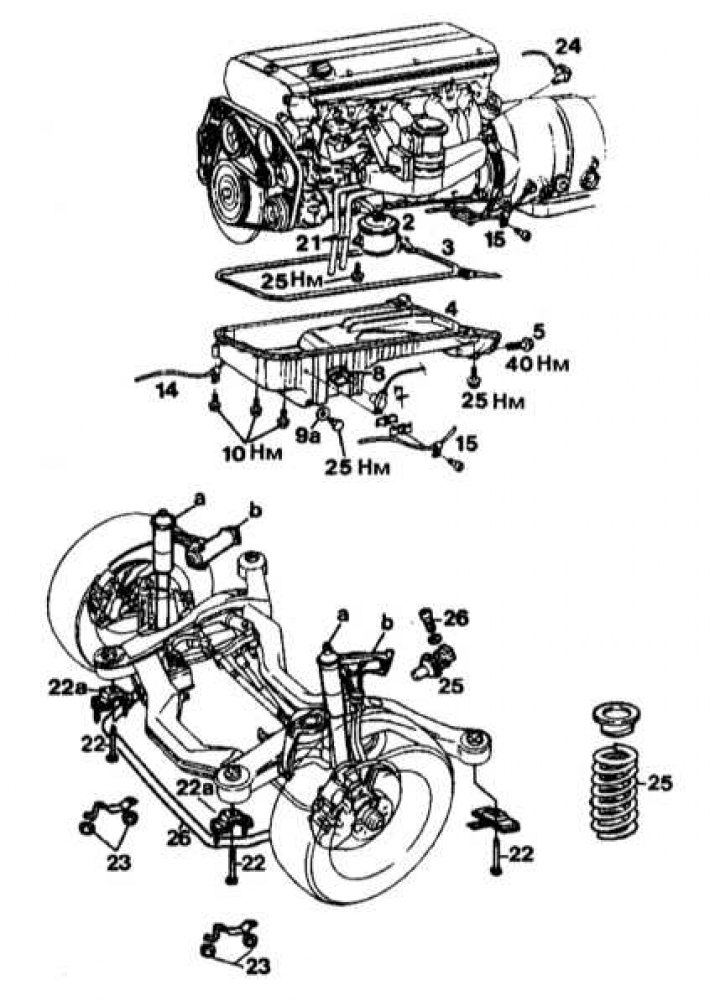
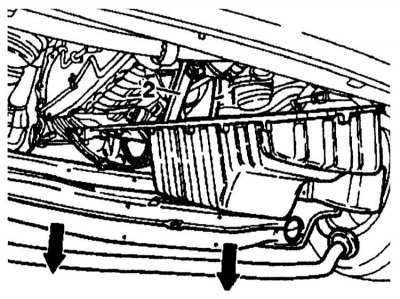
Engine pan installation details
3 - Gasket; 4 - Pallet; 5, 15, 22 - Bolts; 7 - Wiring connector for oil level sensor; 8 - Oil level sensor; 9a - Gasket; 14, 21 - Oil pipelines; 22a - Supports; 23 - Nuts; 24 - Oil pressure sensor; 25 - Spring; 26 - Anti-roll bar
Removing
1. Disconnect the negative cable from the battery.
2. Remove the air intake.
3. Disconnect the bottom motor guard.
4. Drain the engine oil (approx. 7.0 l). Replace the gasket and screw in the drain plug.
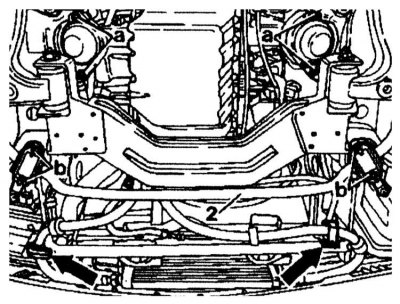
5. Turn away bolts of fastening (a) front engine mount. Remove the nuts (b) stabilizer mounts (2). Replace self-locking nuts.
6. Disconnect the wiring connector (7) from the oil level sensor.
7. Disconnect the wiring connector (24) from the oil pressure sensor. Secure it so that it will not be damaged when lifting the engine.
8. On models with AT, disconnect the oil lines (14) And (15) from the pallet.
9. Disconnect the oil lines (21) from the pallet.
10. Remove the stabilizer (26).
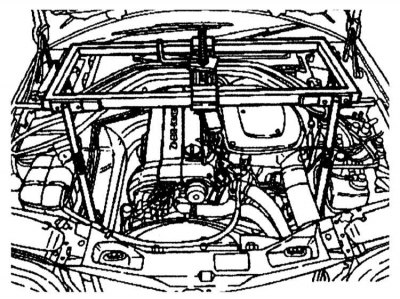
11. Raise the engine using a hoist.
12. Remove the front suspension springs.
13. Raise the front axle with a winch. Unscrew the plastic covers over the two rear points of the front axle.
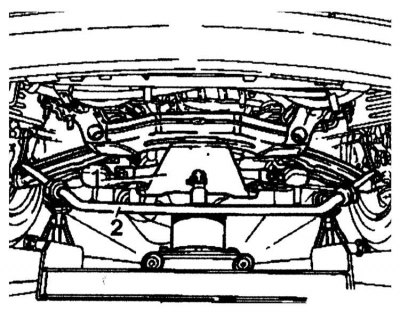
14. Turn away four bolts of fastening of a forward axis. Wipe the threaded holes, and replace the mounting bolts with new ones.
15. Lower the front axle.
16. Turn away bolts of fastening of the pallet, move it forward and lower it. Remove it by moving forward. Replace bolts and gasket (3).
Installation
Installation is performed in the reverse order of component installation. Ensure that the fastener torque requirements are met.