
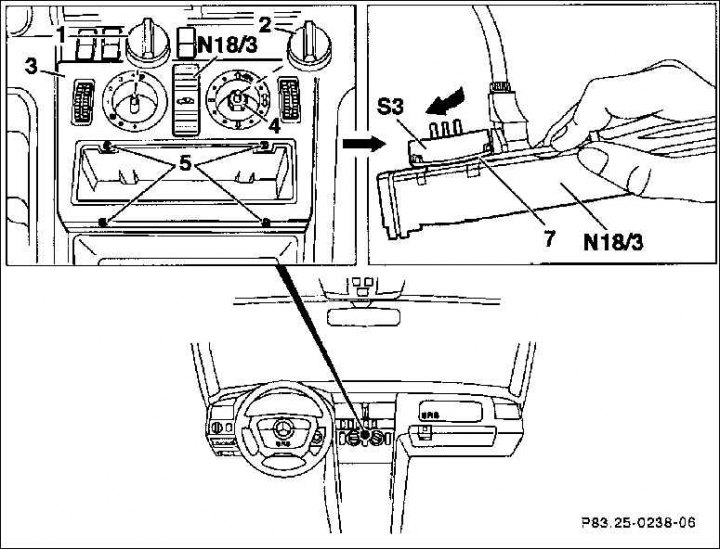
1. Button to control the amount of air; 2. Air distribution control button; 3. Protective coating 4. Hex nut; 5. Screws; 7. Locking lug; N18/3. Service device; S3. Air quantity switch
Removing
1. Remove the radio.
2. Remove service buttons.
3. Loosen the hex nut (4) and screws (5).
4. Negative battery cable and "mass" motor wire.
5. Release the control unit by unscrewing the two screws.
6. Remove the wire connector for the air quantity switch located on the rear side (S3).
7. If necessary, remove the air quantity switch. To do this, press the locking tab with a screwdriver and turn the air quantity switch to the left.
Installation
Installation takes place in the reverse order of removal.