
If faults are indicated, the fuses should be checked first, and only then the corresponding relays.
The purpose of the fuses is indicated on the block. Relevant information is also available in the appendix to the vehicle operating instructions.
1. Disconnect all current consumers and turn off the ignition before replacing the fuse.
2. Open the fuse box.
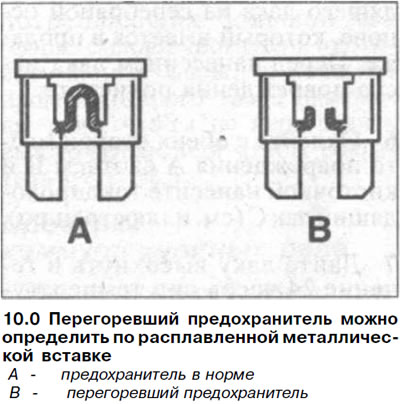
A blown fuse can be identified by a melted metal insert (see illustration 10.0).
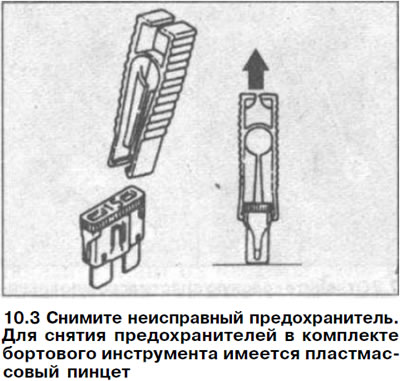
3. Remove the defective fuse. To remove the fuses, a plastic tweezer is included in the on-board tool kit (see illustration).
4. Insert a new fuse of the same amperage as the blown one. The fuse rating is printed on the back of the case. In addition, the body of the fuses of the type has a marking applied with paint, the color of which corresponds to a certain rating.
| Rated current | Color coding |
| 5 A | beige |
| 7.5 A | brown |
| 10 A | red |
| 15 A | blue |
| 20 A | yellow |
| 25 A | white |
| 30 A | green |
| 40 A | amber |
| 60 A | blue |
| 80 A | yellow |
Attention! For fuses with a rated current of more than 40 A, the distinctive coloring may be repeated and coincide with the marking of fuses of a smaller rating. However, fuses over 40A are larger to avoid replacement errors. In addition, large fuses are difficult to remove from the holders on the block.
Spare fuses are included in the on-board tool kit. It is recommended to replenish the portable kit as spare fuses are used up.
If the new fuse also blows after a short period of time, the corresponding electrical circuit must be checked.
Never replace fuses with wire or the like, as this may cause serious damage to the electrical equipment.