



Contents: Front differential ↡ Rear differential ↡
Attention! All self-locking bolts and nuts must be replaced without fail!
Front differential
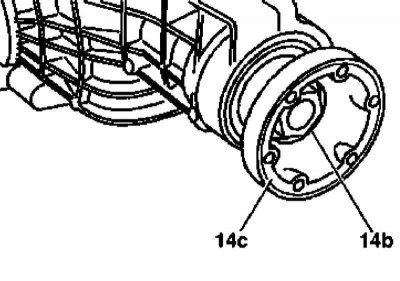
Replacing the front differential pinion seal |
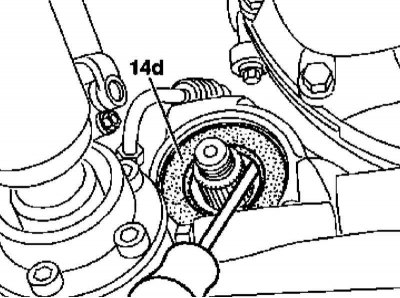
Replacing the front differential pinion seal |
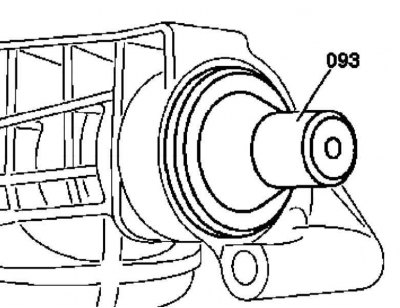
Replacing the front differential pinion seal |
Replacing the front differential pinion seal |
1. Illustrative material on replacing the front differential pinion seal is presented in the accompanying illustrations, to which all references in the text refer.
2. Disconnect the drive shaft from the differential pinion flange and use a 41 mm socket with a 3/4 square adapter and a suitable gauge to determine the initial resistance force of the differential to turning.
3. Chisel and loosen the nut (14b); the nut must be replaced without fail.
4. Pull outward to release the pinion flange (14c) from the differential housing.
5. Using a suitable screwdriver, release the oil seal (14d) from its seat and, using a suitable mandrel (093), install a new one in its place, having first lubricated its lips with universal hypoid oil SAE 85 W-90.
6. Further assembly is carried out in the reverse order of dismantling the components - when tightening the NEW nut (14b), lock the connecting flange (14c) using the key (092).
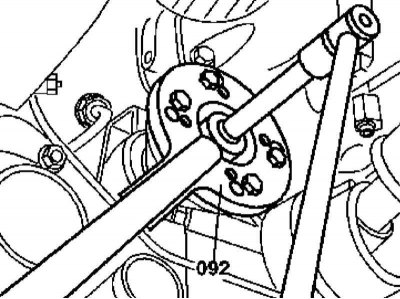
Attention! Tighten the nut in several stages until the initial resistance force of the differential to turning is reached (see paragraph 2)! Finally, tighten the nut, and don't forget to check the differential for signs of developing leaks.
Rear differential
Illustrative material on replacing the rear differential pinion seal is shown in the illustration, to which all references in the text refer. The procedure is similar to that described above for the front differential.
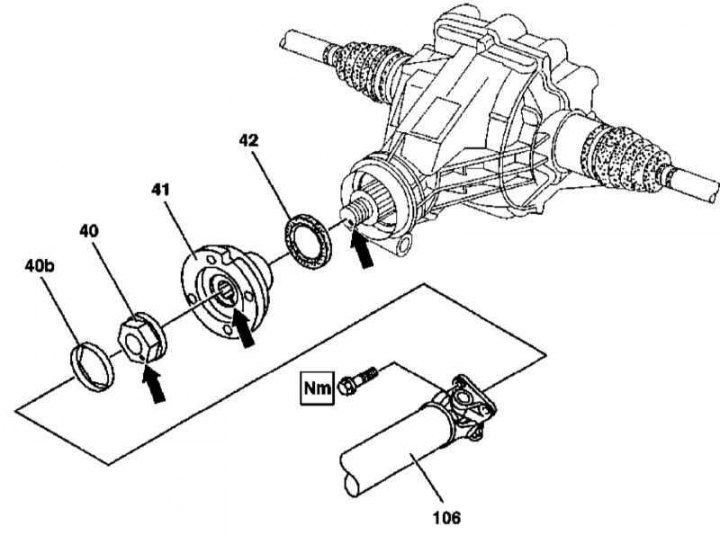
Replacing the rear differential pinion seal
40 - Nut; 40b - Lock washer; 41 - Connecting flange; 42 - Pinion seal; 106 - Rear propeller shaft