



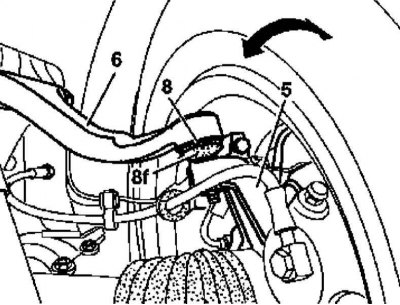
Checking the upper ball joint without removing it from the vehicle
5 - Steering knuckle; 6 - Upper wishbone; 8 - Ball joint; 8f - Ball joint boot
1. Illustrative material on checking the upper ball joint without removing it from the vehicle is presented in the illustration, to which all references in the text refer.
2. Jack up the front of the car and place it on supports.
3. Assess the condition of the boot (8f) of the support (8) - the presence of cuts and cracks is unacceptable.
4. Firmly tug the corresponding wheel (arrow) to ensure that there is no play in the support (8) - if necessary, replace the upper wishbone (6) (see Section Removal and installation of hydraulic lines laid between the master cylinder and the ETS/ESP hydraulic modulator).
Bottom support
Visually assess the condition of the support boot and replace it if necessary.
With removal from the vehicle
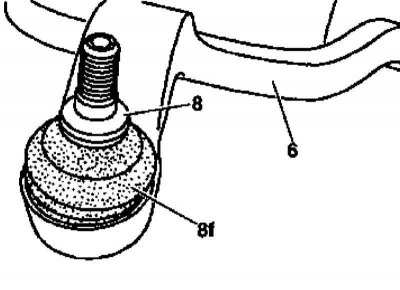
Checking the removed upper ball joint |
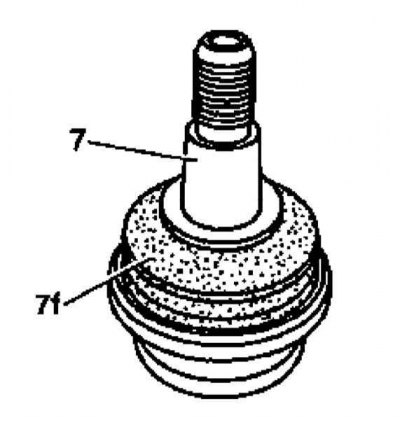
Checking the removed lower ball joint |
1. Illustrative material on checking ball joints without removing them from the vehicle is presented in the illustrations, to which all references in the text refer.
Original article is on the portal: MercedesMan
2. Using an extractor, remove the ball joint (6/7).
3. Using a tube about 150 mm long as a gate, evaluate the smoothness of the movement of the ball joint in all directions. If you detect any resistance drops or signs of sticking, replace the defective component.
4. Assess the condition of the boot - the presence of cuts and cracks is unacceptable.
5. Install the support in its regular place.