
Removing
1. Remove the three expanding clamps 2 on the cover 1 of the lock (see arrows in illustration), by prying their rivets 3 with a plastic wedge, a screwdriver or suitable pliers.
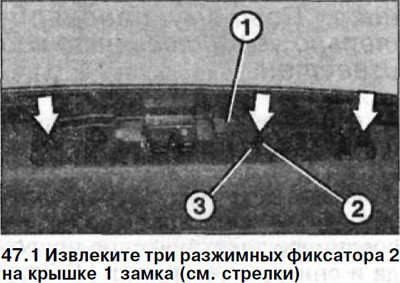
2. Remove cover 1 (see illustration 47.1).
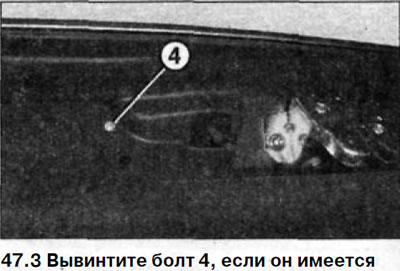
3. Unscrew bolt 4, if present (see illustration).
4. Wring out the upholstery 5 of the door, prying it with a plastic wedge around the entire perimeter and setting the wedge next to the corresponding upholstery retainer (see arrows in illustration).
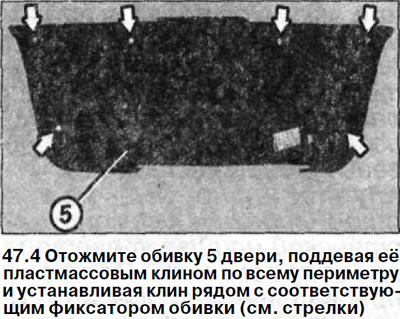
5. Remove upholstery 5 (see illustration 47.4).
Installation
6. Inspect the upholstery fasteners, make sure they are not damaged and properly seated. Replace damaged fasteners with new ones or install new ones instead of missing ones.
7. Insert the tailgate lining first under the additional brake light trim, and then straighten it so that the upholstery clips go into the holes on the door.
8. Press down on the upholstery to secure it. If necessary, pad the upholstery to fully secure it with the palm of your hand.
Installing the remaining removed parts is carried out in the reverse order of removal.