



Front doors
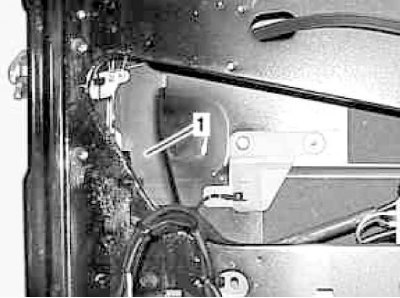
Front Door Lock Installation Details (1 of 4)
1 - Lid
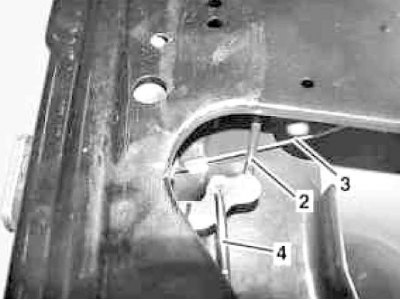
Front Door Lock Installation Details (2 of 4)
2 - Drive rod; 3 - Inner handle pull; 4 - Single lock pull
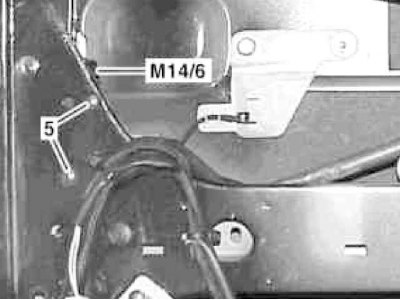
Front Door Lock Installation Details (3 of 4)
5 - Bolts
M14/6 - Single Lock Activator (left door)
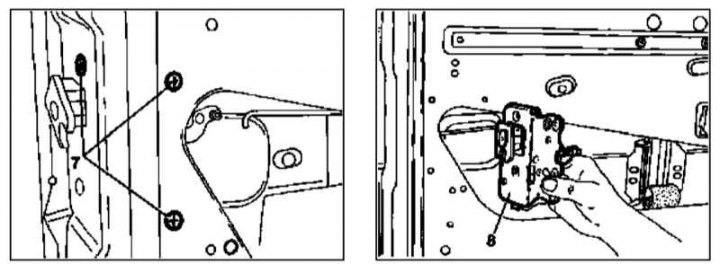
Front Door Lock Installation Details (4 of 4)
7 - Mounting screws
8 - Lock assembly
1. Remove the interior trim and door insulation film (see Section Removal and installation interior trim of door assemblies), - the damaged film should be replaced.
2. Remove the window frame (see Section Removal and installation of window frames and door assemblies).
3. Remove the cover (1) of the lock assembly.
4. Release the fastening clamp to the lock (8) of the rod (3) of the inner handle and disconnect the rod - if necessary, prepare a replacement clamp.
5. Disconnect the rods (2 and 4) from the lock (8) - damaged fasteners must also be replaced.
6. Unscrew the mounting bolts (5) and remove the single lock activator (M14/6).
7. Remove the outside door handle (see Section Removal and installation exterior door handles).
8. Unscrew the screws (7) and remove the lock assembly (8).
9. Installation is carried out in reverse order.
Rear doors
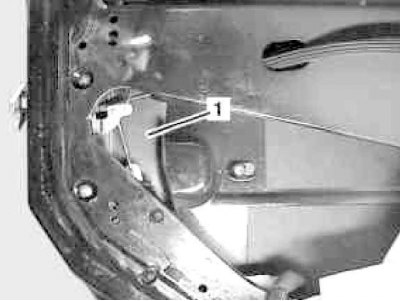
Rear Door Lock Installation Details (1 of 4)
1 - Lid
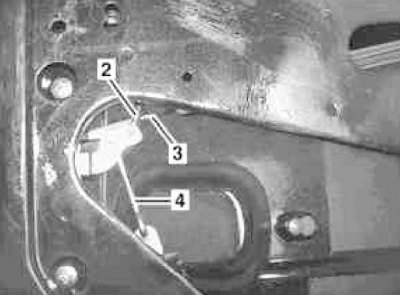
Rear Door Lock Installation Details (2 of 4)
2 - Drive rod; 3 - Inner handle pull; 4 - Single lock pull
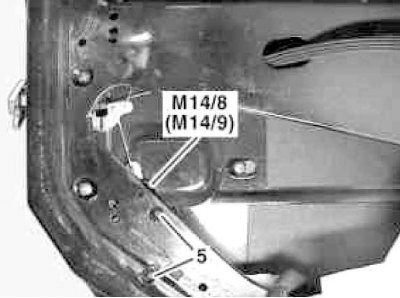
Rear Door Lock Installation Details (3 of 4)
5 - Bolts
M14/8 - Single Lock Activator (left door)
M14/9 - Single Lock Activator (right door)
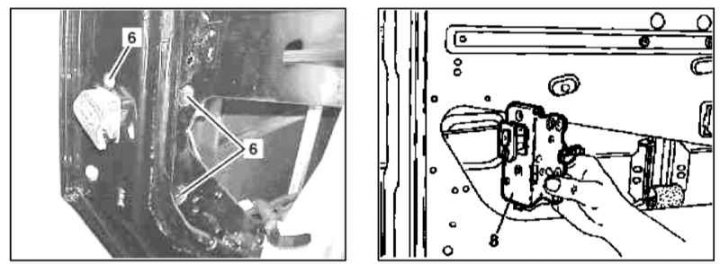
Rear Door Lock Installation Details (4 of 4)
7 - Mounting screws
8 - Lock assembly
The procedure is the same as described above for the front door.
Note: On models of the second version, do not forget to check the condition of the fuse (5) - replace it if necessary.
Tailgate
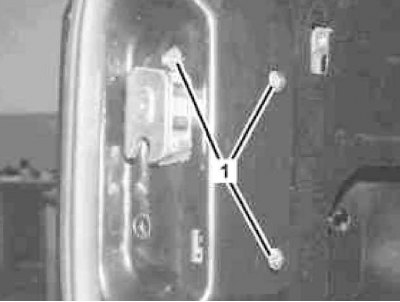
Tailgate Lock Installation Details (1 of 3)
1 - Screws
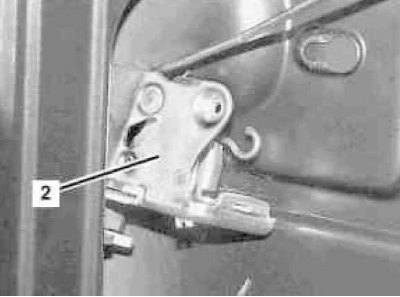
Tailgate Lock Installation Details (2 of 3)
2 - Lock assembly
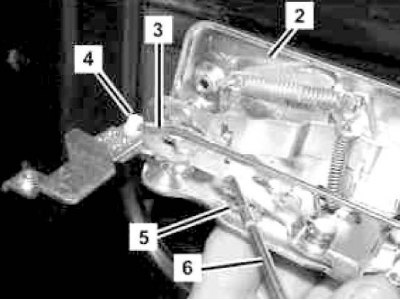
Tailgate Lock Installation Details (3 of 3)
2 - Lock assembly; 3 - Single lock pull; 4 - Retainer; 5 - Fuse; 6 - Inner handle pull rod
1. Remove the interior trim (see Section Removal and installation interior trim of door assemblies).
2. Remove the outer handle (see Section Removal and installation exterior door handles).
3. Remove the inner handle (see Section Removal and installation interior door handles).
4. Remove the lock actuator (see Chapter On-board electrical equipment).
5. Loosen the fastening screws (1) and remove the lock assembly (2).
6. Disconnect the rod (3) of the single lock actuator.
7. Remove the retainer (4) and disconnect the rod (6) of the inner handle.
8. Installation is carried out in the reverse order. Do not forget to check the condition of the fuse (5), replace it if necessary.
Drop side
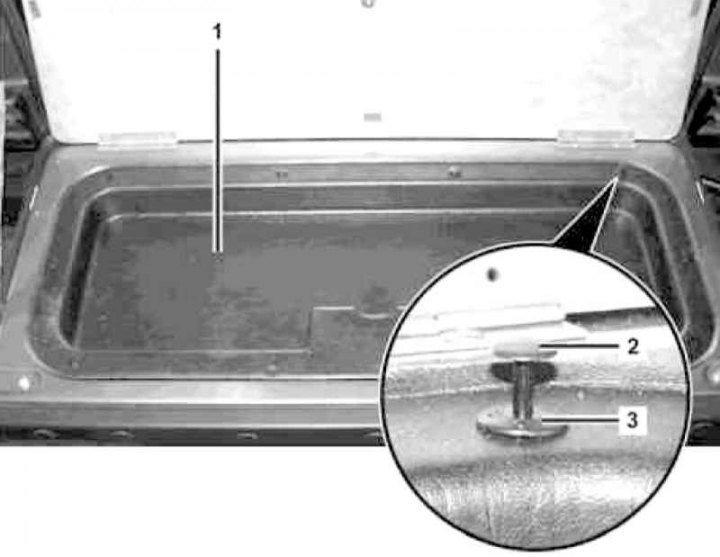
Tailgate Lock Installation Details (1 of 3)
1 - Plastic tray; 2 - Plastic rivet; 3 - Expansion pin
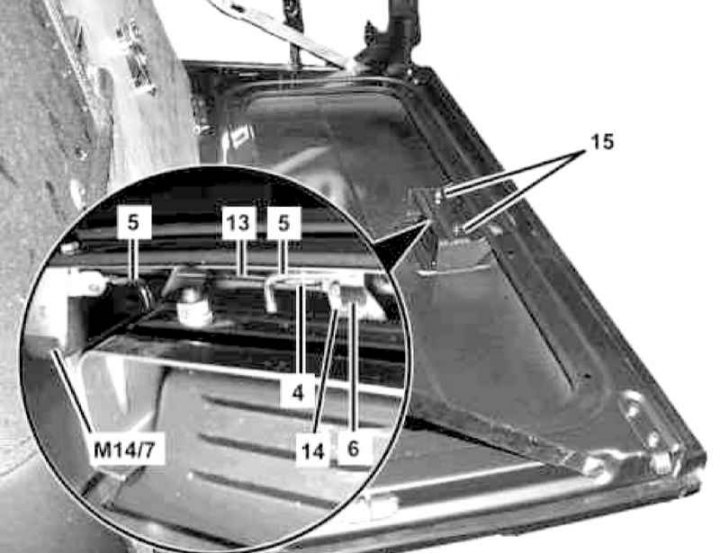
Tailgate Lock Installation Details (2 of 3)
4 - Retainer; 5 - Activator drive rod; 6, 14 - Levers; 13 - Right lock latch drive rod; 15 - Fastening nut; M14/6 - Single Lock Activator
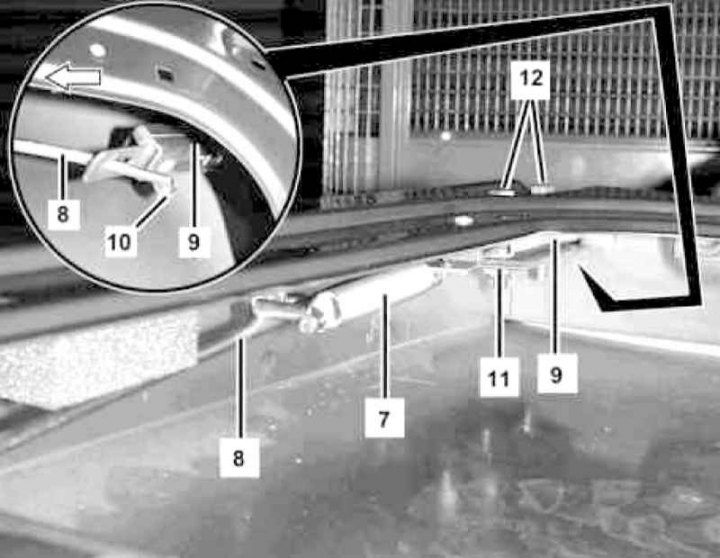
Tailgate Lock Installation Details (3 of 3)
7 - Return spring; 8 - Left lock latch drive rod; 9 - Left lock latch; 10 - Traction lock; 11 - Threaded plate; 12 - Latch mounting screws
1. Open the rear cover and the tool box in the tailgate.
2. Remove the rivets (2 and 3) and take out the plastic insert (1).
3. Remove the retainer (4) of the drive rod (5) and disconnect the latter from the lever (6)/activator (M14/7).
4. Loosen the screws (12) and remove the threaded plate (11). Pull in the direction of the arrow to release the latch (9) of the left lock from the door. Release the retainer (10) and finally remove the latch (9).
5. Release the lock and separate the rod (13) from the lever (14).
6. Loosen the fastening nuts (15) and, pushing downwards, remove the lock assembly complete with the latch (8) and sealing element.
7. Installation is carried out in the reverse order - make sure the gasket is seated correctly.